

Camera For Wildlife Photography Beginner
Image 1 of 30
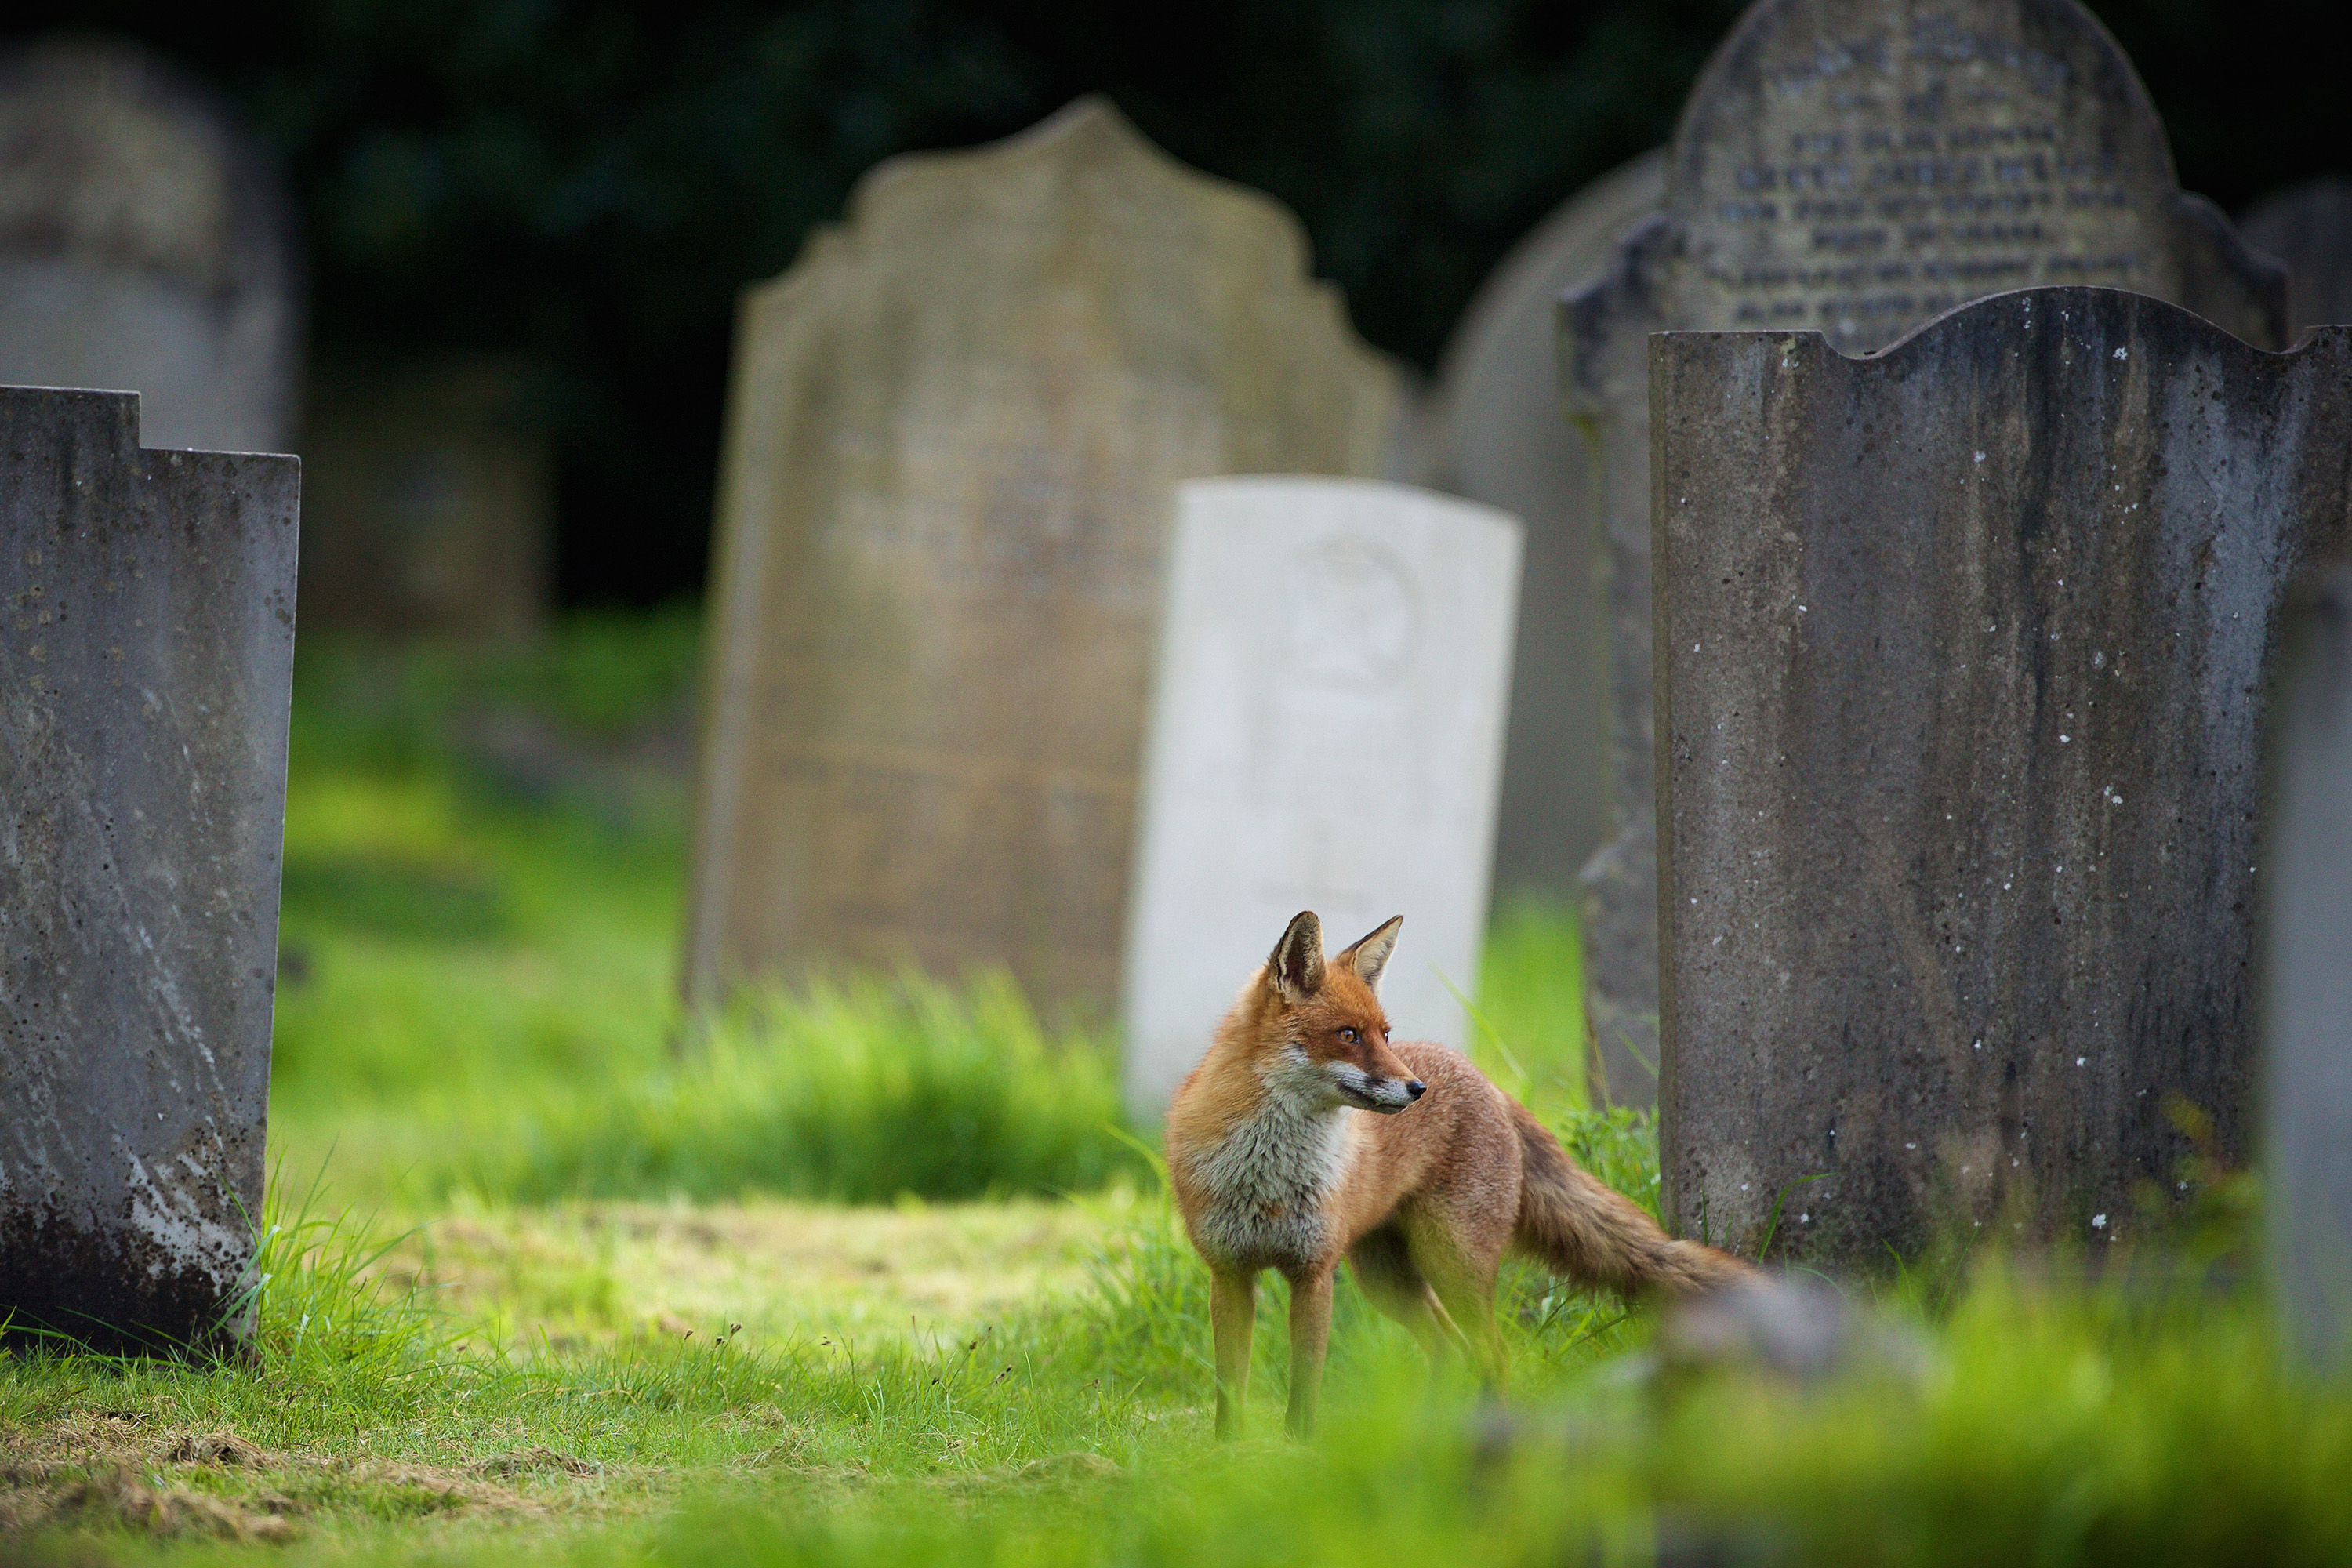
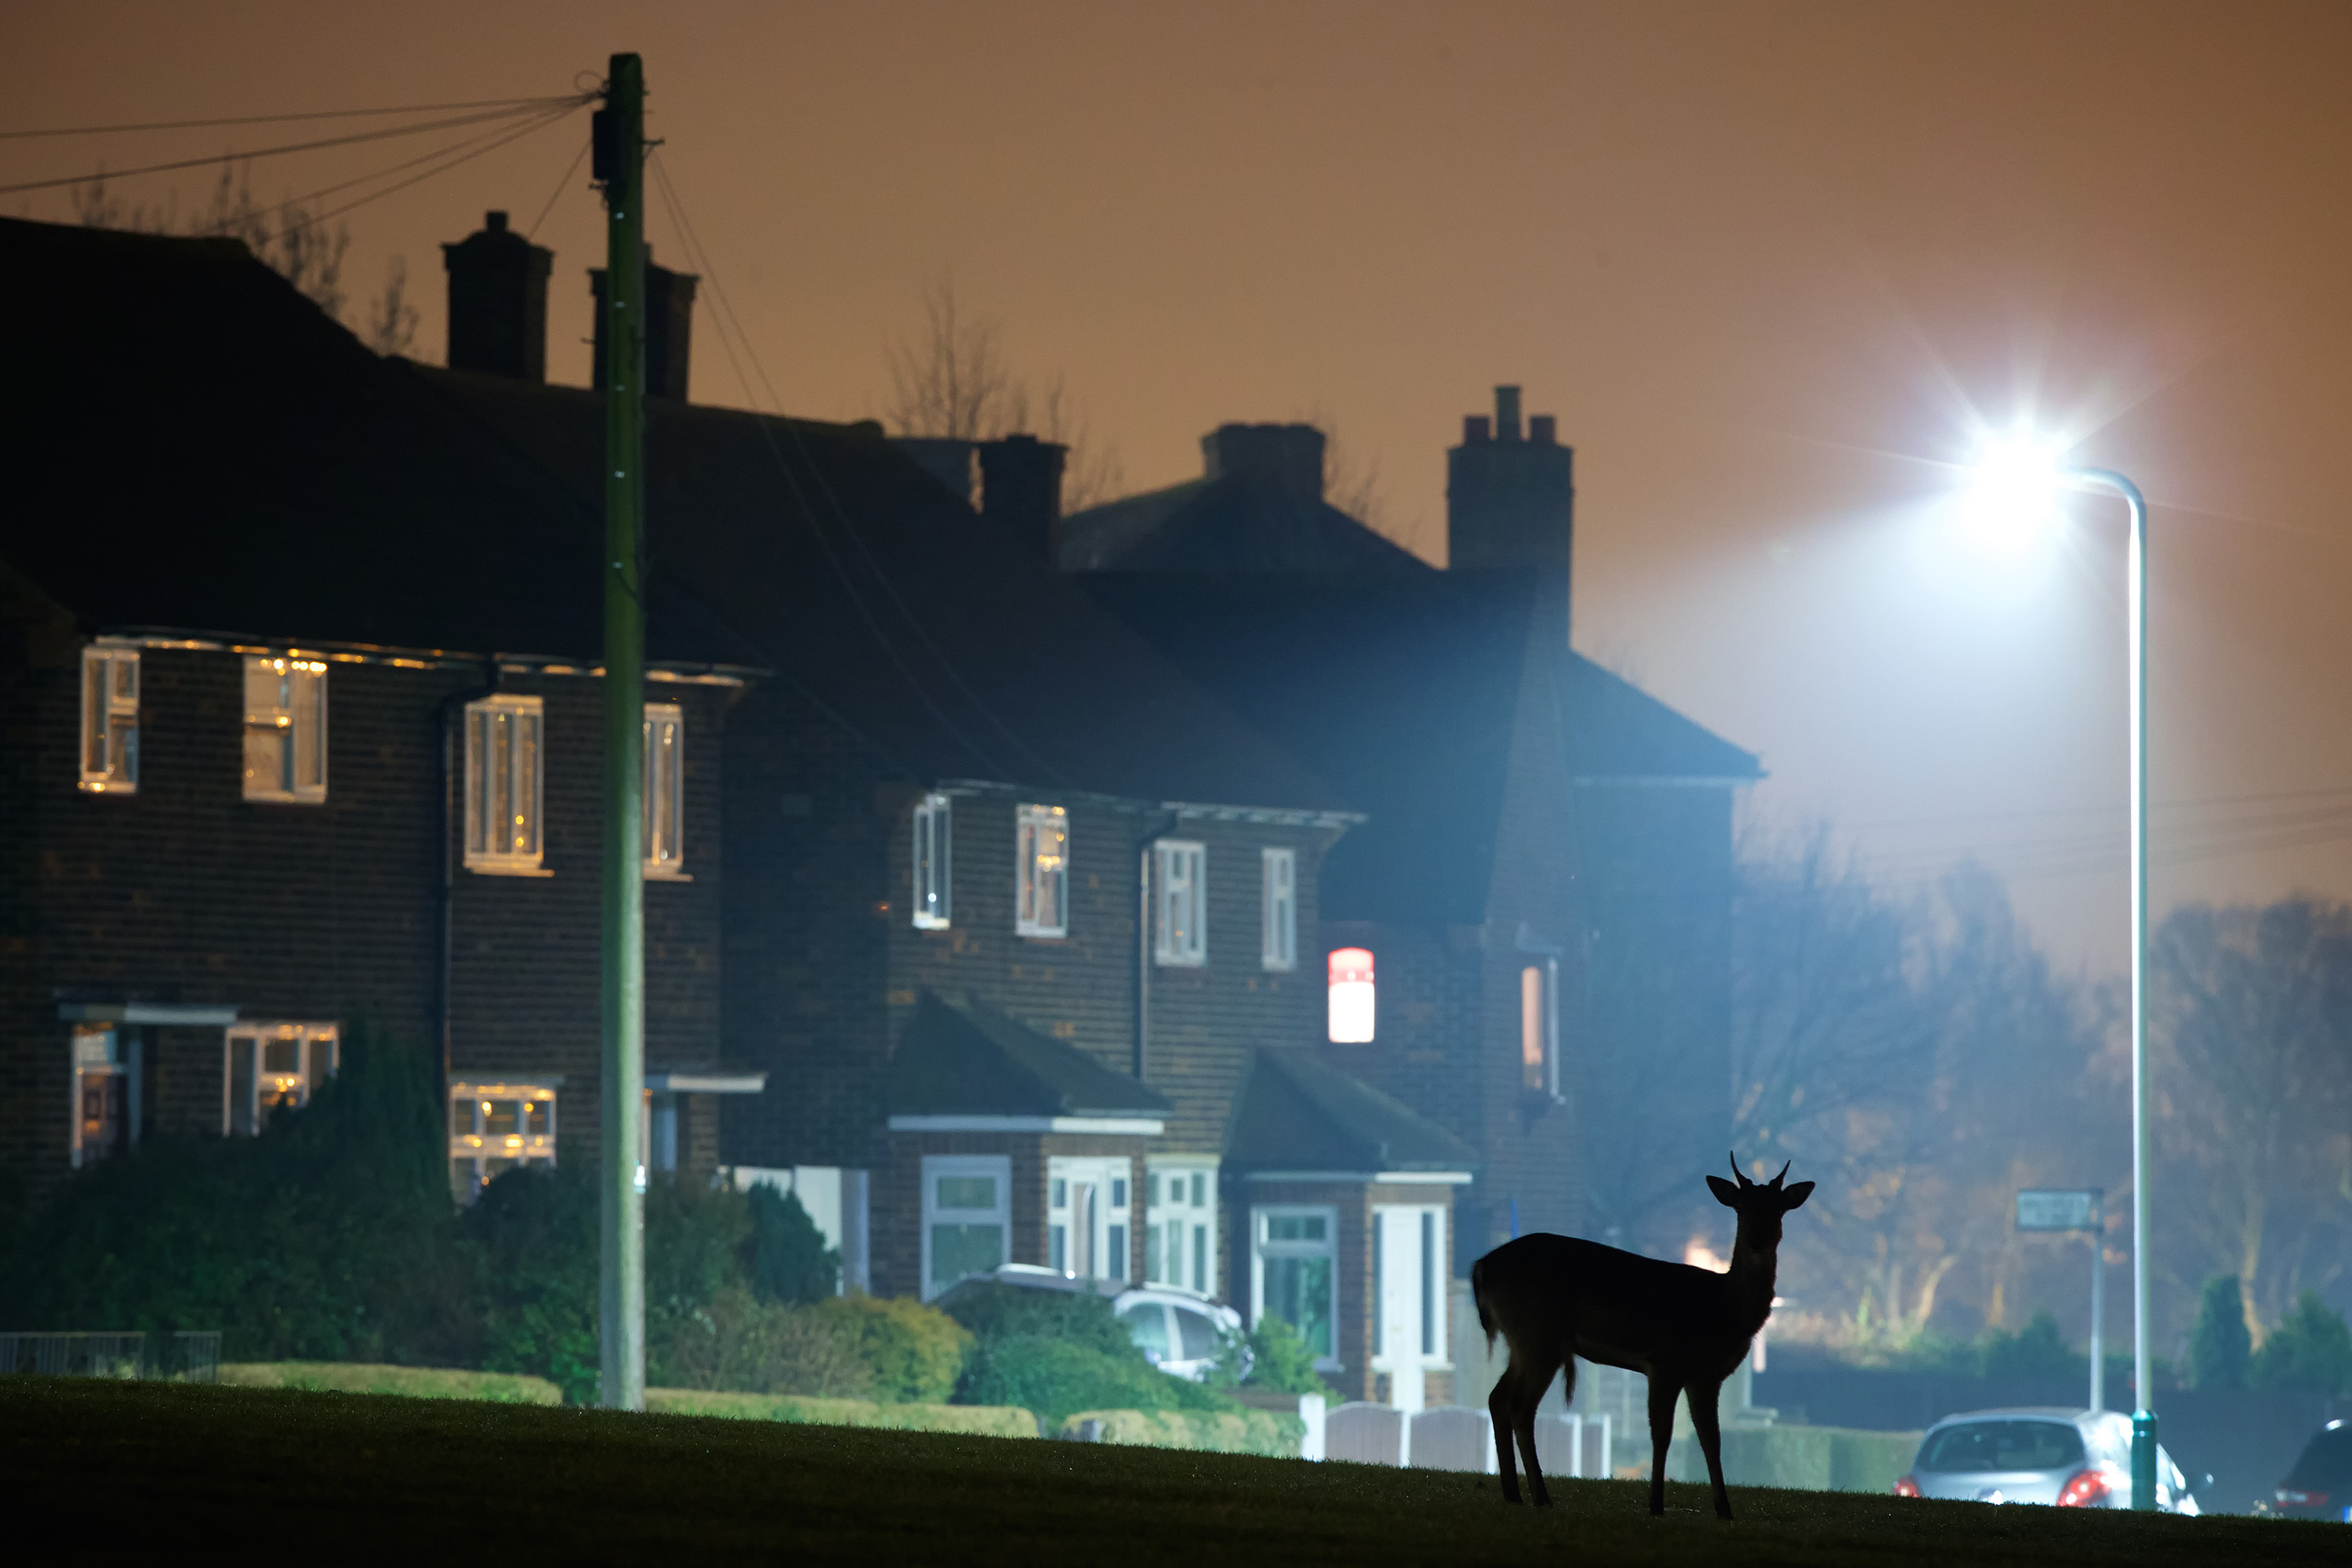
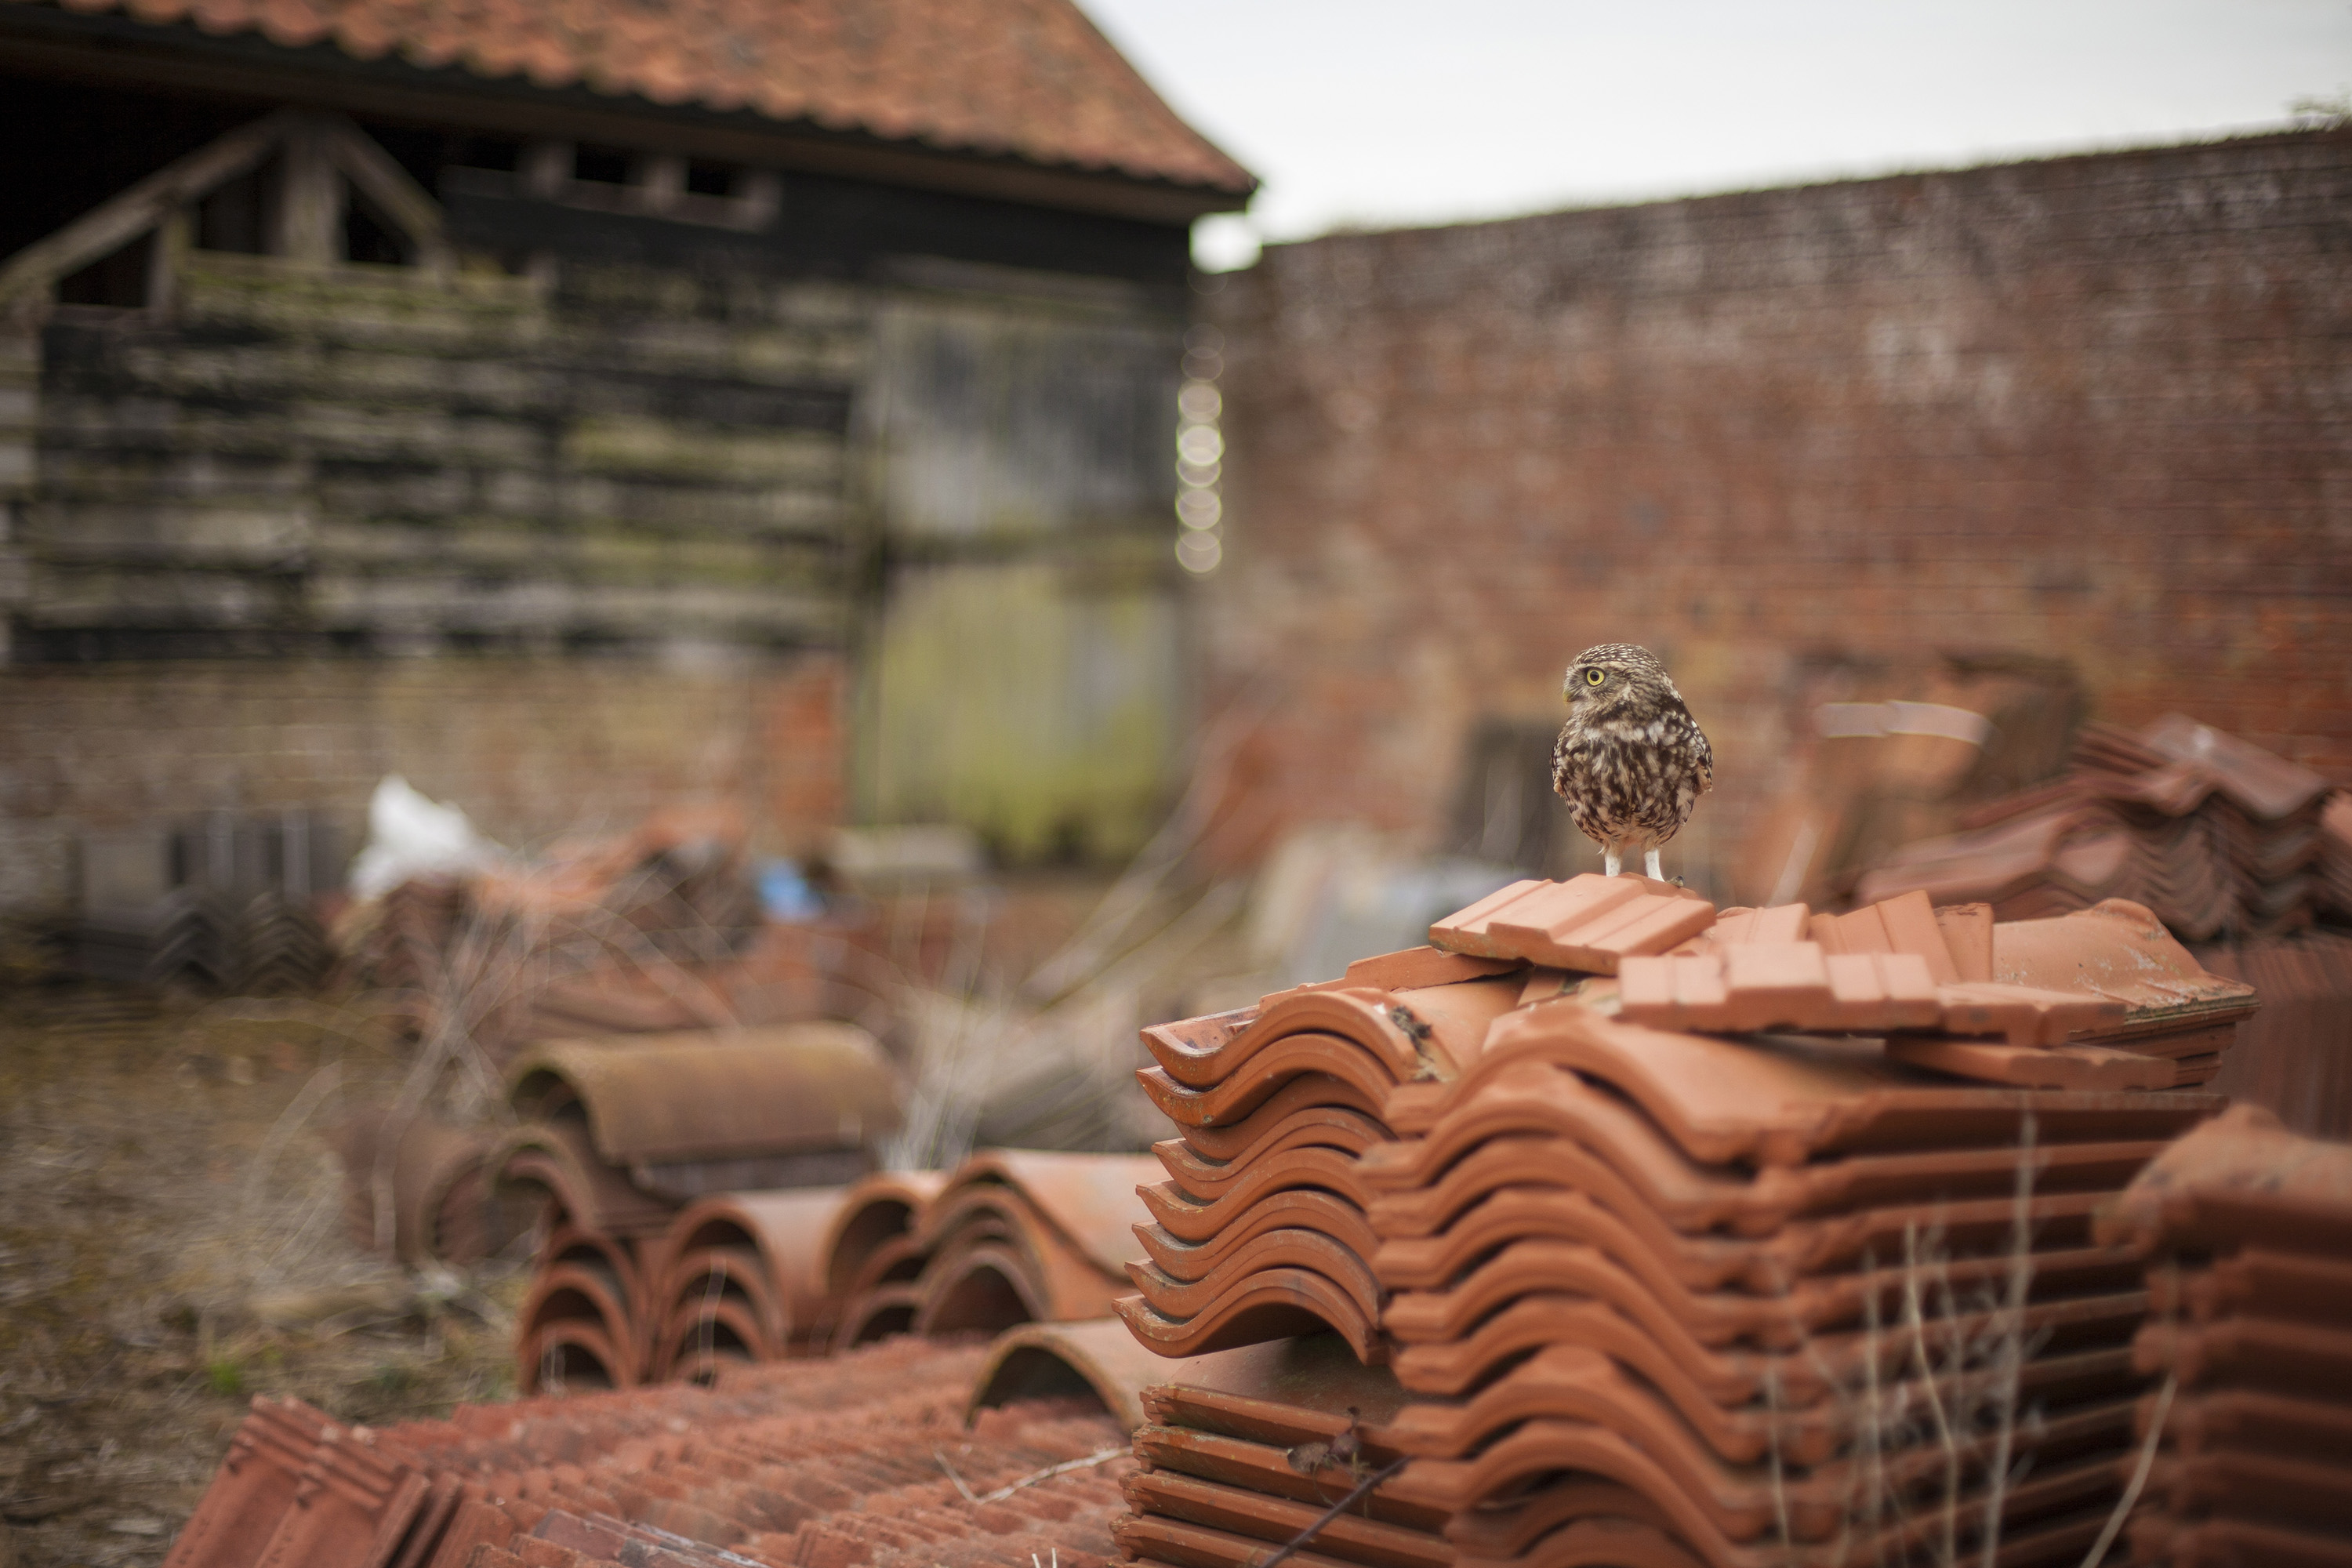
1. Urban wildlife
How to photograph animals in built-up areas:
1. Get your eye in at your local park, as the animals you encounter will be more approachable.
2. Rather than zooming in to isolate the animal, show it in context with the man-made environment.
3. Build up a list of local contacts - from wildlife groups to night security guards - so you can source suitable locations.
FIELDCRAFT TIP: Don't wear deodorant when photographing foxes, and approach them with the wind in your face so that your scent is carried away.
Image 2 of 30
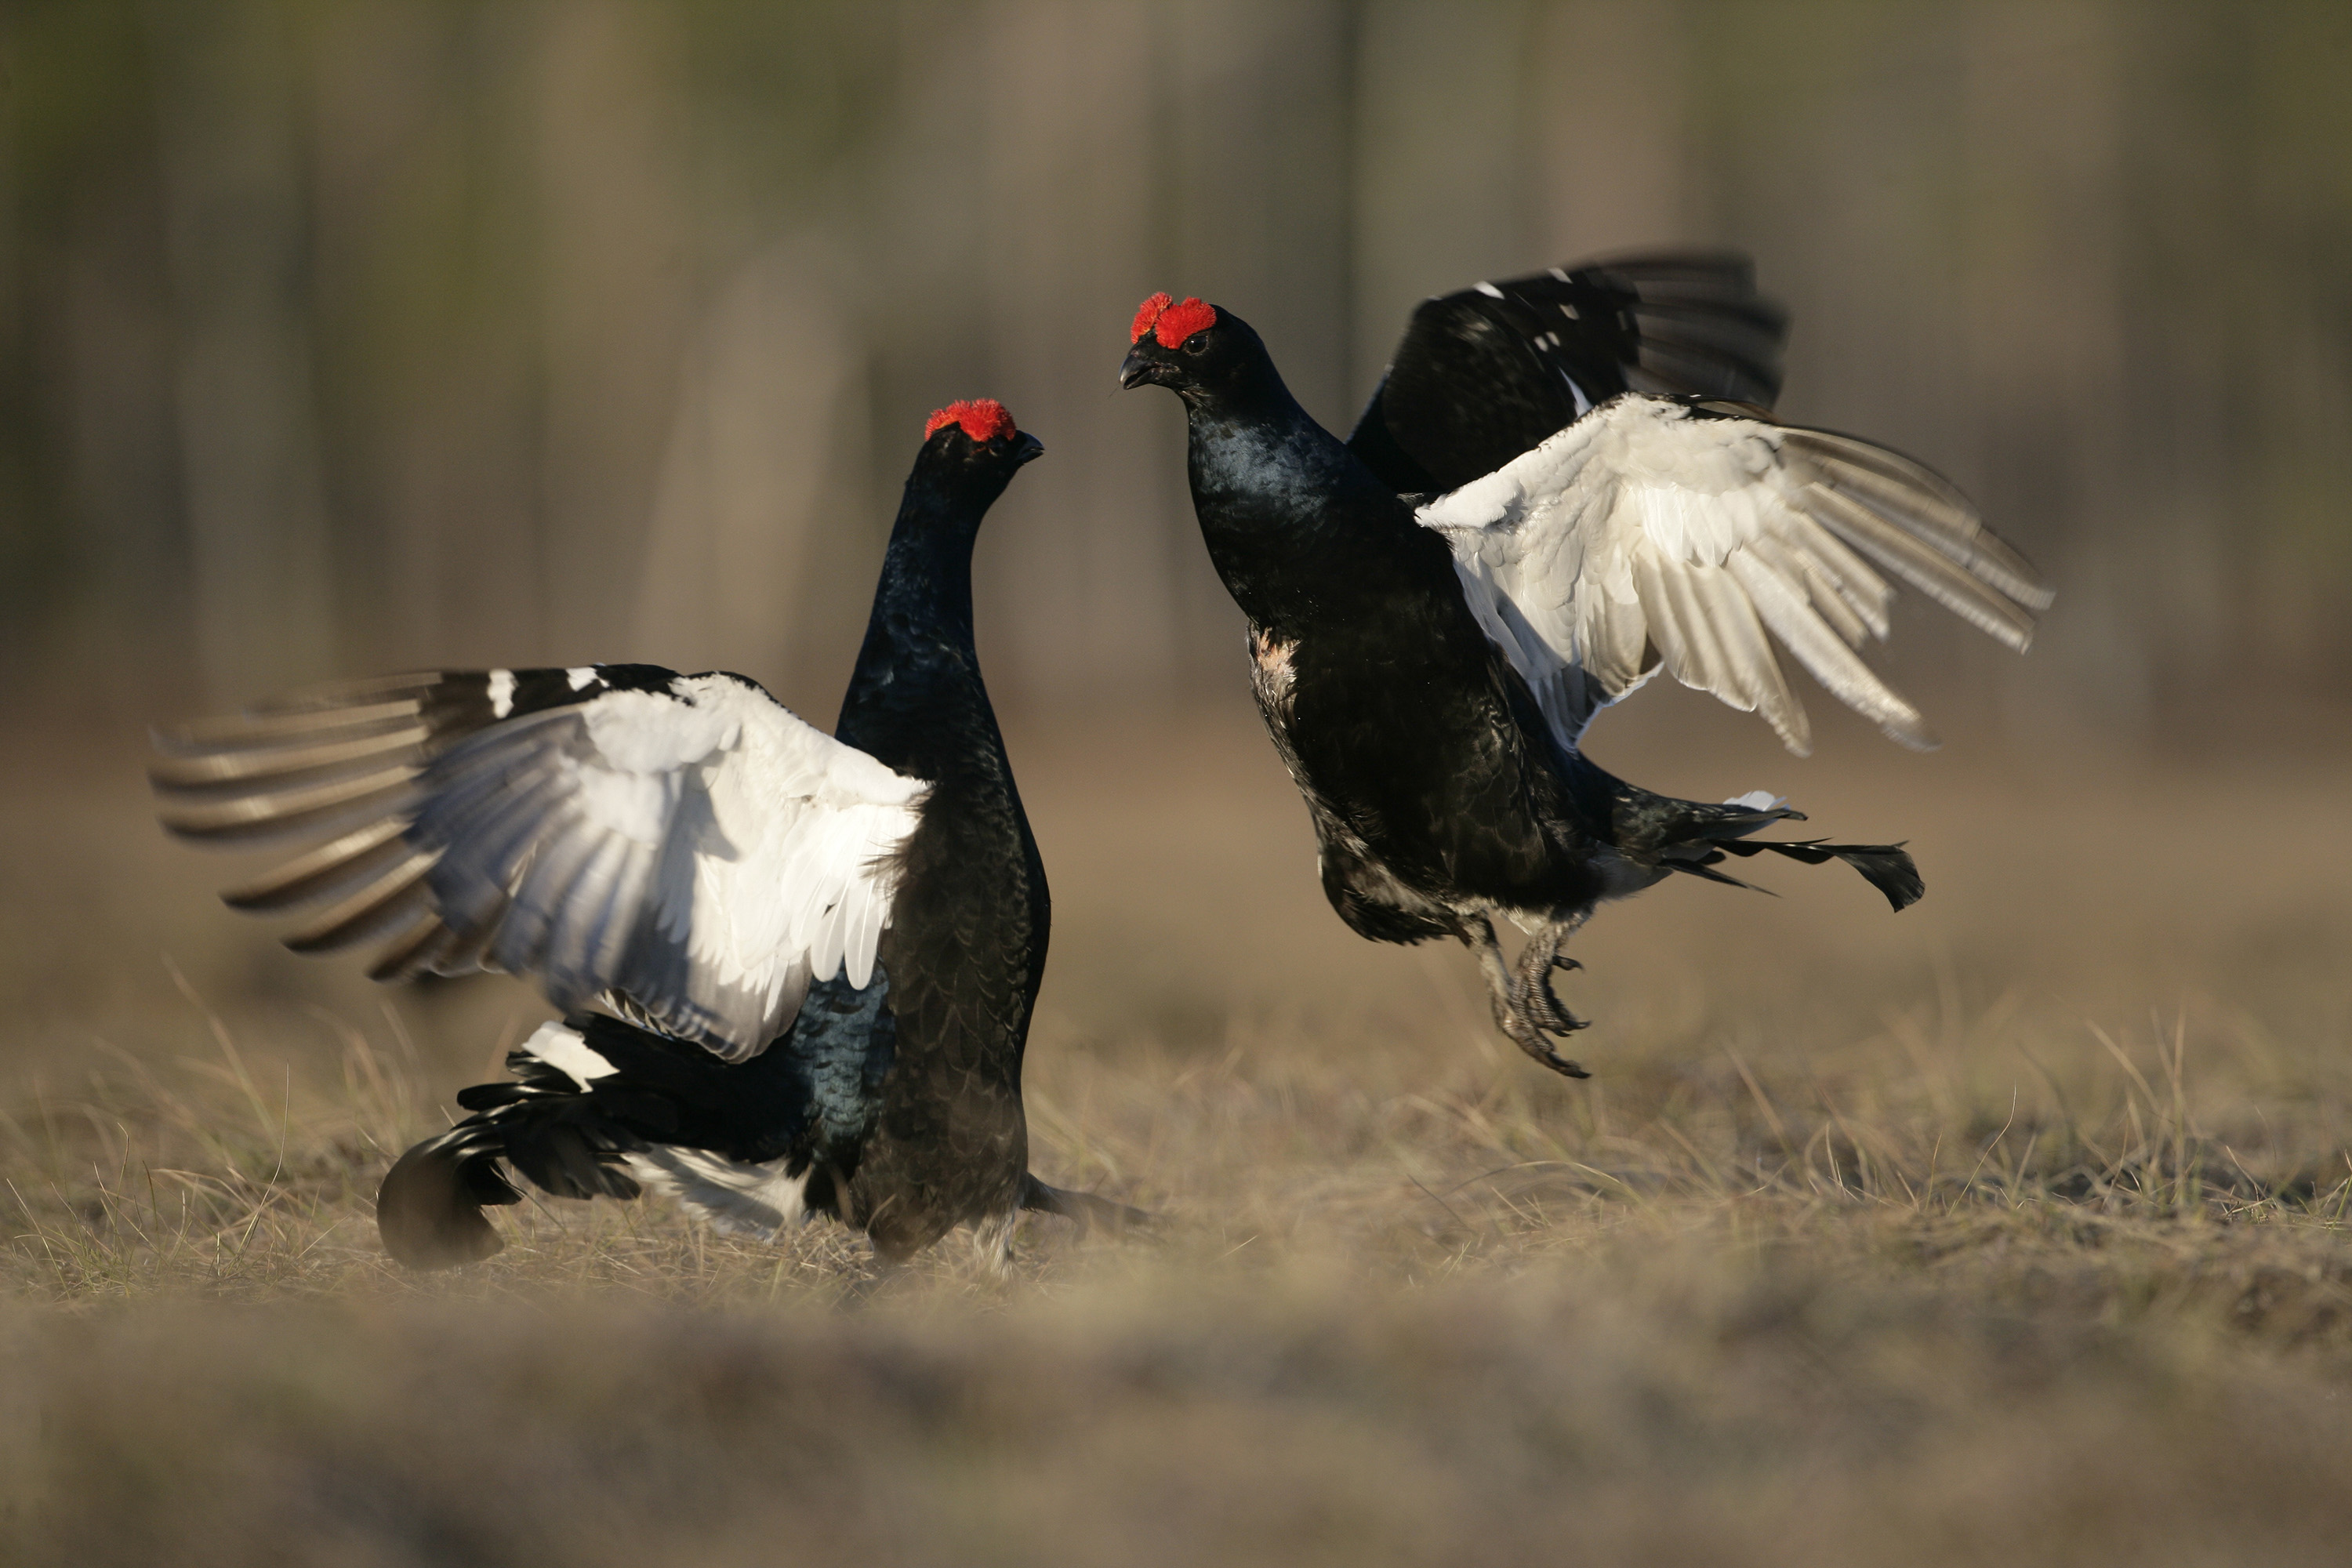
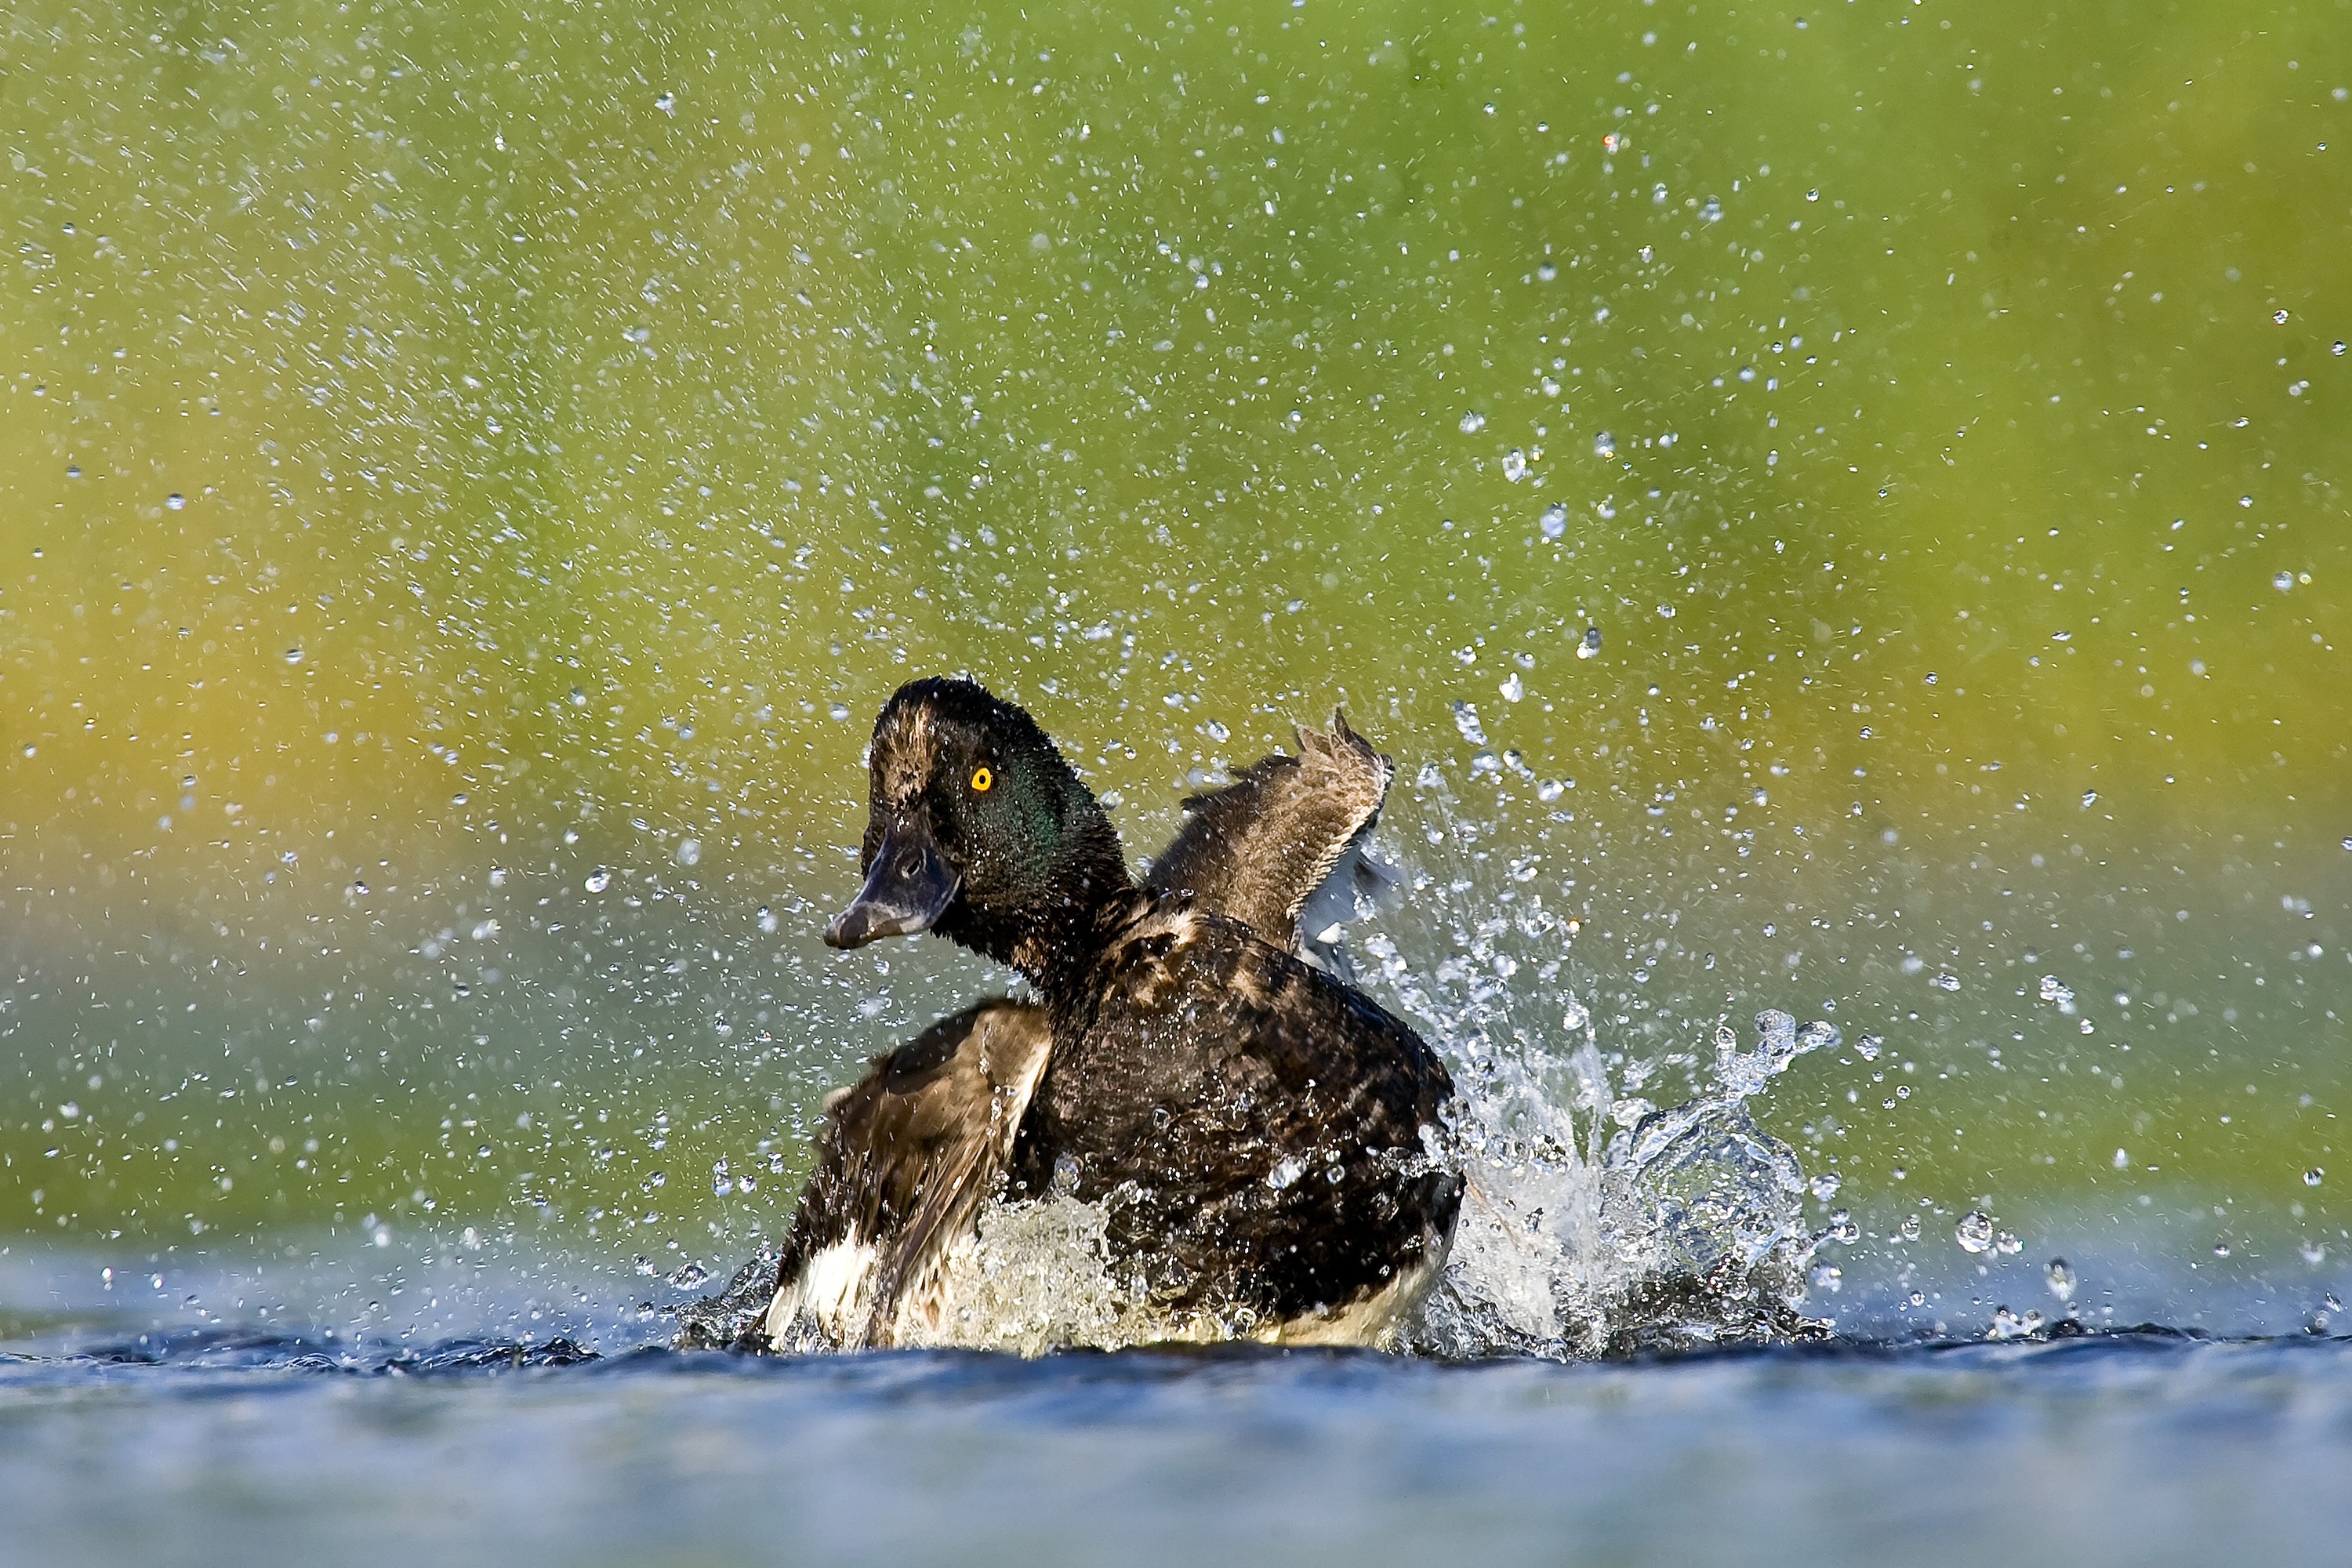
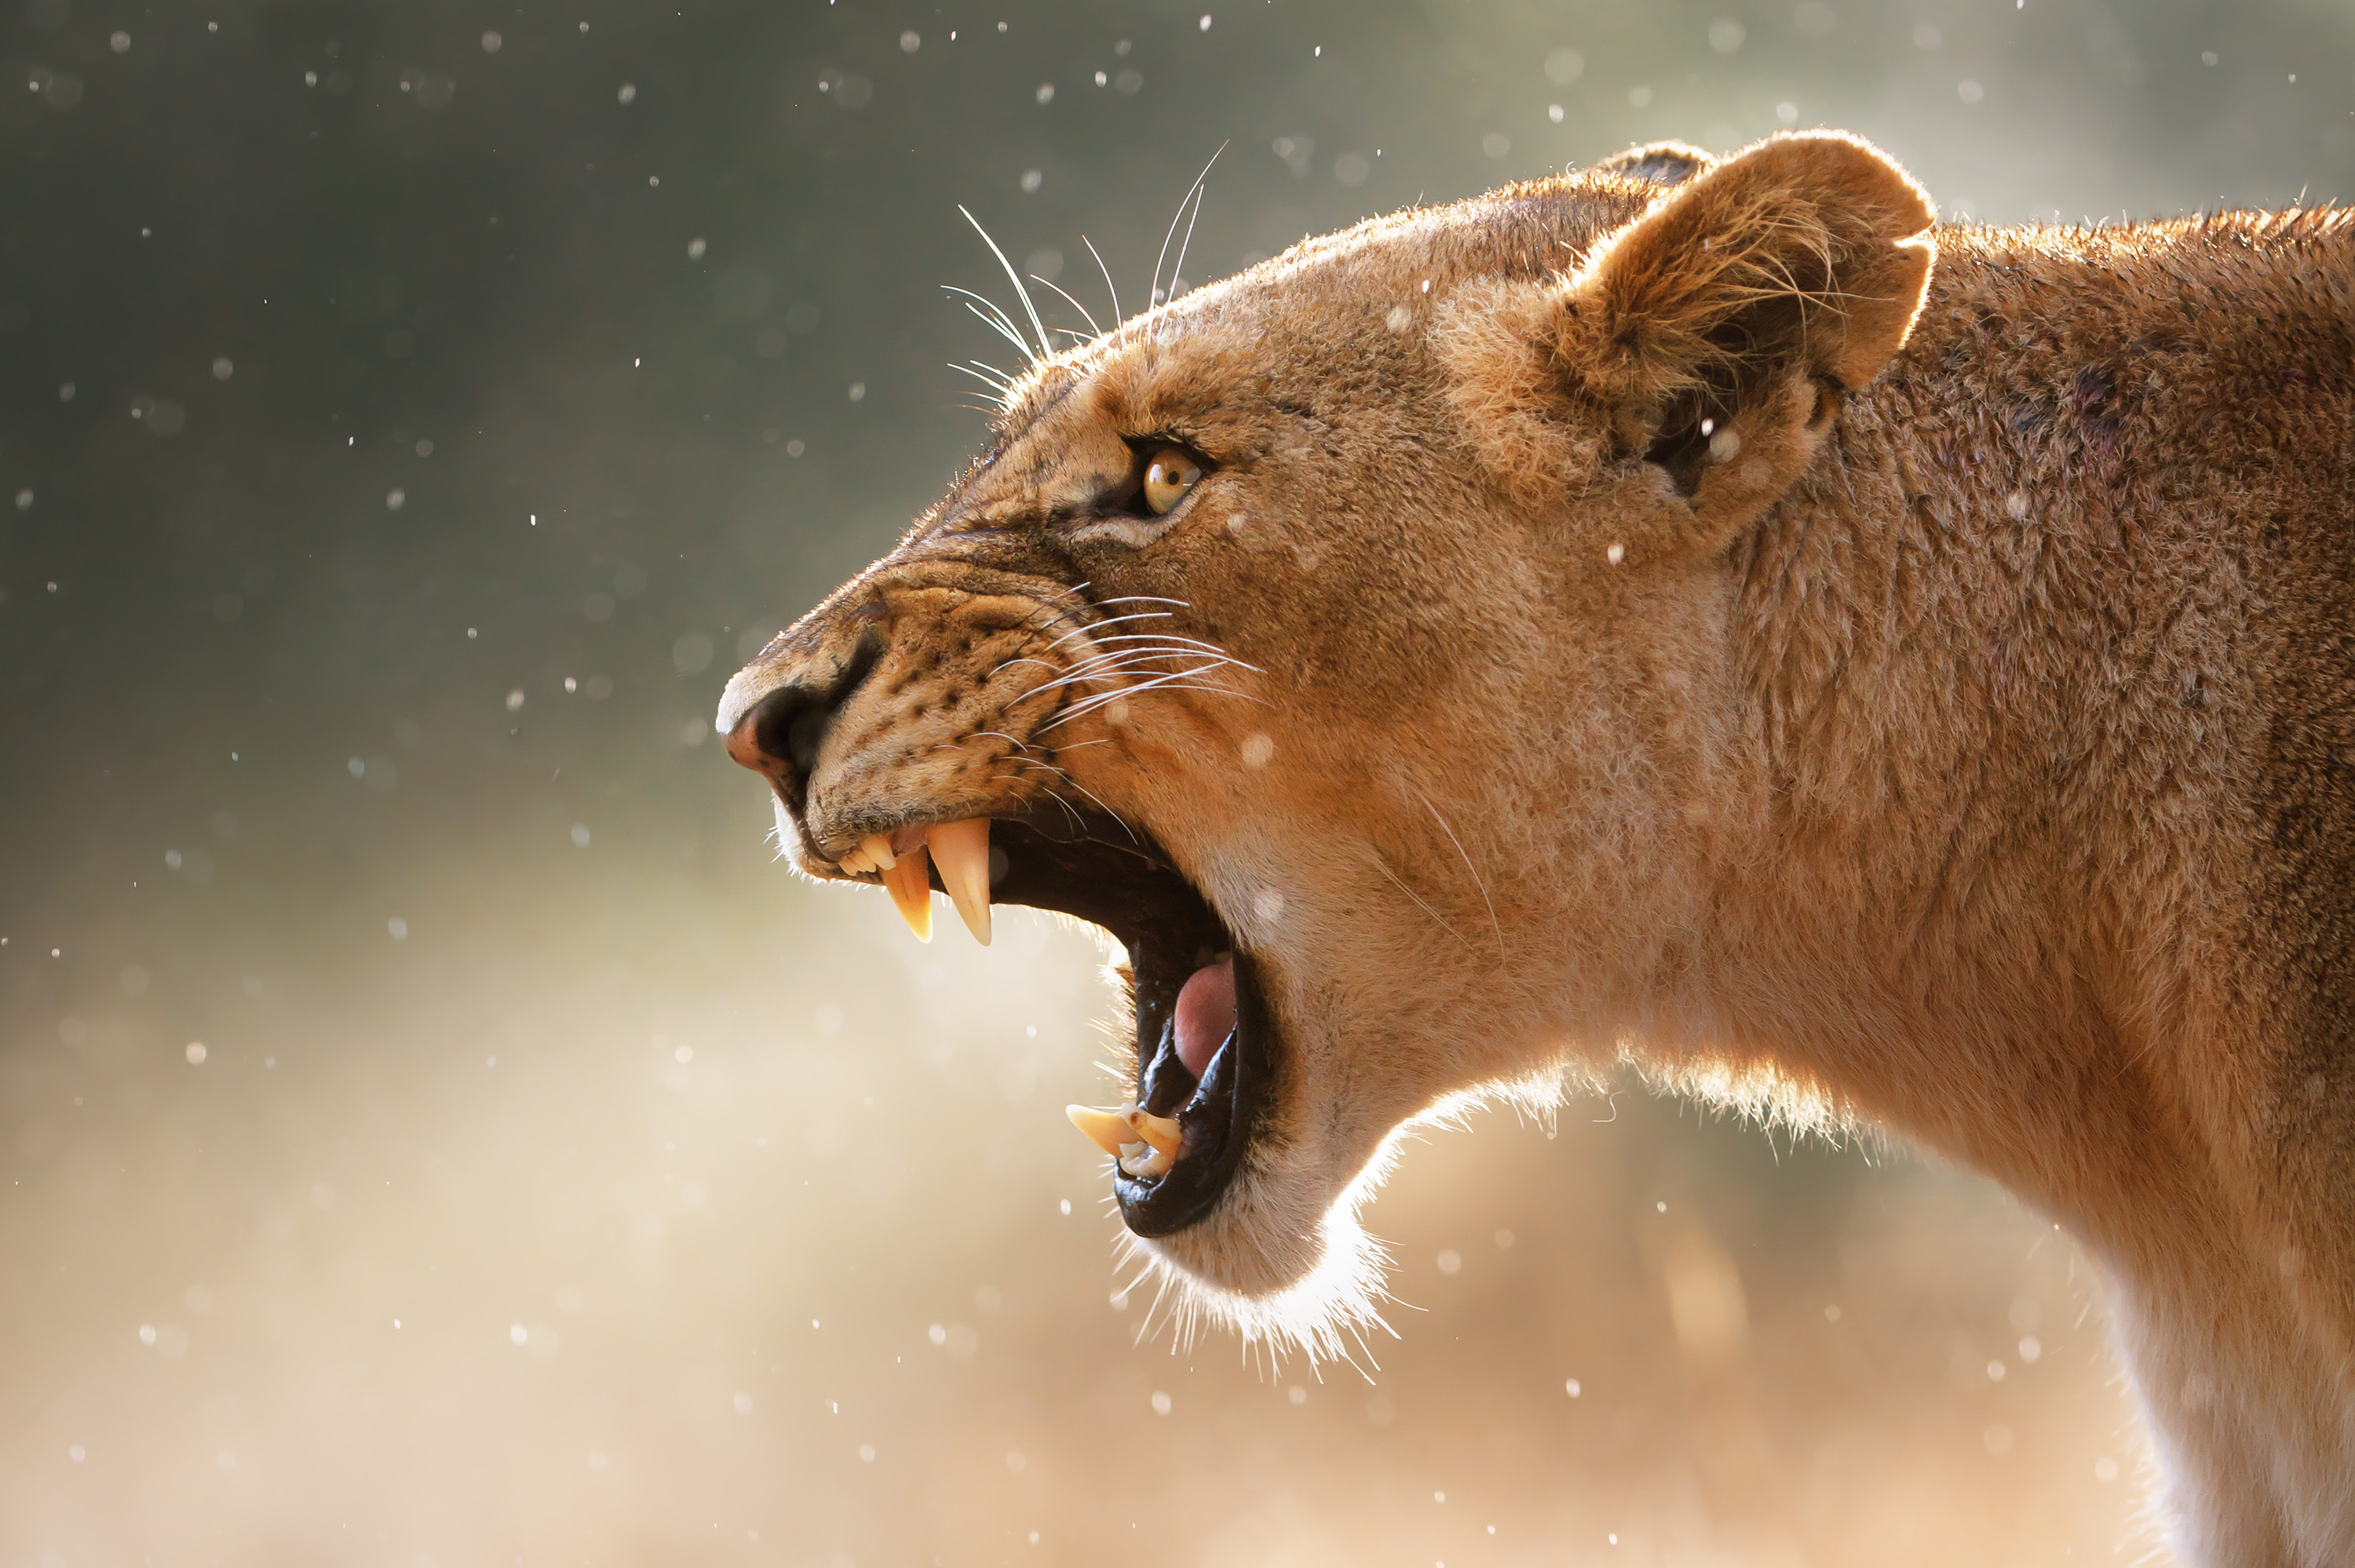
2. Fights and displays
How to get set up to record aggressive behaviour:
1. Your camera's shutter speed will need to be extremely fast to freeze a frantic bout of interaction, so set the widest aperture on the lens and use a higher than normal ISO.
2. Use Continuous or AI Servo to track the subjects' movements/
3. Leave space in the frame so that you can record a full range of movement - you can crop later.
SHOOTING TIP: If your camera offers back-button focusing, set this up so that you can instantly deactivate Continuous AF should the subjects stop moving.
Image 3 of 30

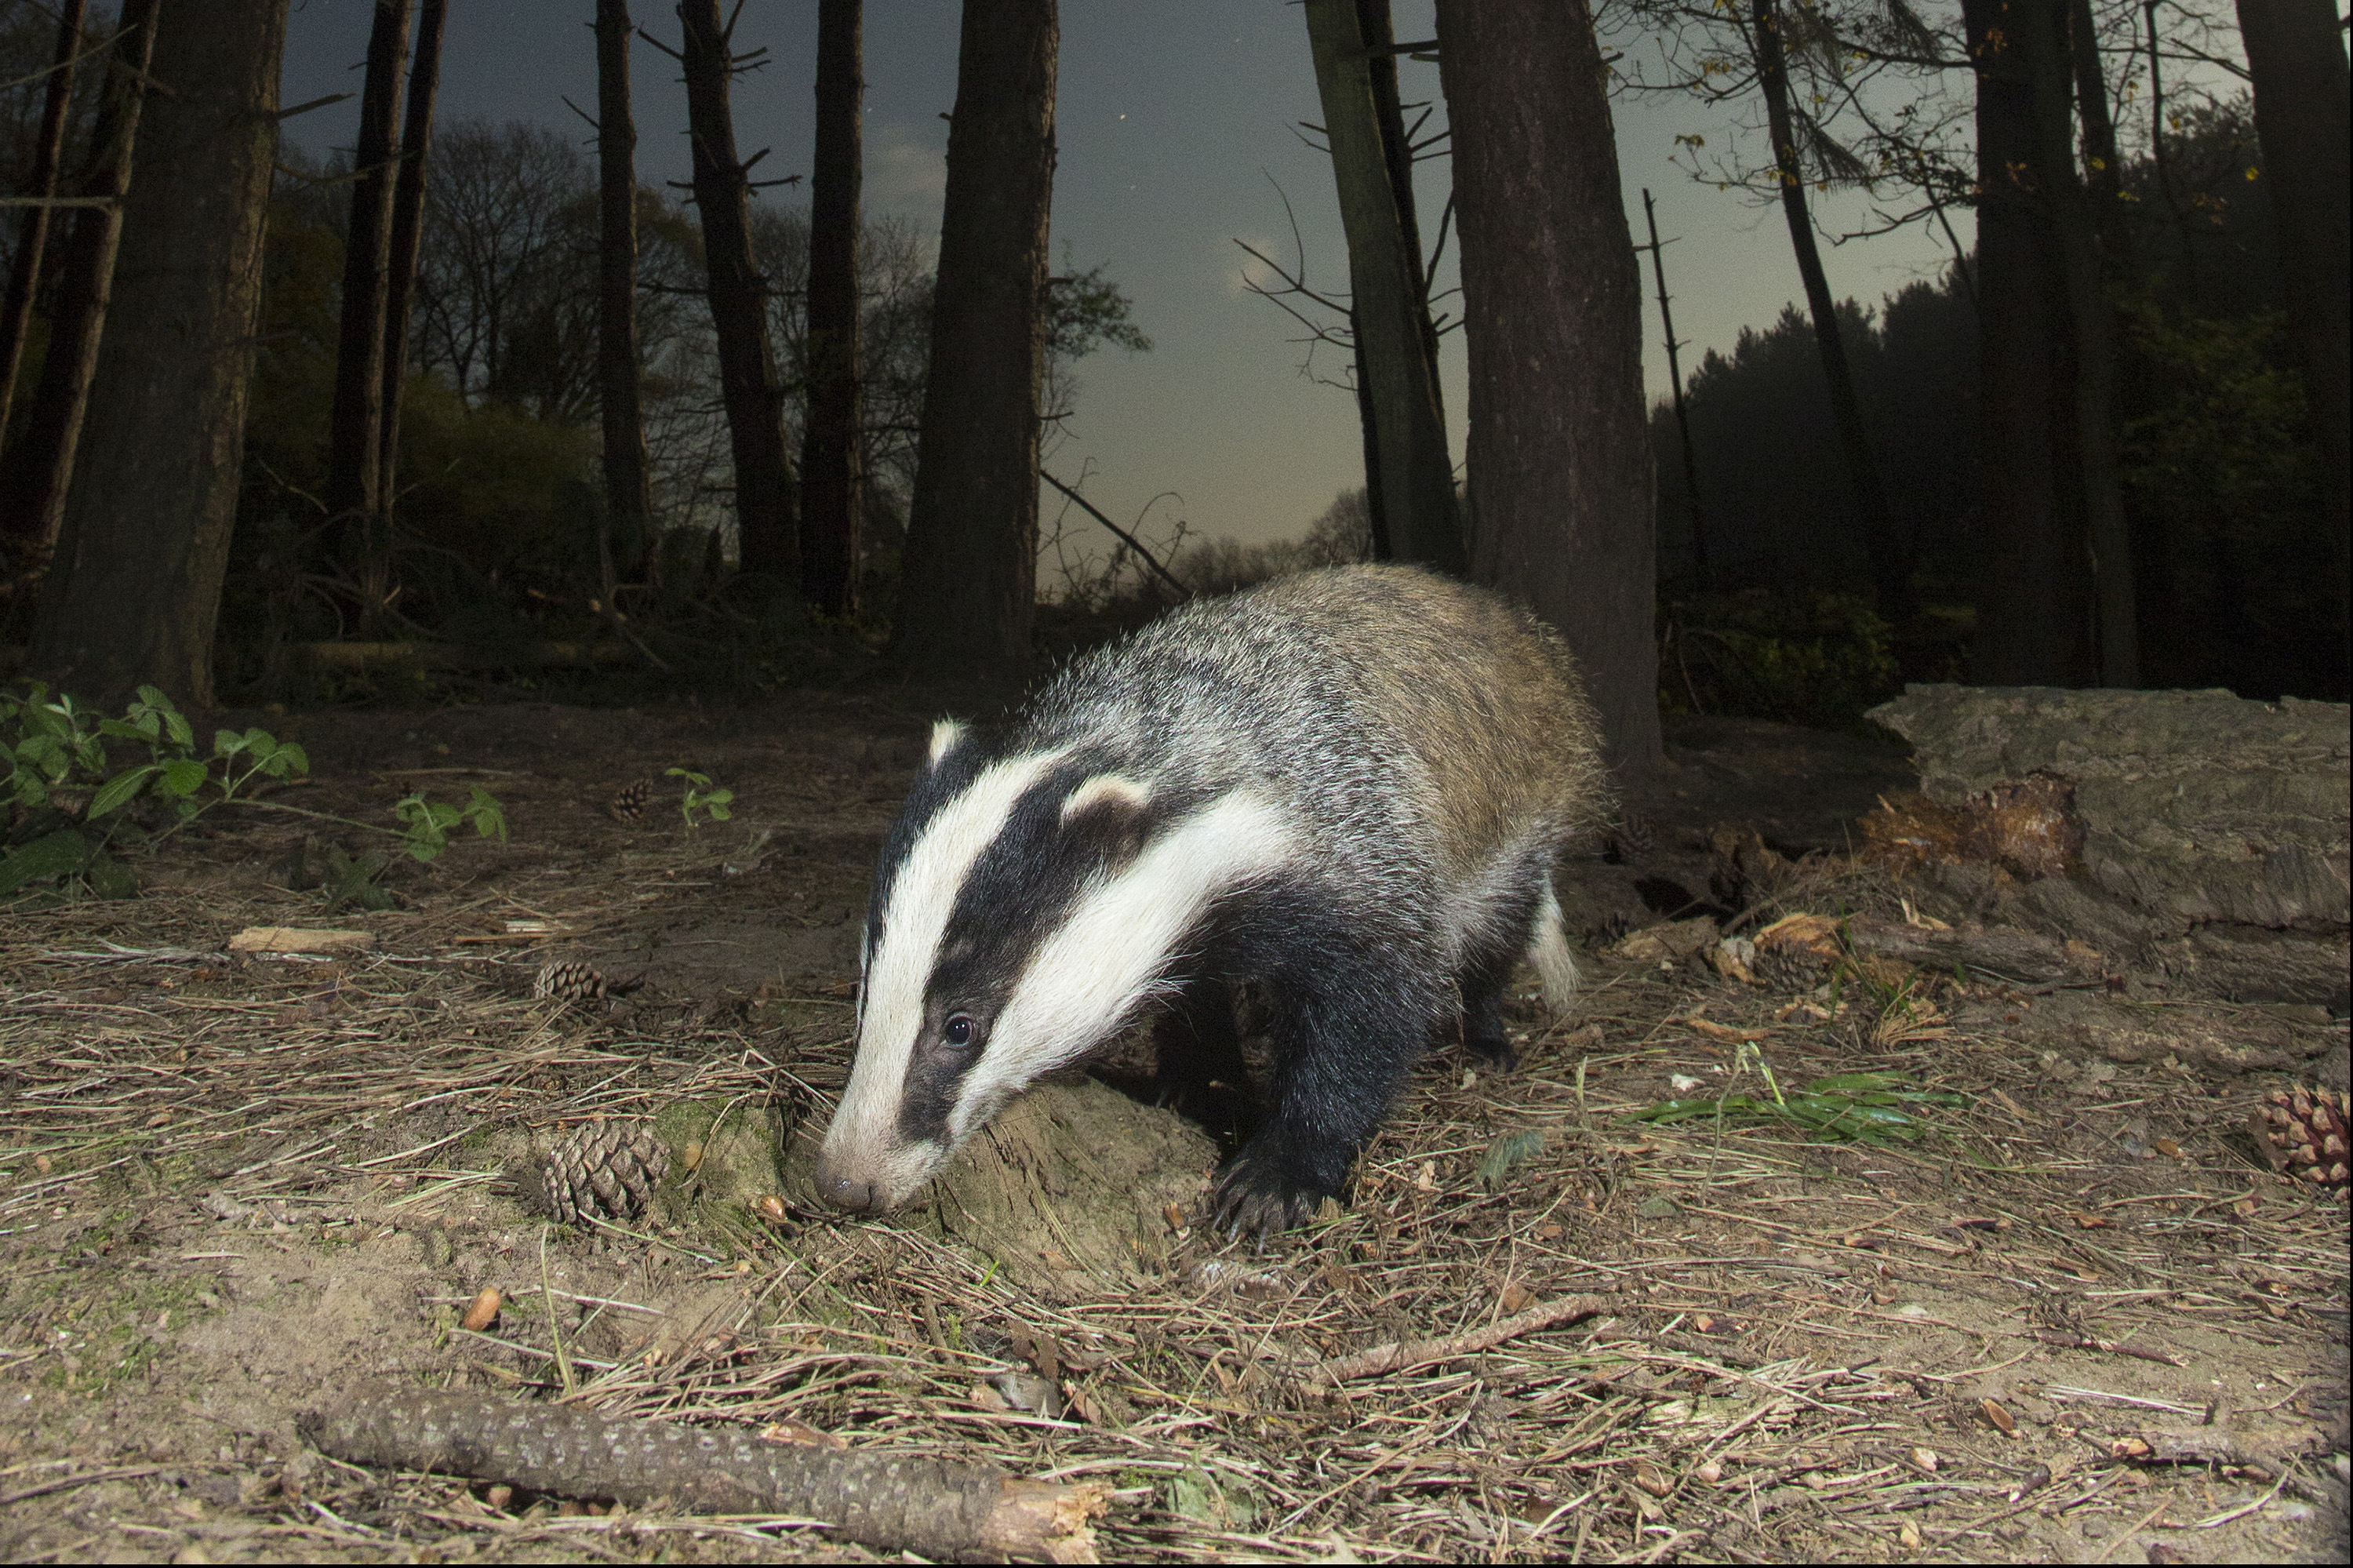
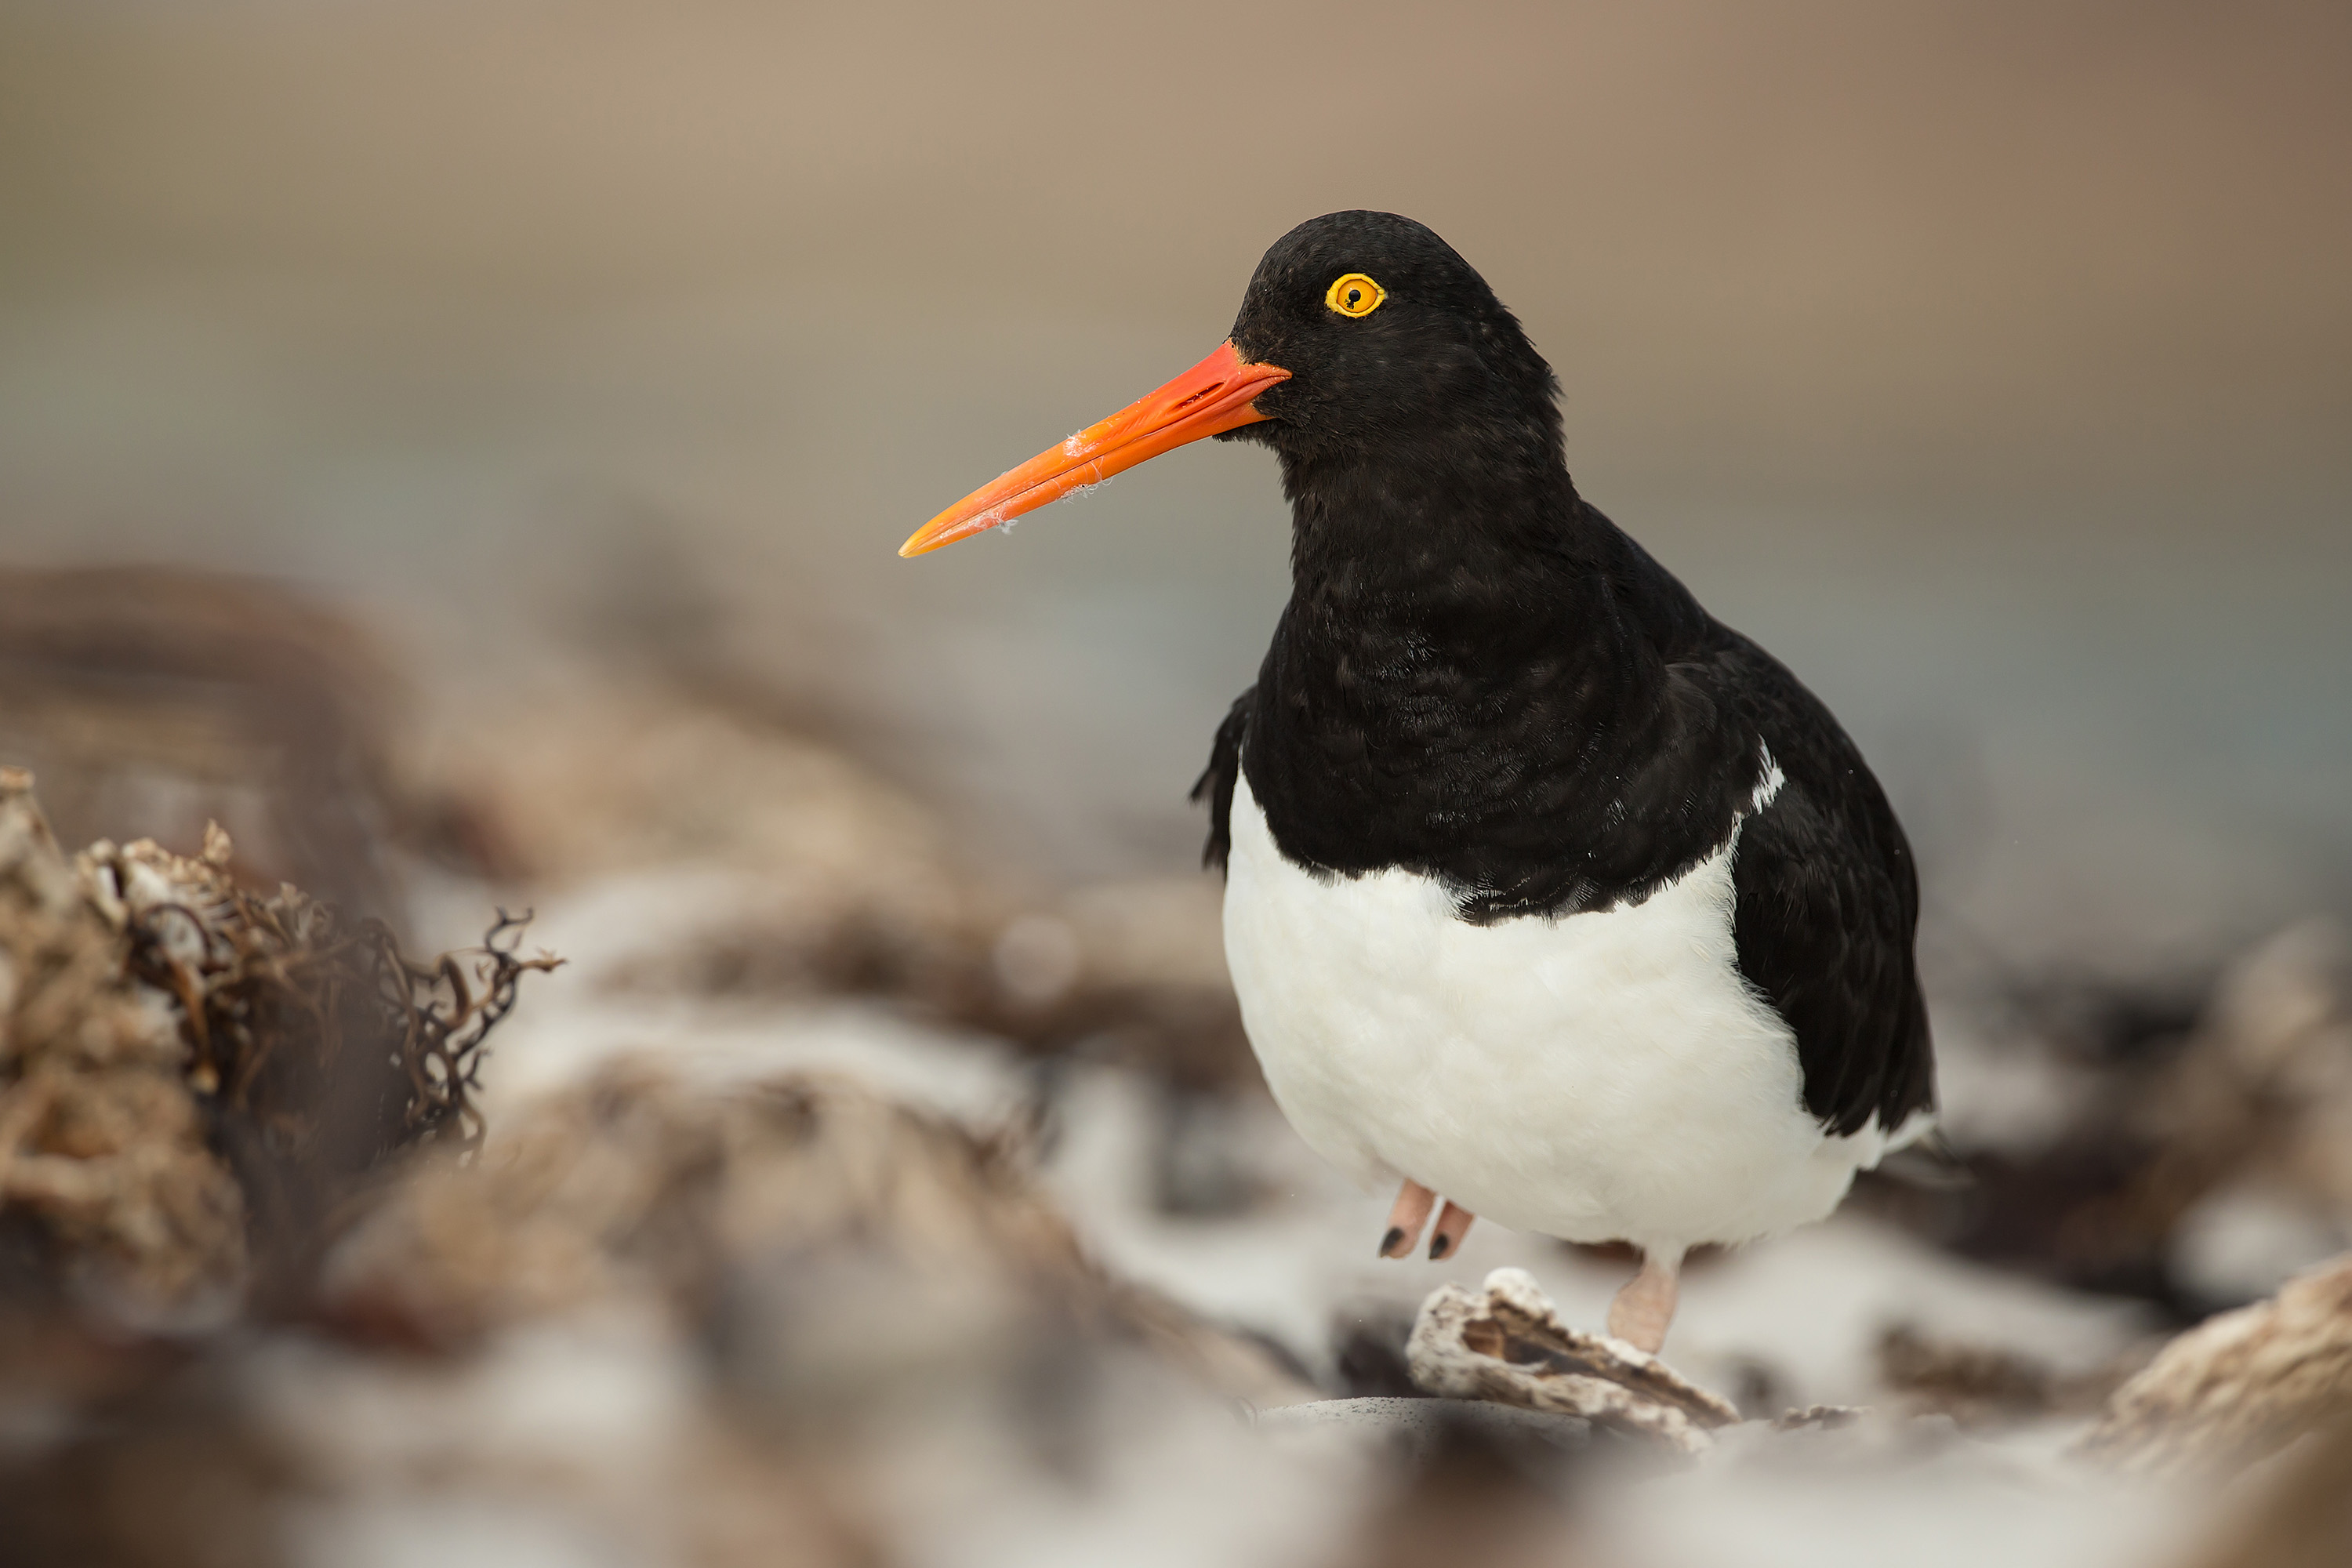
3. Mammal portraits
Wear rustle-free clothes and approach from downwind:
1. Use trees and rocks as cover. Keep a low profile to avoid breaking the skyline, otherwise your outline will be distinctive.
2. Try composing the shot so that the animal appears off-centre and is facing into the frame.
3. Check the edge of the picture to make sure you haven't clipped off the tips of tails, antlers or feet.
FIELDCRAFT TIP: Deer can be more approachable when you're in a vehicle; use a window mount or a beanbag and turn off the engine to prevent vibrations.
Image 4 of 30
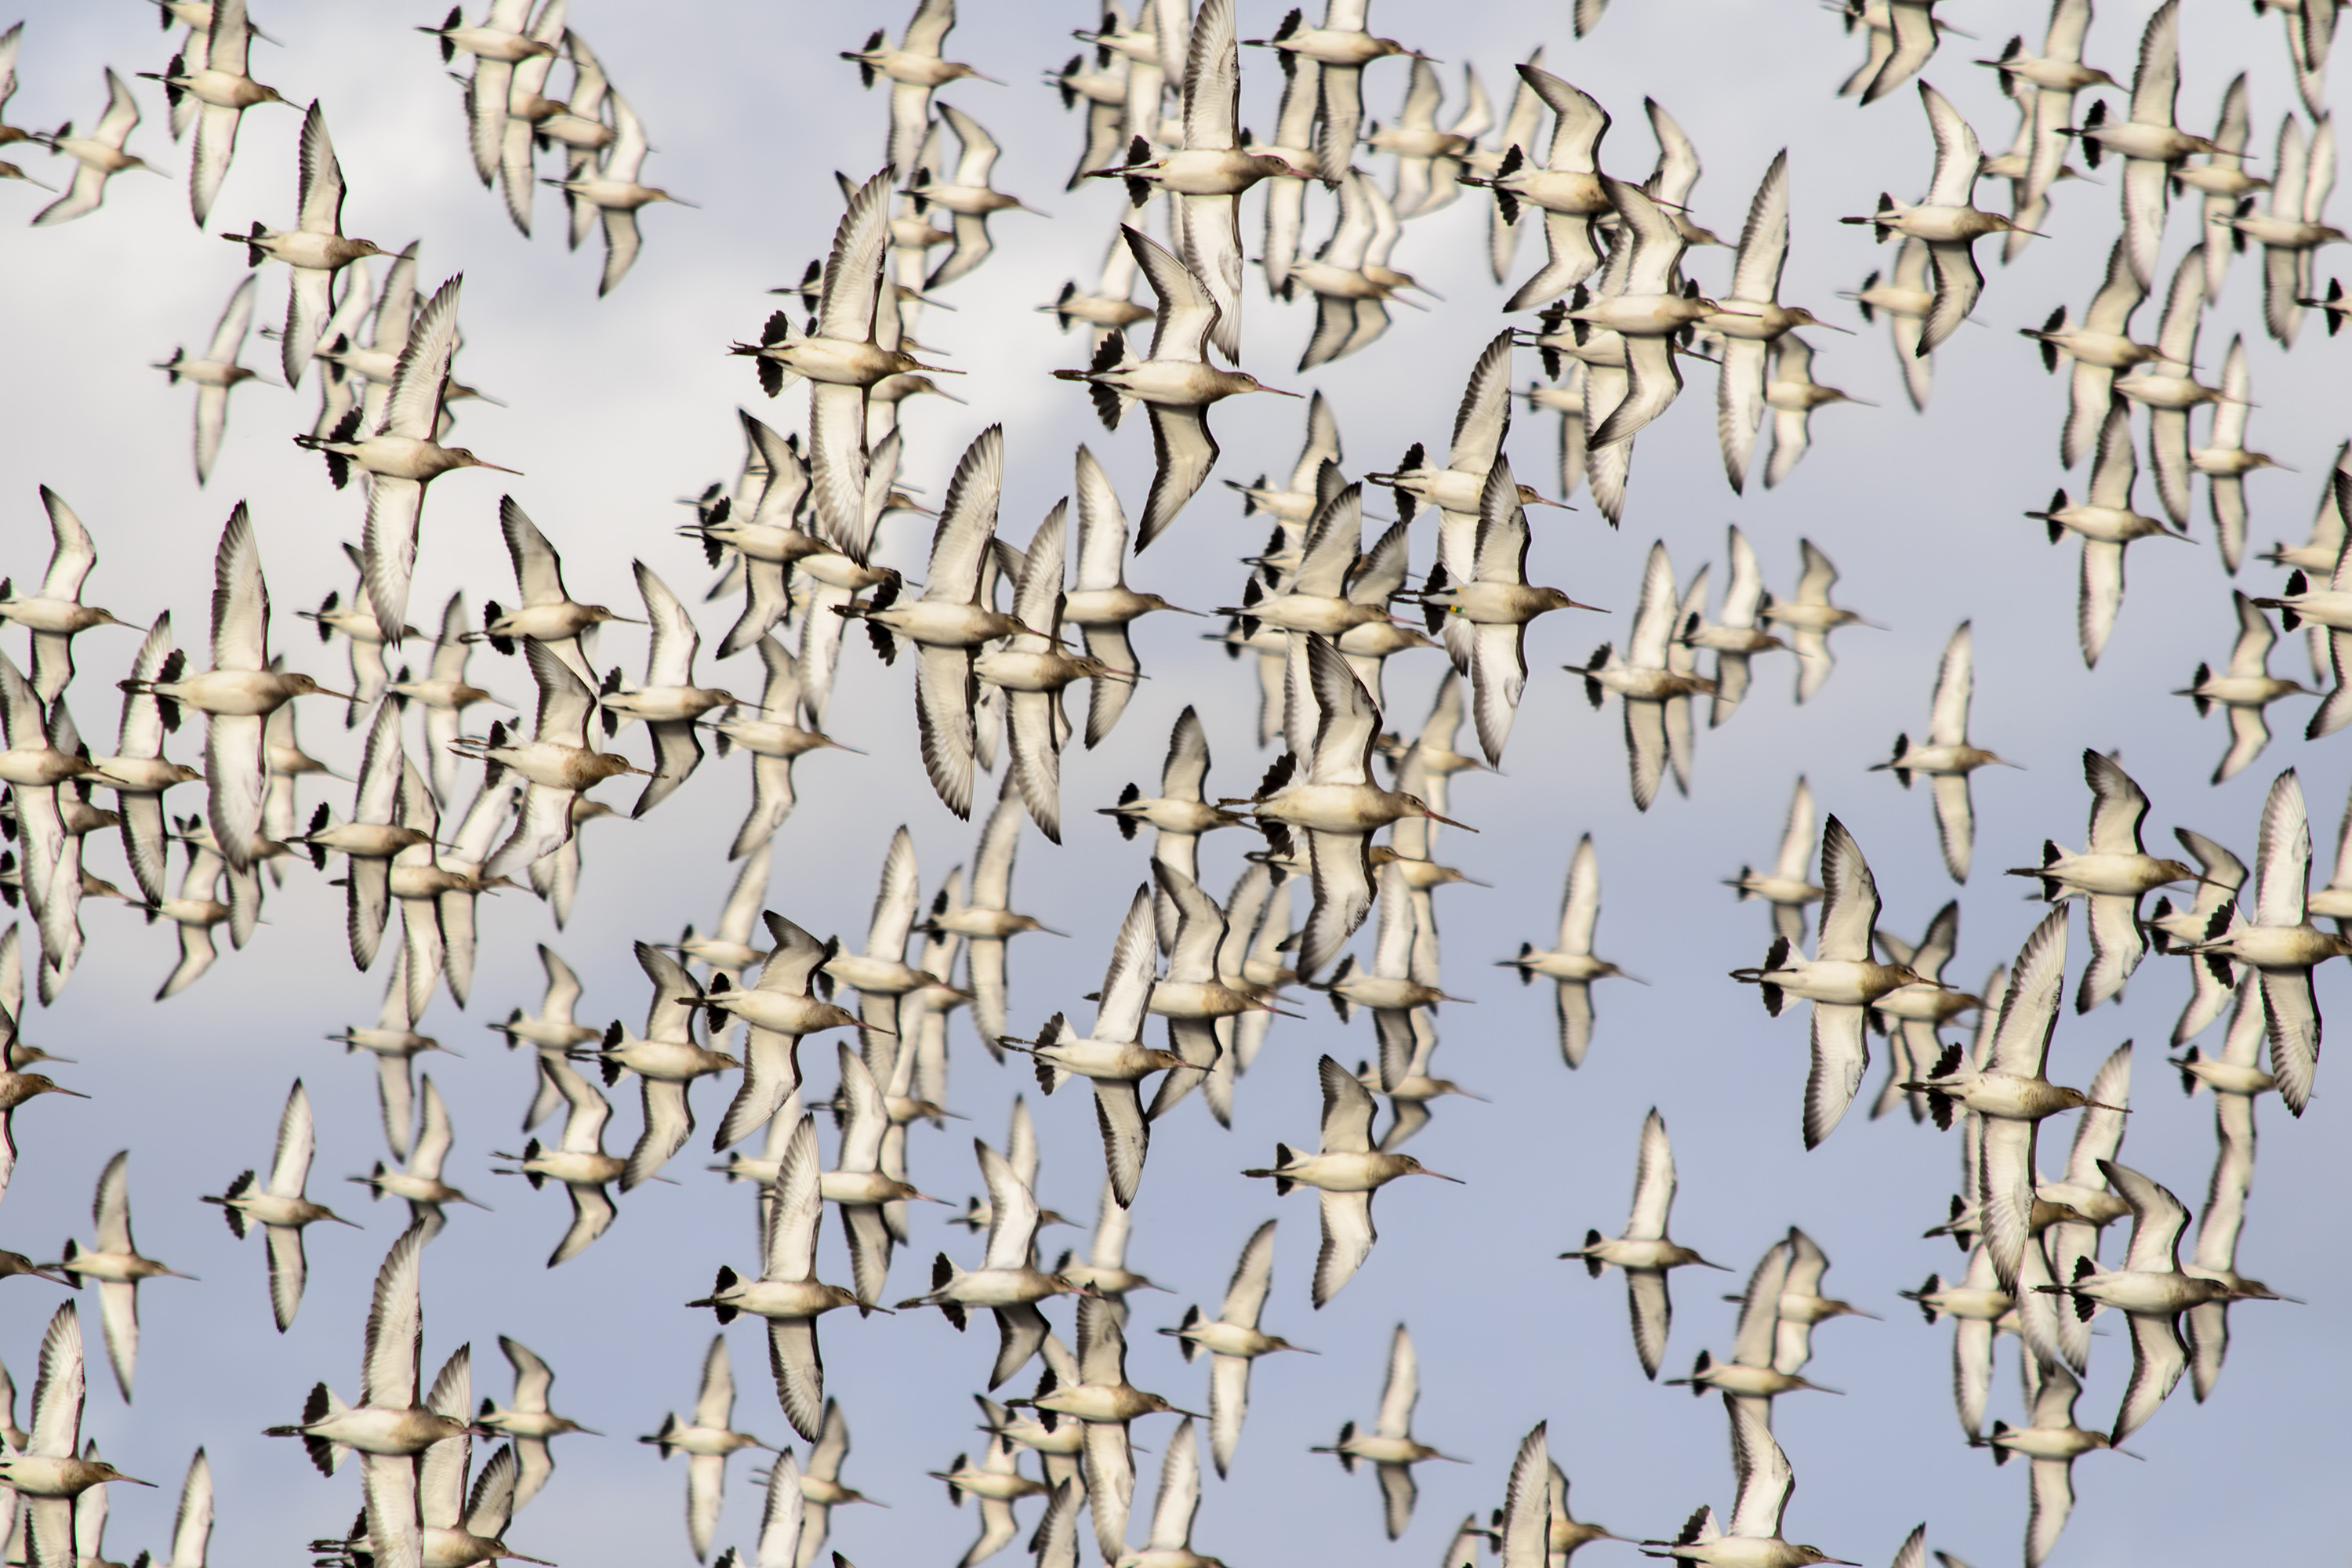
4. Flock of birds in flight
Visit wetland areas to capture ducks and waders:
1. If you're photographing flocks of small birds, manually set a single AF point. If all points are active, the camera can struggle to keep up.
2. Use the Continuous drive setting and fire in short bursts.
3. If your lens have image stabilisation, make sure you use the correct mode for panning shots.
SHOOTING TIP: Birds tend to be active at the start and the end of the day. The mix of low light and movement will often require a high ISO for sharp pictures.
Image 5 of 30
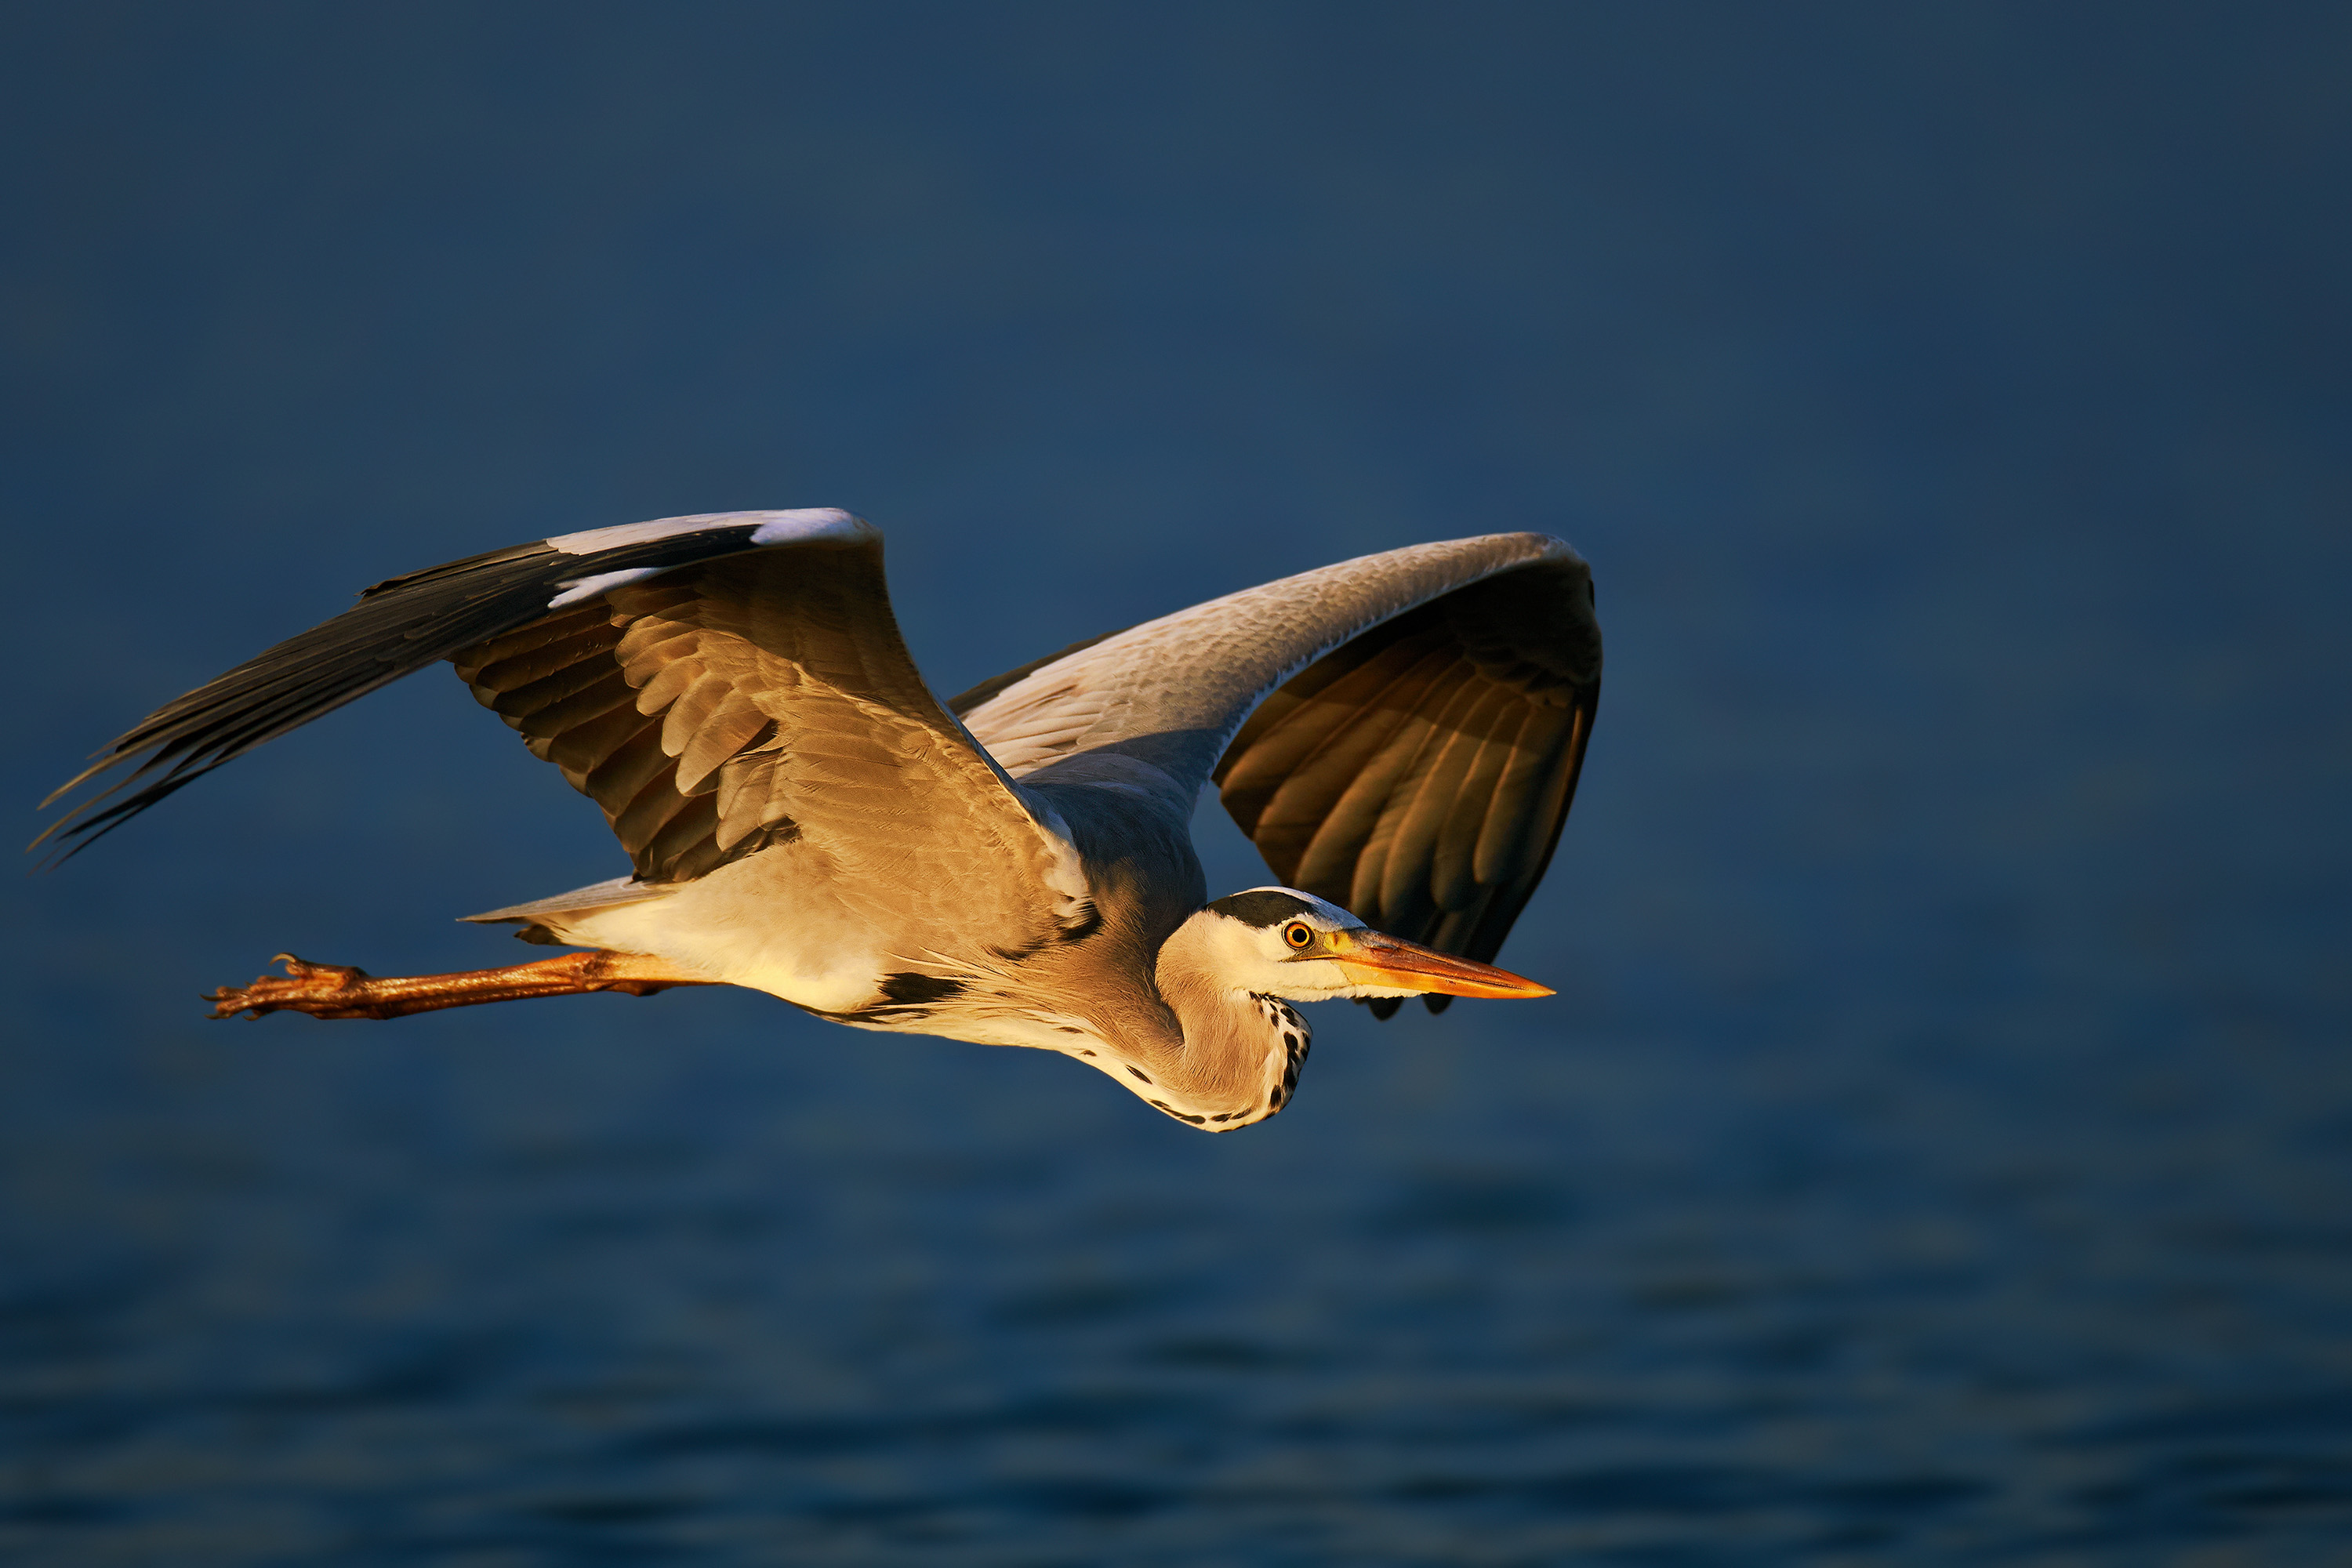
5. Bird in flight
Keep your subject sharp by panning the camera:
1. Make sure the switch on the lens is set to AF and the camera's focus mode is Continuous or AI Servo.
2. Choose a single AF point or a small group: keep this over the bird's eye, head or neck as you move the camera to track its movement.
3. To freeze the motion of wing tips, use a fast shutter speed - aim for 1/1,000 sec or faster.
FIELDCRAFT TIP: Larger birds take off and land into the wind, so find a shooting position to take advantage of this - ideally with the sun over your shoulder.
Image 6 of 30
6. Urban wildlife at night
Head out when other wildlife photographers are heading in:
1. Avoid busy Friday and Saturday nights, and head out afters it's rained, when the reflections of lights in puddles will add interests.
2. If you can, shoot when there's still some twilight color in the sky, as this add interest.
3. If you're not using flash, increase the ISO to get fast enough shutters speeds for handheld photography.
FIELDCRAFT TIP: As with other types of wildlife photography, avoid wearing your best outdoor gear, otherwise you may be reluctant to lie on the ground.
Image 7 of 30
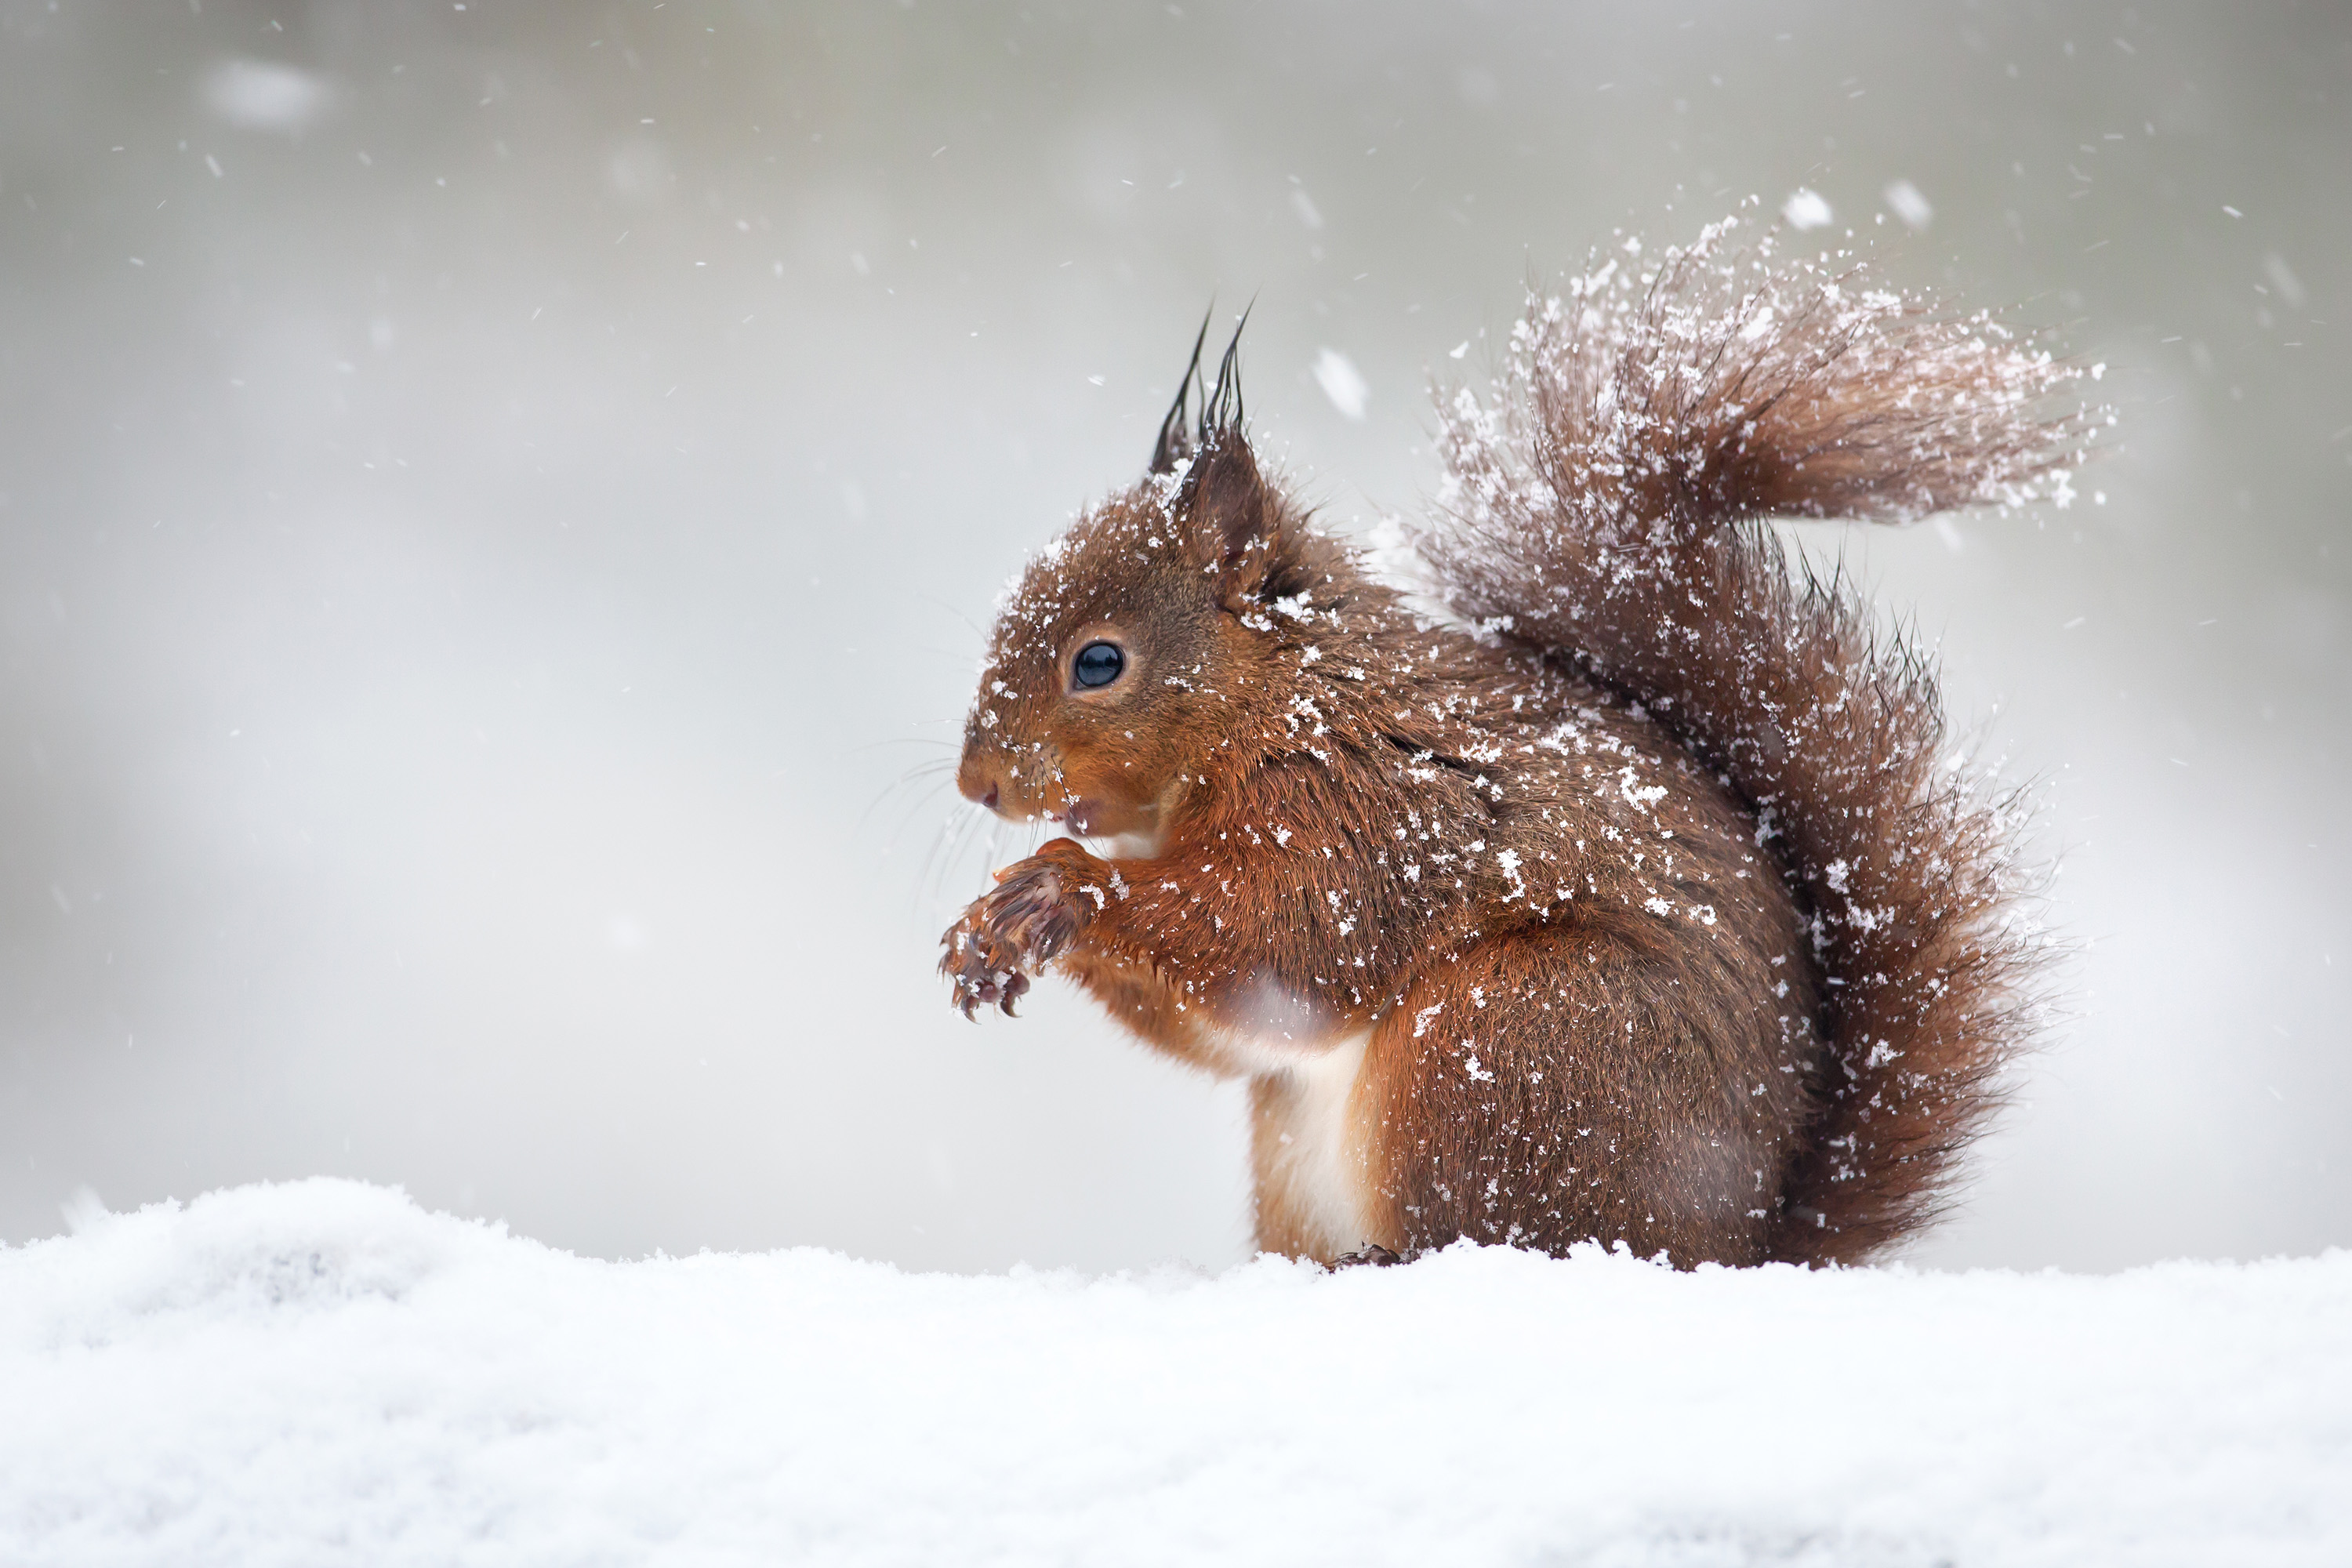
7. Animals in the snow
What to do when you're shooting in winter:
1. Be ready to use positive exposure compensation to keep things bright: press the '+/-' button and turn the main dial so the indicator in the viewfinder shifts towards '+'.
2. When it's snowing, experiment with a slower shutter speed to blur the motion of the falling flakes.
3. Shoot animal tracks in low, raking sunlight to reveal their form.
SHOOTING TIP: Batteries drain faster in the cold, so avoid excessive use of Live View and image stabilisation if you don't have a spare with you.
Image 8 of 30
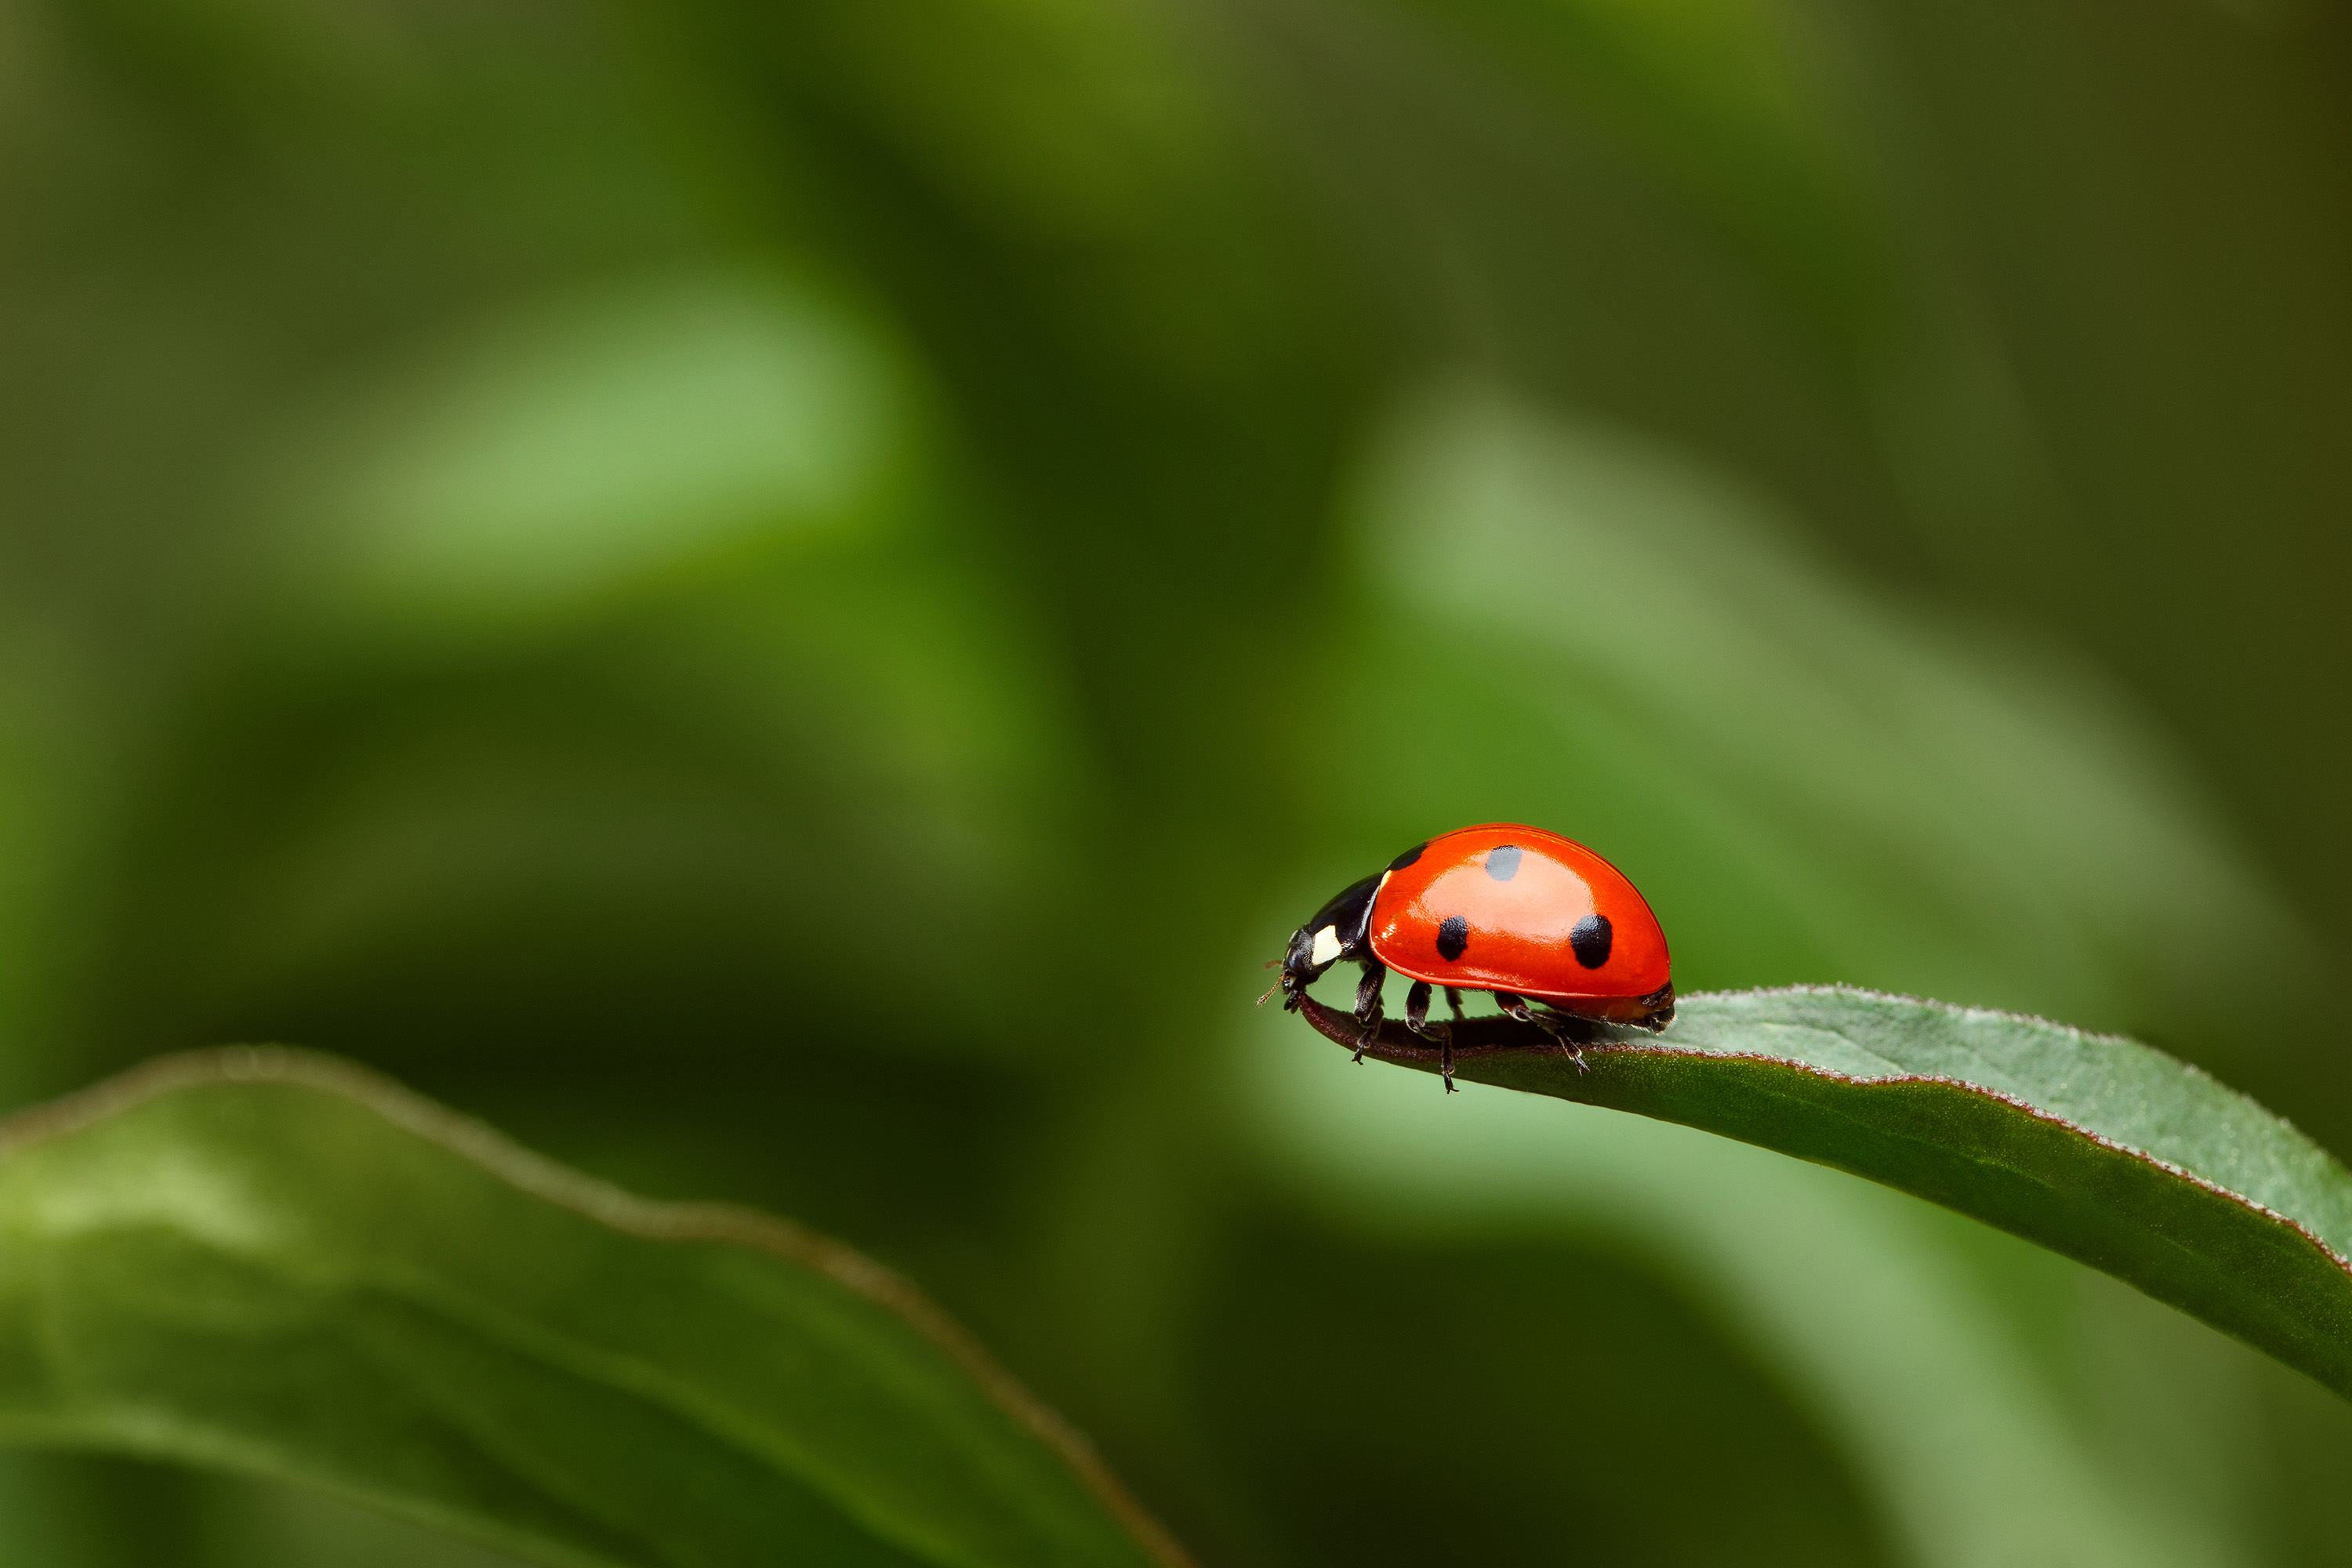
8. Ladybirds and bugs
Use a macro lens to get detailed, life-size results:
1. Ladybirds are remarkably fast, so wait until they stop to rest before you start shooting in earnest.
2. Manual focus can give the best results: twist the focus ring to set the magnification and then nudge the camera back and forth to fine-tune the point of focus.
3. Use your camera's Continuous drive mode and fire in short bursts.
SHOOTING TIP: You can reduce hotspots on a ladybird's reflective wingcases by shooting in overcast light or by using off-camera flash in a softbox.
Image 9 of 30
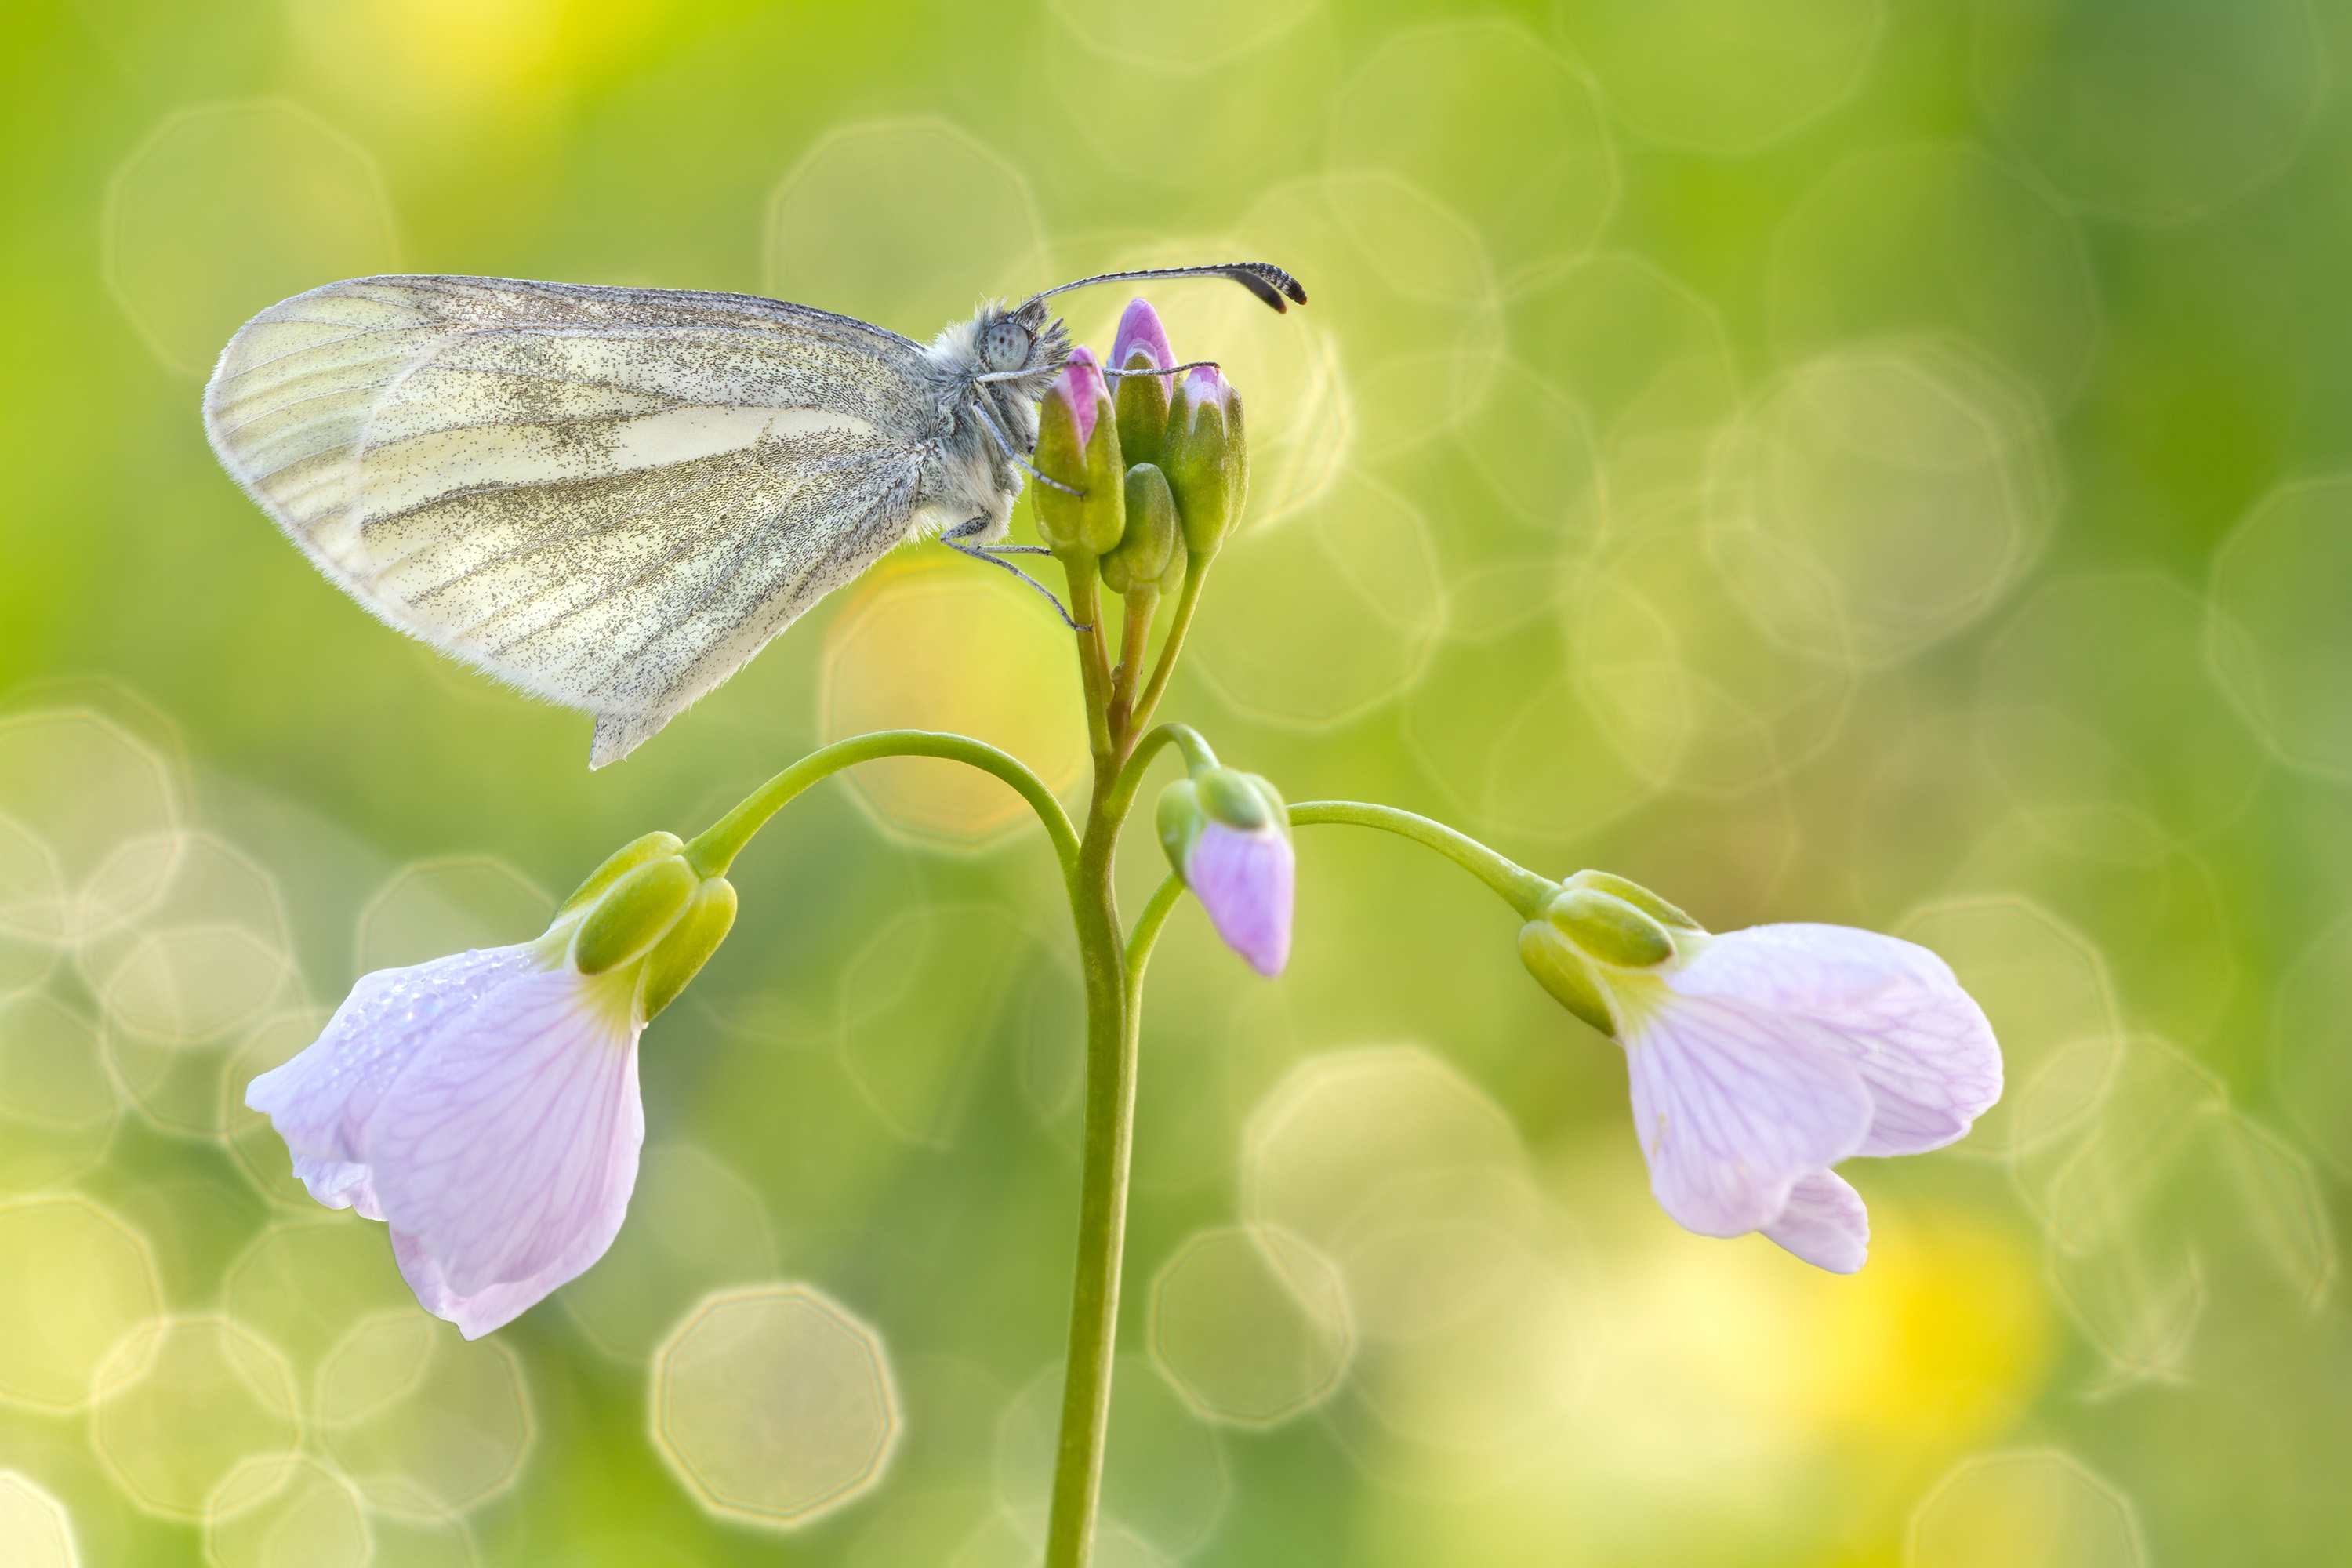
9. Butterflies
Set your alarm so that you're out shooting at dawn:
1. Head out at dusk to see where butterflied are resting, then return to the same spot early the following morning.
2. You don't get much depth of field to play with, so keep the back of the camera parallel with the wings.
3. Manually set an AF point that you can keep fixed on the subject's head rather than the wings.
FIELDCRAFT TIP: Approach slowly and try to ensure that your shadow doesn't fall over the butterfly as you get close, as this is likely to scare them away.
Image 10 of 30
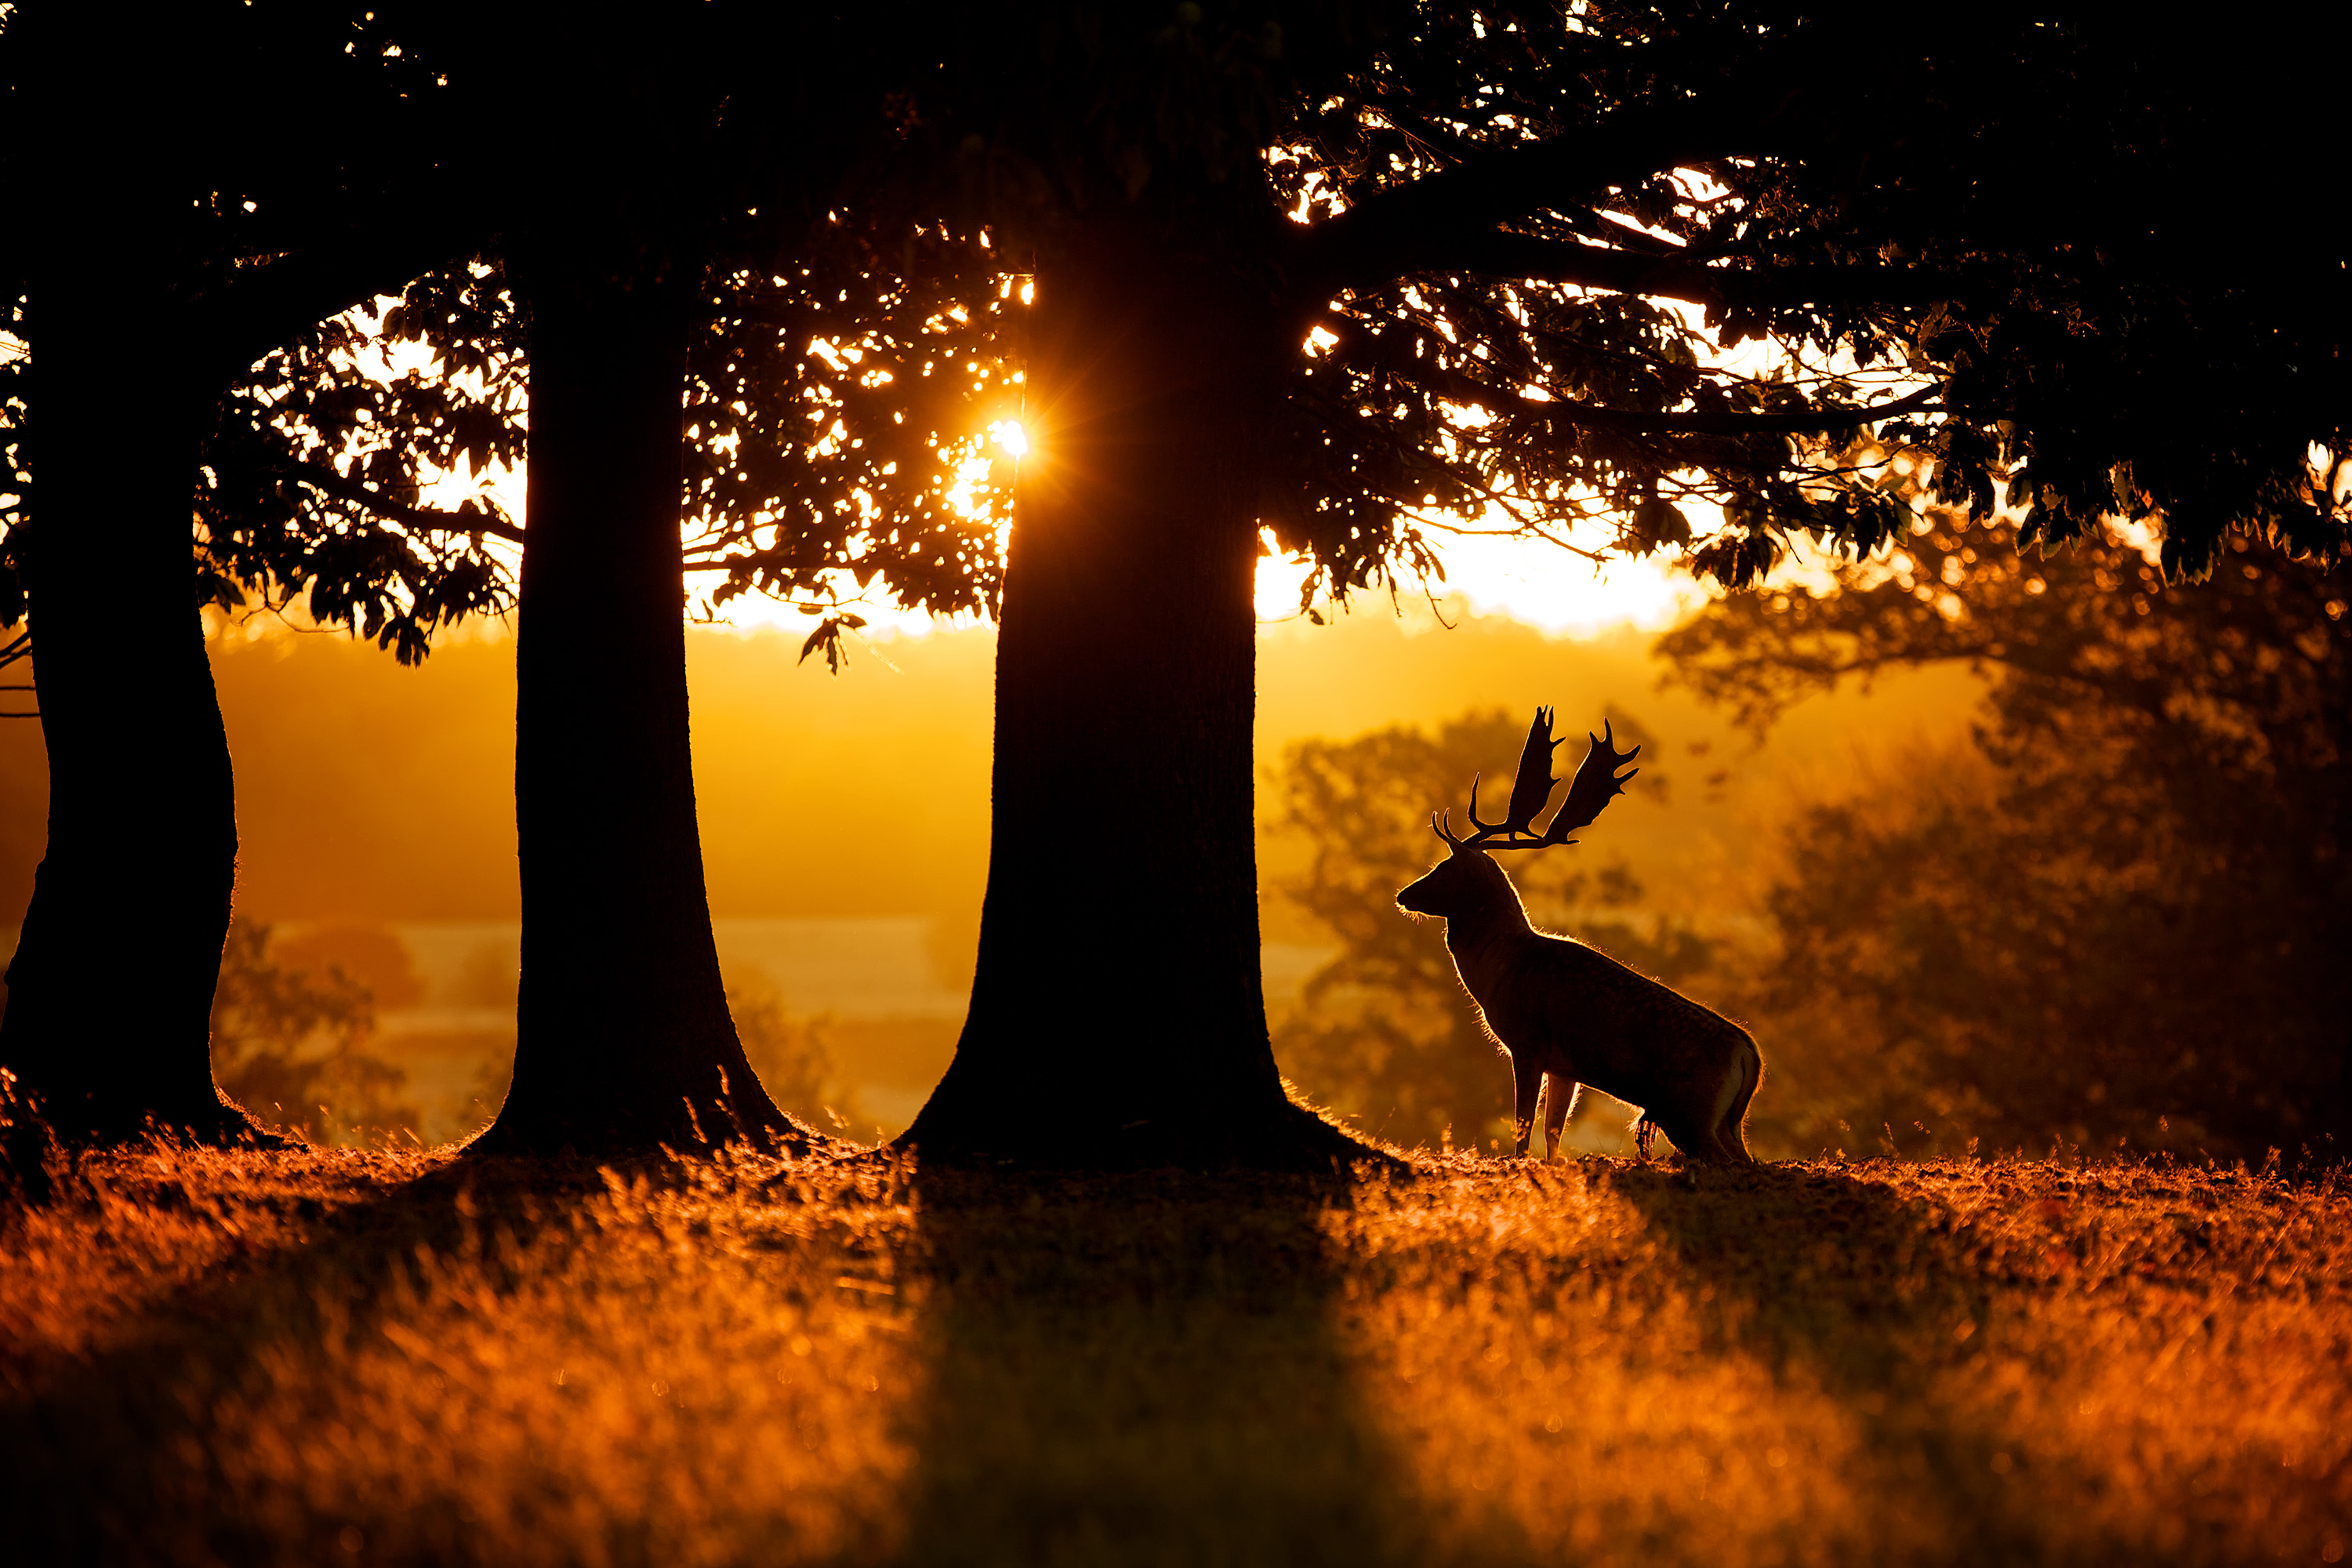
10. Backlit mammals and birds
Create an evocative mood by shooting into the sun:
1. Angle yourself towards a rising or setting sun so that the edge of the animal's feathers or fur around the edge of its shape are picked out.
2. Be prepared to dial in negative exposure compensation; without it, your camera might try and brighten up the areas in shadow.
3. Remove filters and fit a lens hood to avoid flare degrading the image.
FIELDCRAFT TIP: Heading to an unfamiliar location? Use The Photographer's Ephemeris (www.photoephemeris.com) to get sunrise and sunset times.
Image 11 of 30
11. Environmental portraits
Take a step back to reveal more of the habitat:
1. Frame the shot so the animal is against a clear or contrasting part of the background, or is picked out in different light.
2. Watch out for highlights or bright colors in the scene that will compete for attention.
3. Including a large area of sky? Be ready to brighten the image using positive exposure compensation.
SHOOTING TIP: Manually set a single AF point that corresponds with the animal's position in the frame, otherwise the camera may lock onto the background.
Image 12 of 30
12. Wildfowl
Get eye to eye with ducks, geese and swans:
1. Use a long telephoto lens: the narrow angle of view makes it easier to find a clean backdrop.
2. Get low down to get a water-level angle. Throw the foreground out of focus using a wide aperture.
3. Wildfowl spend a significant amount of the day resting, but just before midday is a good time to find them washing and preening.
FIELDCRAFT TIP: After the breeding season, male ducks moult into their drab 'eclipse' plumage, so avoid shooting them during this time.
Image 13 of 30
13. Nocturnal animals
Use off-camera flask to freeze wildlife at night:
1. Off-camera flash works better than pop-up flash; use radio or IR triggers to fire the flashguns.
2. Work in Manual exposure mode: set the 'x-sync' shutter speed (typically around 1/200 sec) and a mid-range aperture, then adjust the ISO for a good exposure.
3. Compose and focus your shots while there's still some daylight.
SHOOTING TIP: Bait your garden to encourage wildlife, and set up your flashguns once you know the routes and routines the animals follow.
Image 14 of 30
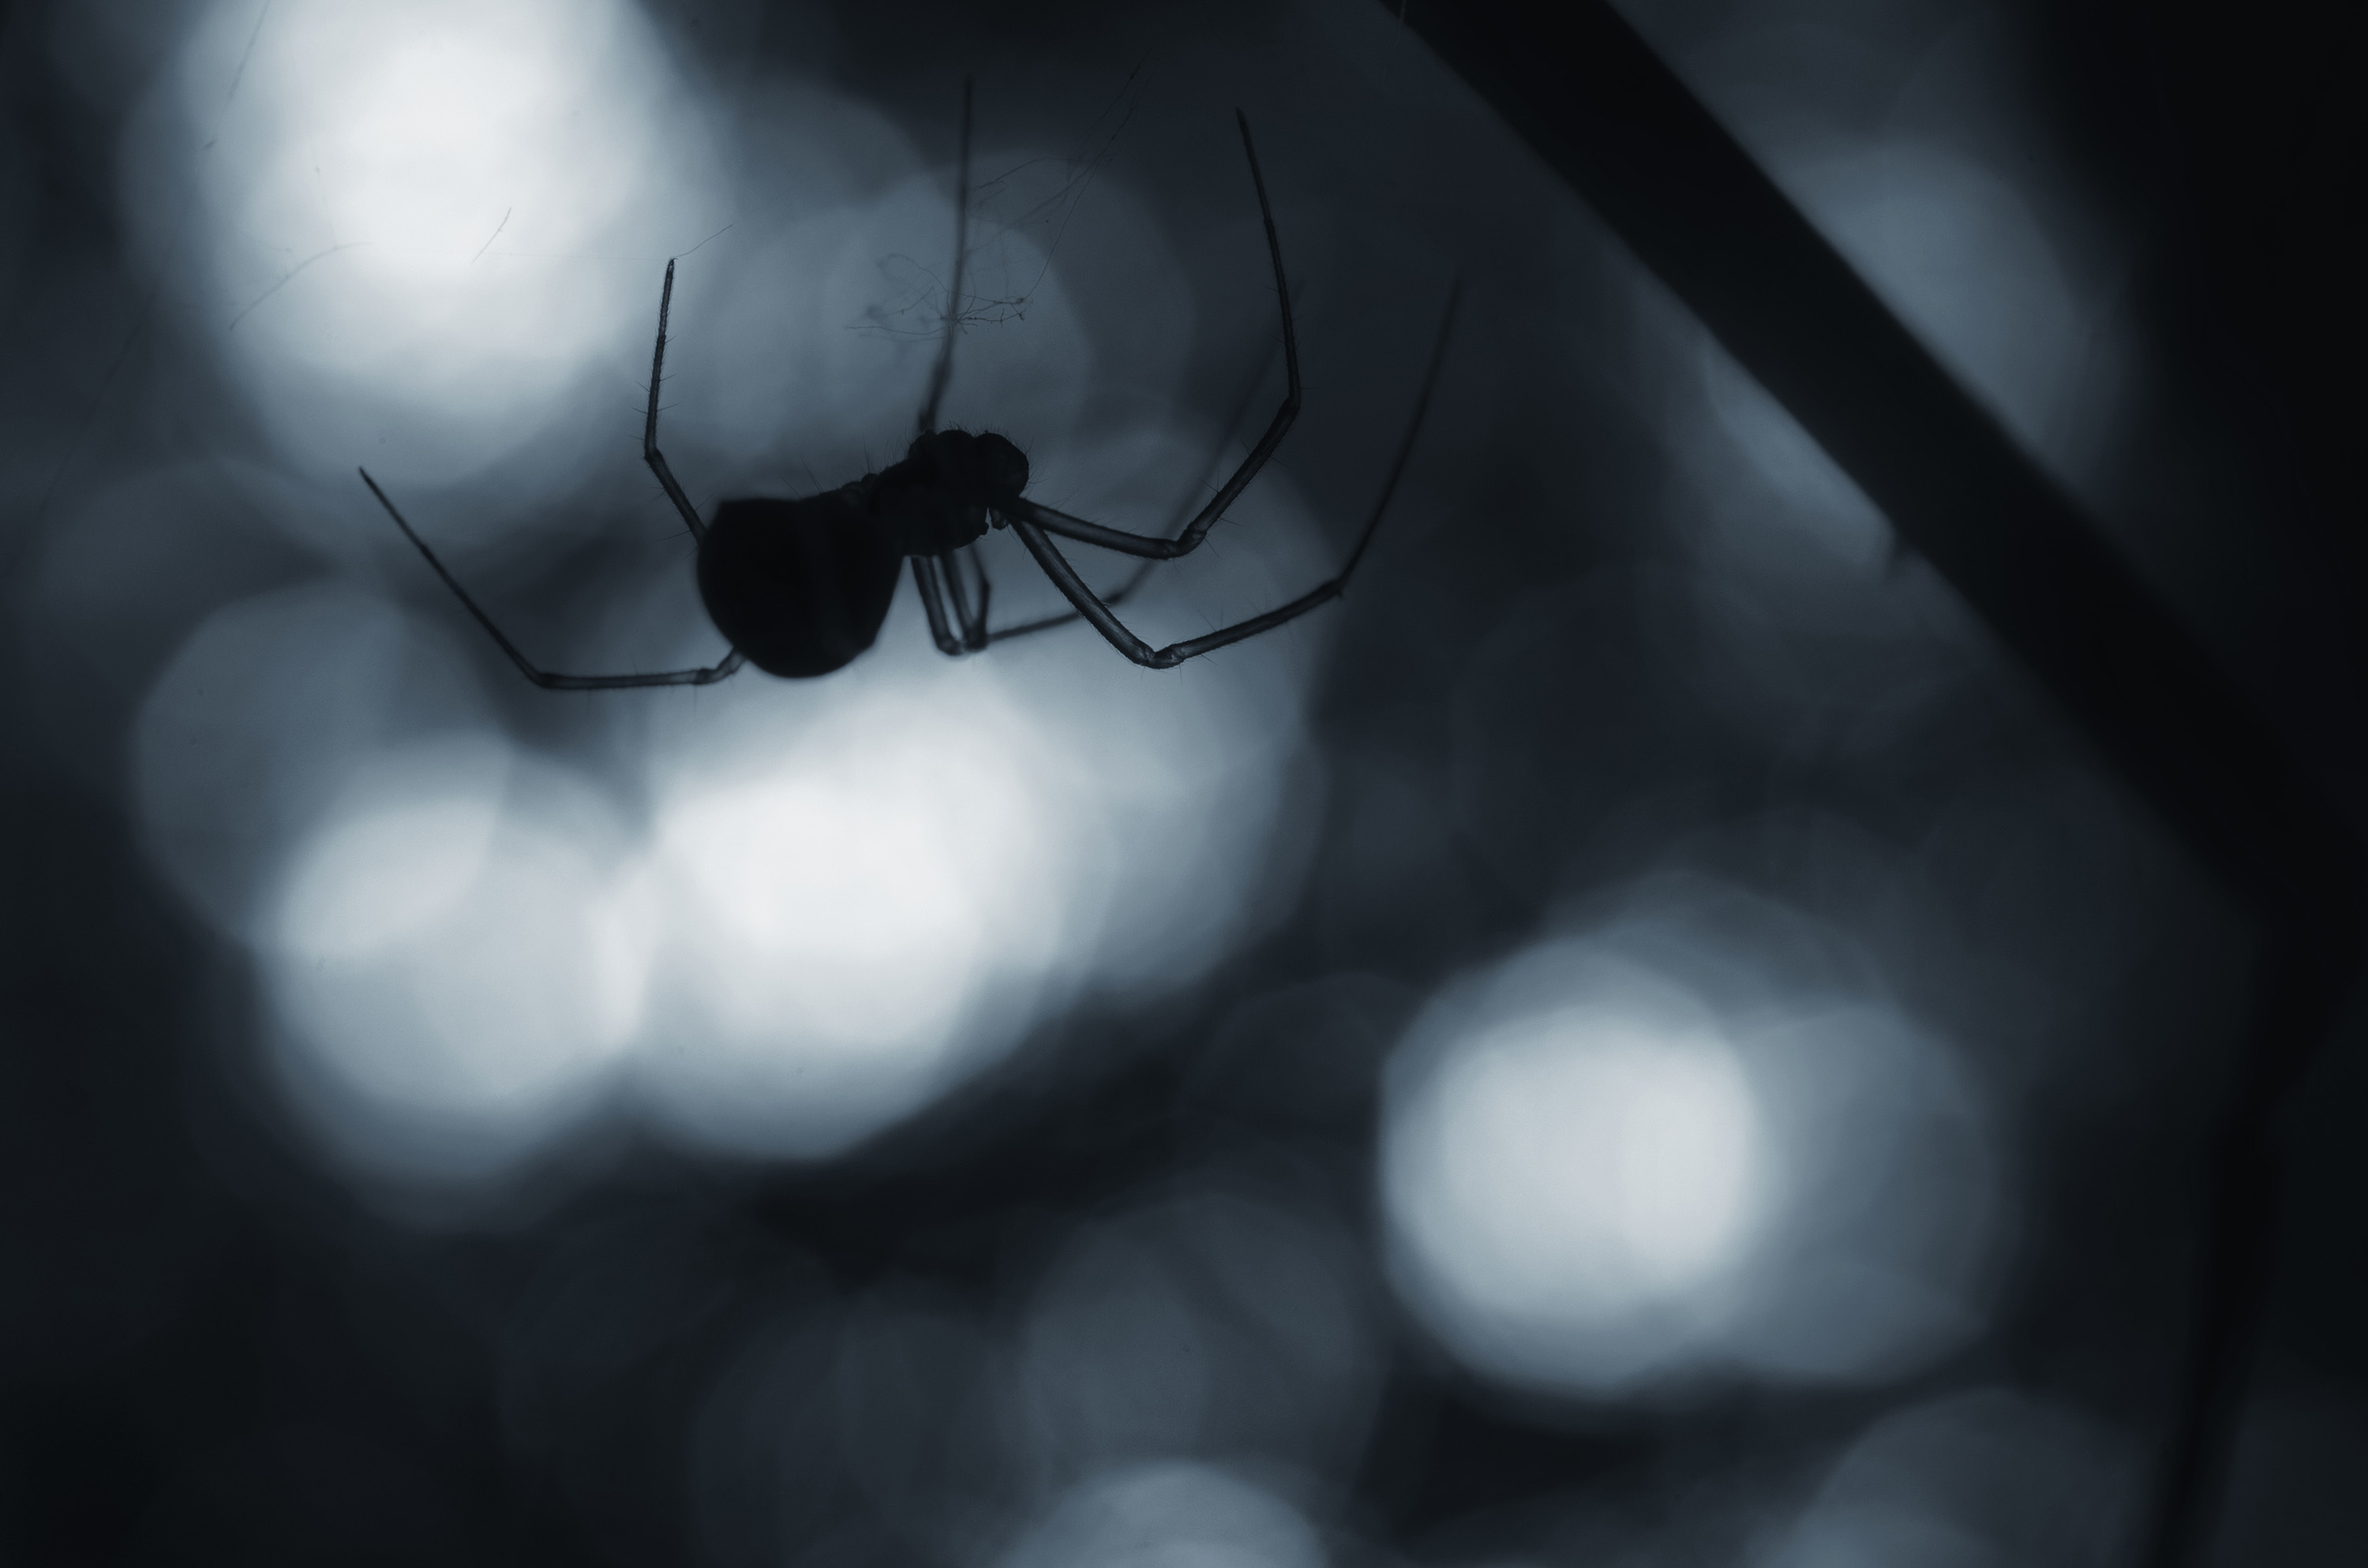
14. Spiders
Go on a back-garden safari for spiders and webs:
1. The slightest breeze can blow a web and its host out of focus, so shoot early in the morning when the air is typically at its most still.
2. Use an aperture of f/8 or wider for decent depth of field while keeping the background defocused.
3. Manually focus the lens with the help of Live View's magnified view on a tripod-mounted camera.
SHOOTING TIP: If a suitable background doesn't exist, bring along your own - a piece of card can mask distracting elements behind the web.
Image 15 of 30

15. Garden birds
Set up a feeding station to attract birds closer:
1. Clamp photogenic fallen branches against your preferred backdrop. Position a feeder out of shot, and the birds will land on the artificial perch before heading to the food.
2. To attract a wide range of birds, put out a broad variety of food - and keep the feeders topped up.
3. Use a hide to get close enough for frame-filling shots of small birds.
FIELDCRAFT TIP: Set up a hide weeks in advance, poke an empty drinks bottle out of the window as a substitute lens and move the hide a step closer each day.
Image 16 of 30
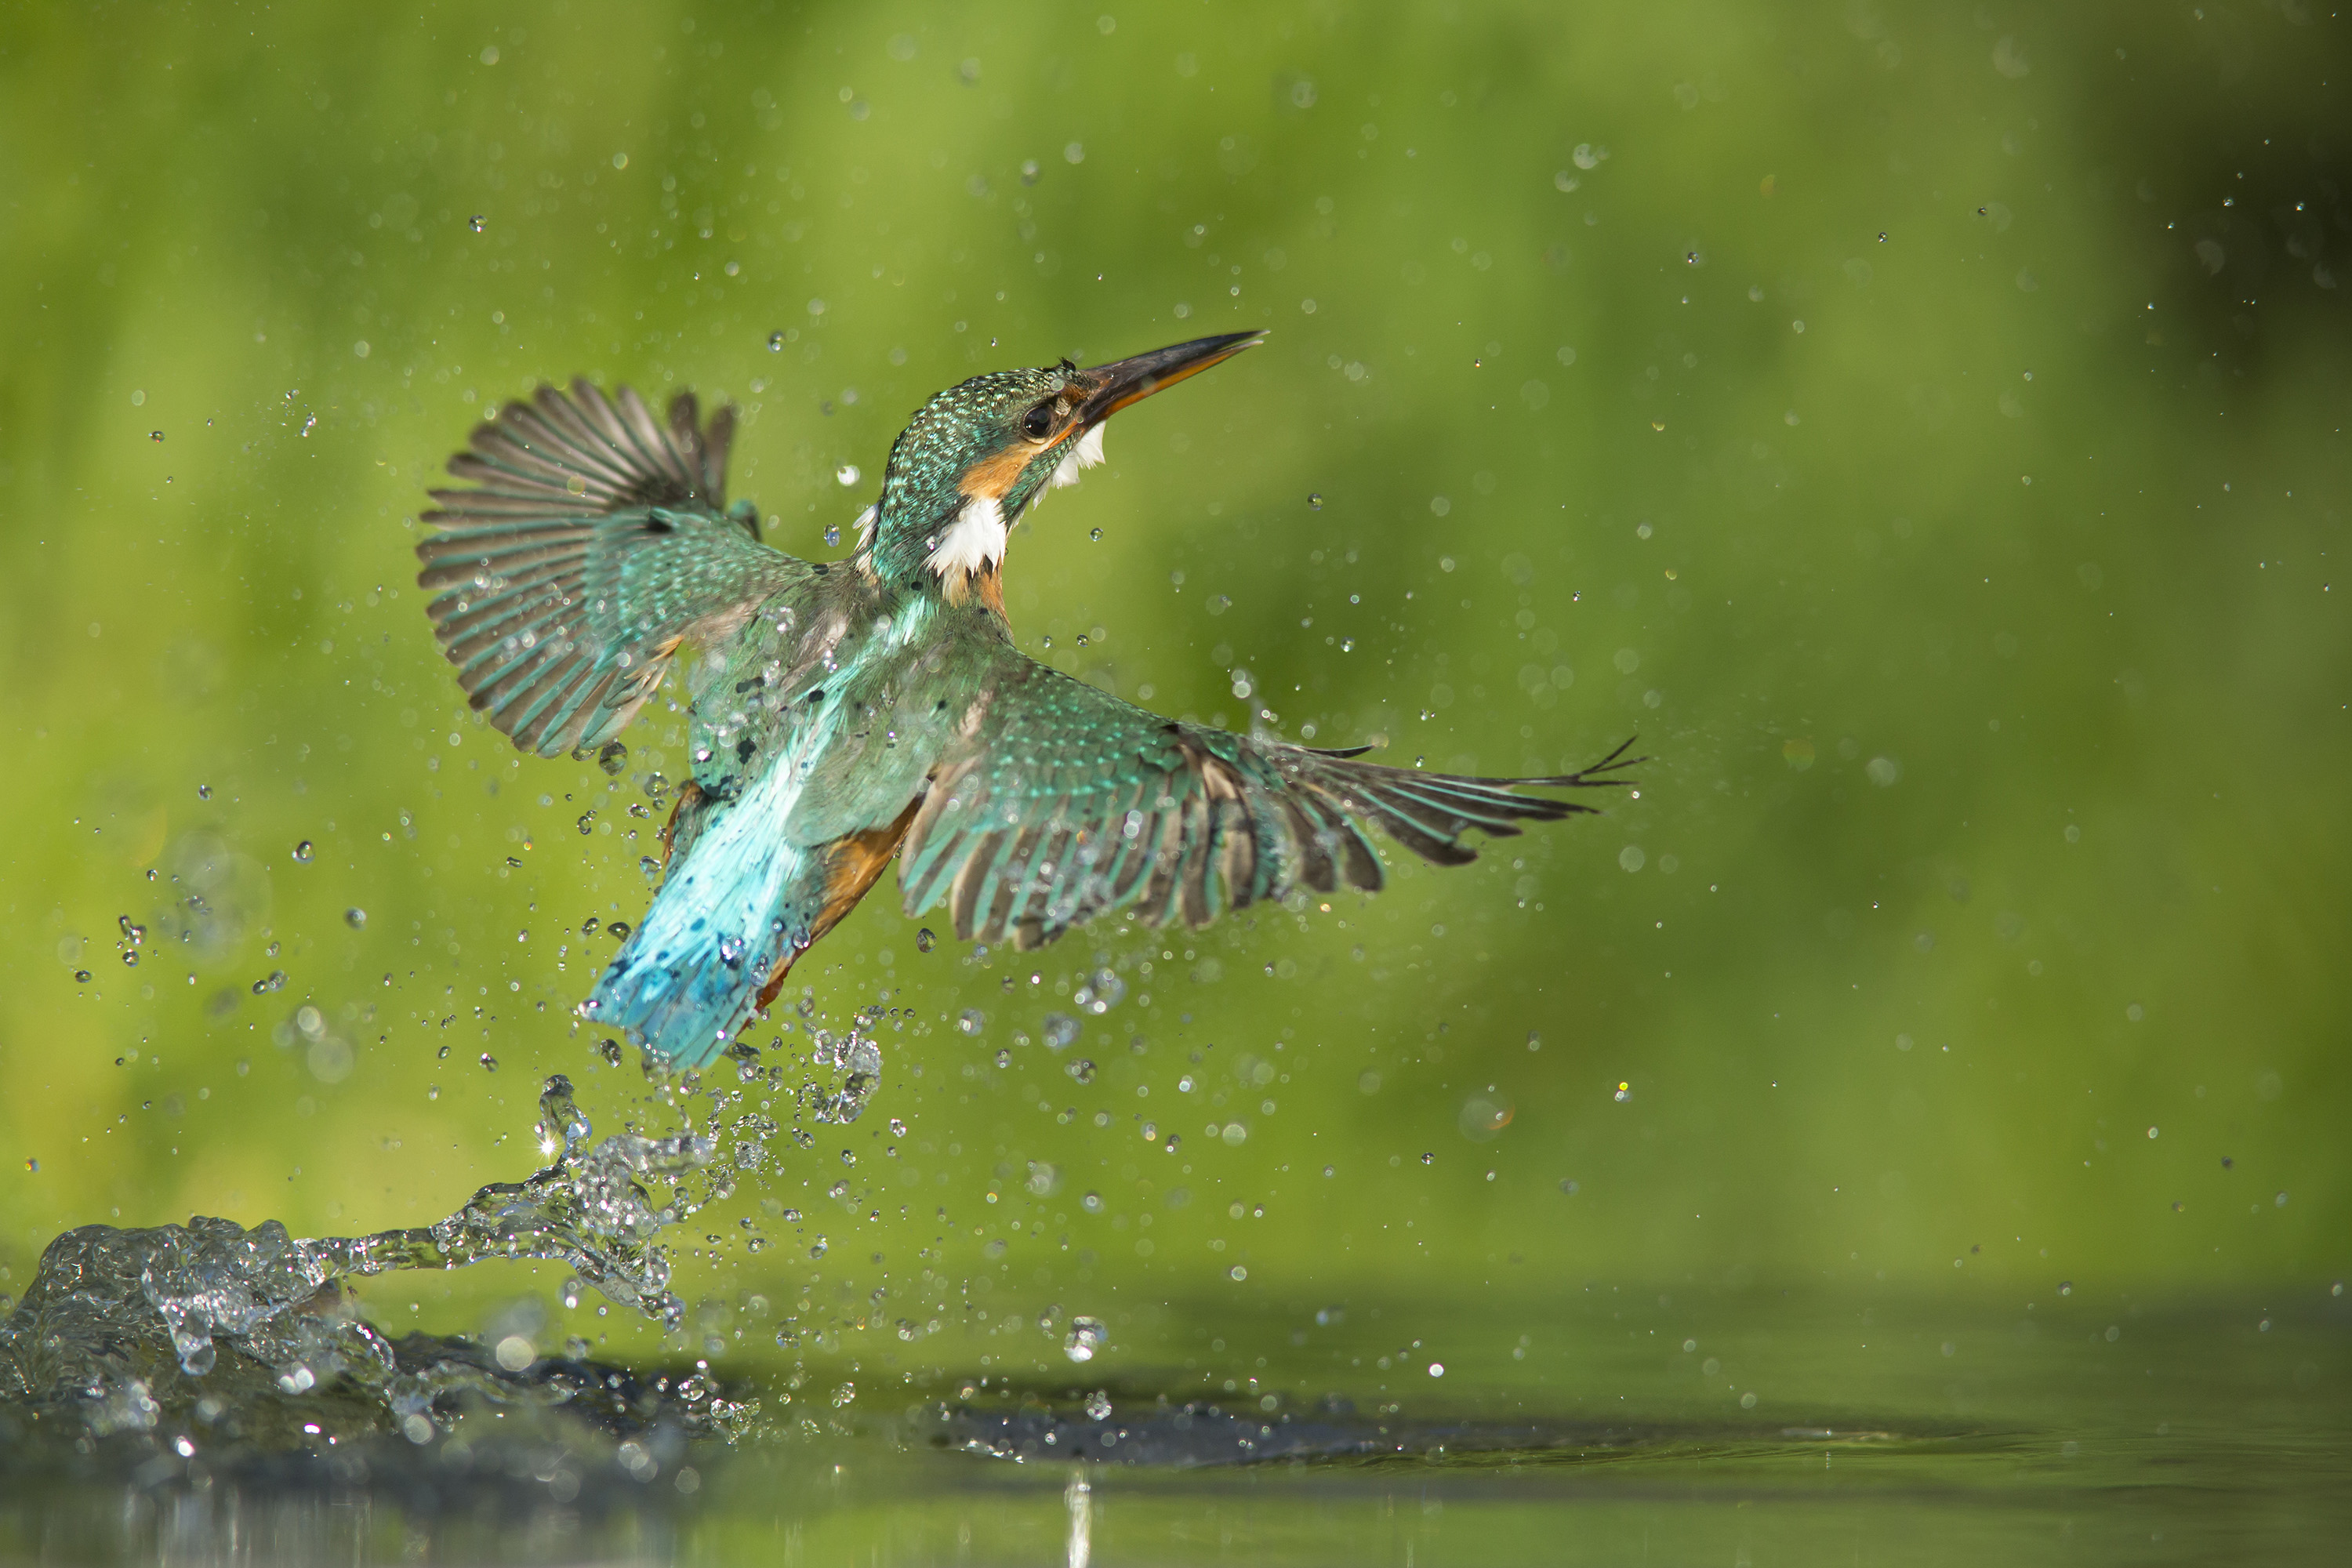
16. Kingfishers
Stay hidden to photograph these rapid little birds:
1. Kingfishers tend to use the same perches - look for white droppings on branches overhanging steadily flowing rivers.
2. If the perch isn't in a photogenic spot, introduce a new on nearby.
3. You'll need to use a hide to get close enough; use one that enables you to get the lens close to water level for the diving shot.
SHOOTING TIP: In the UK, kingfishers are protected by law: you'll need to apply for a licence if you want to photograph them at or near a nest.
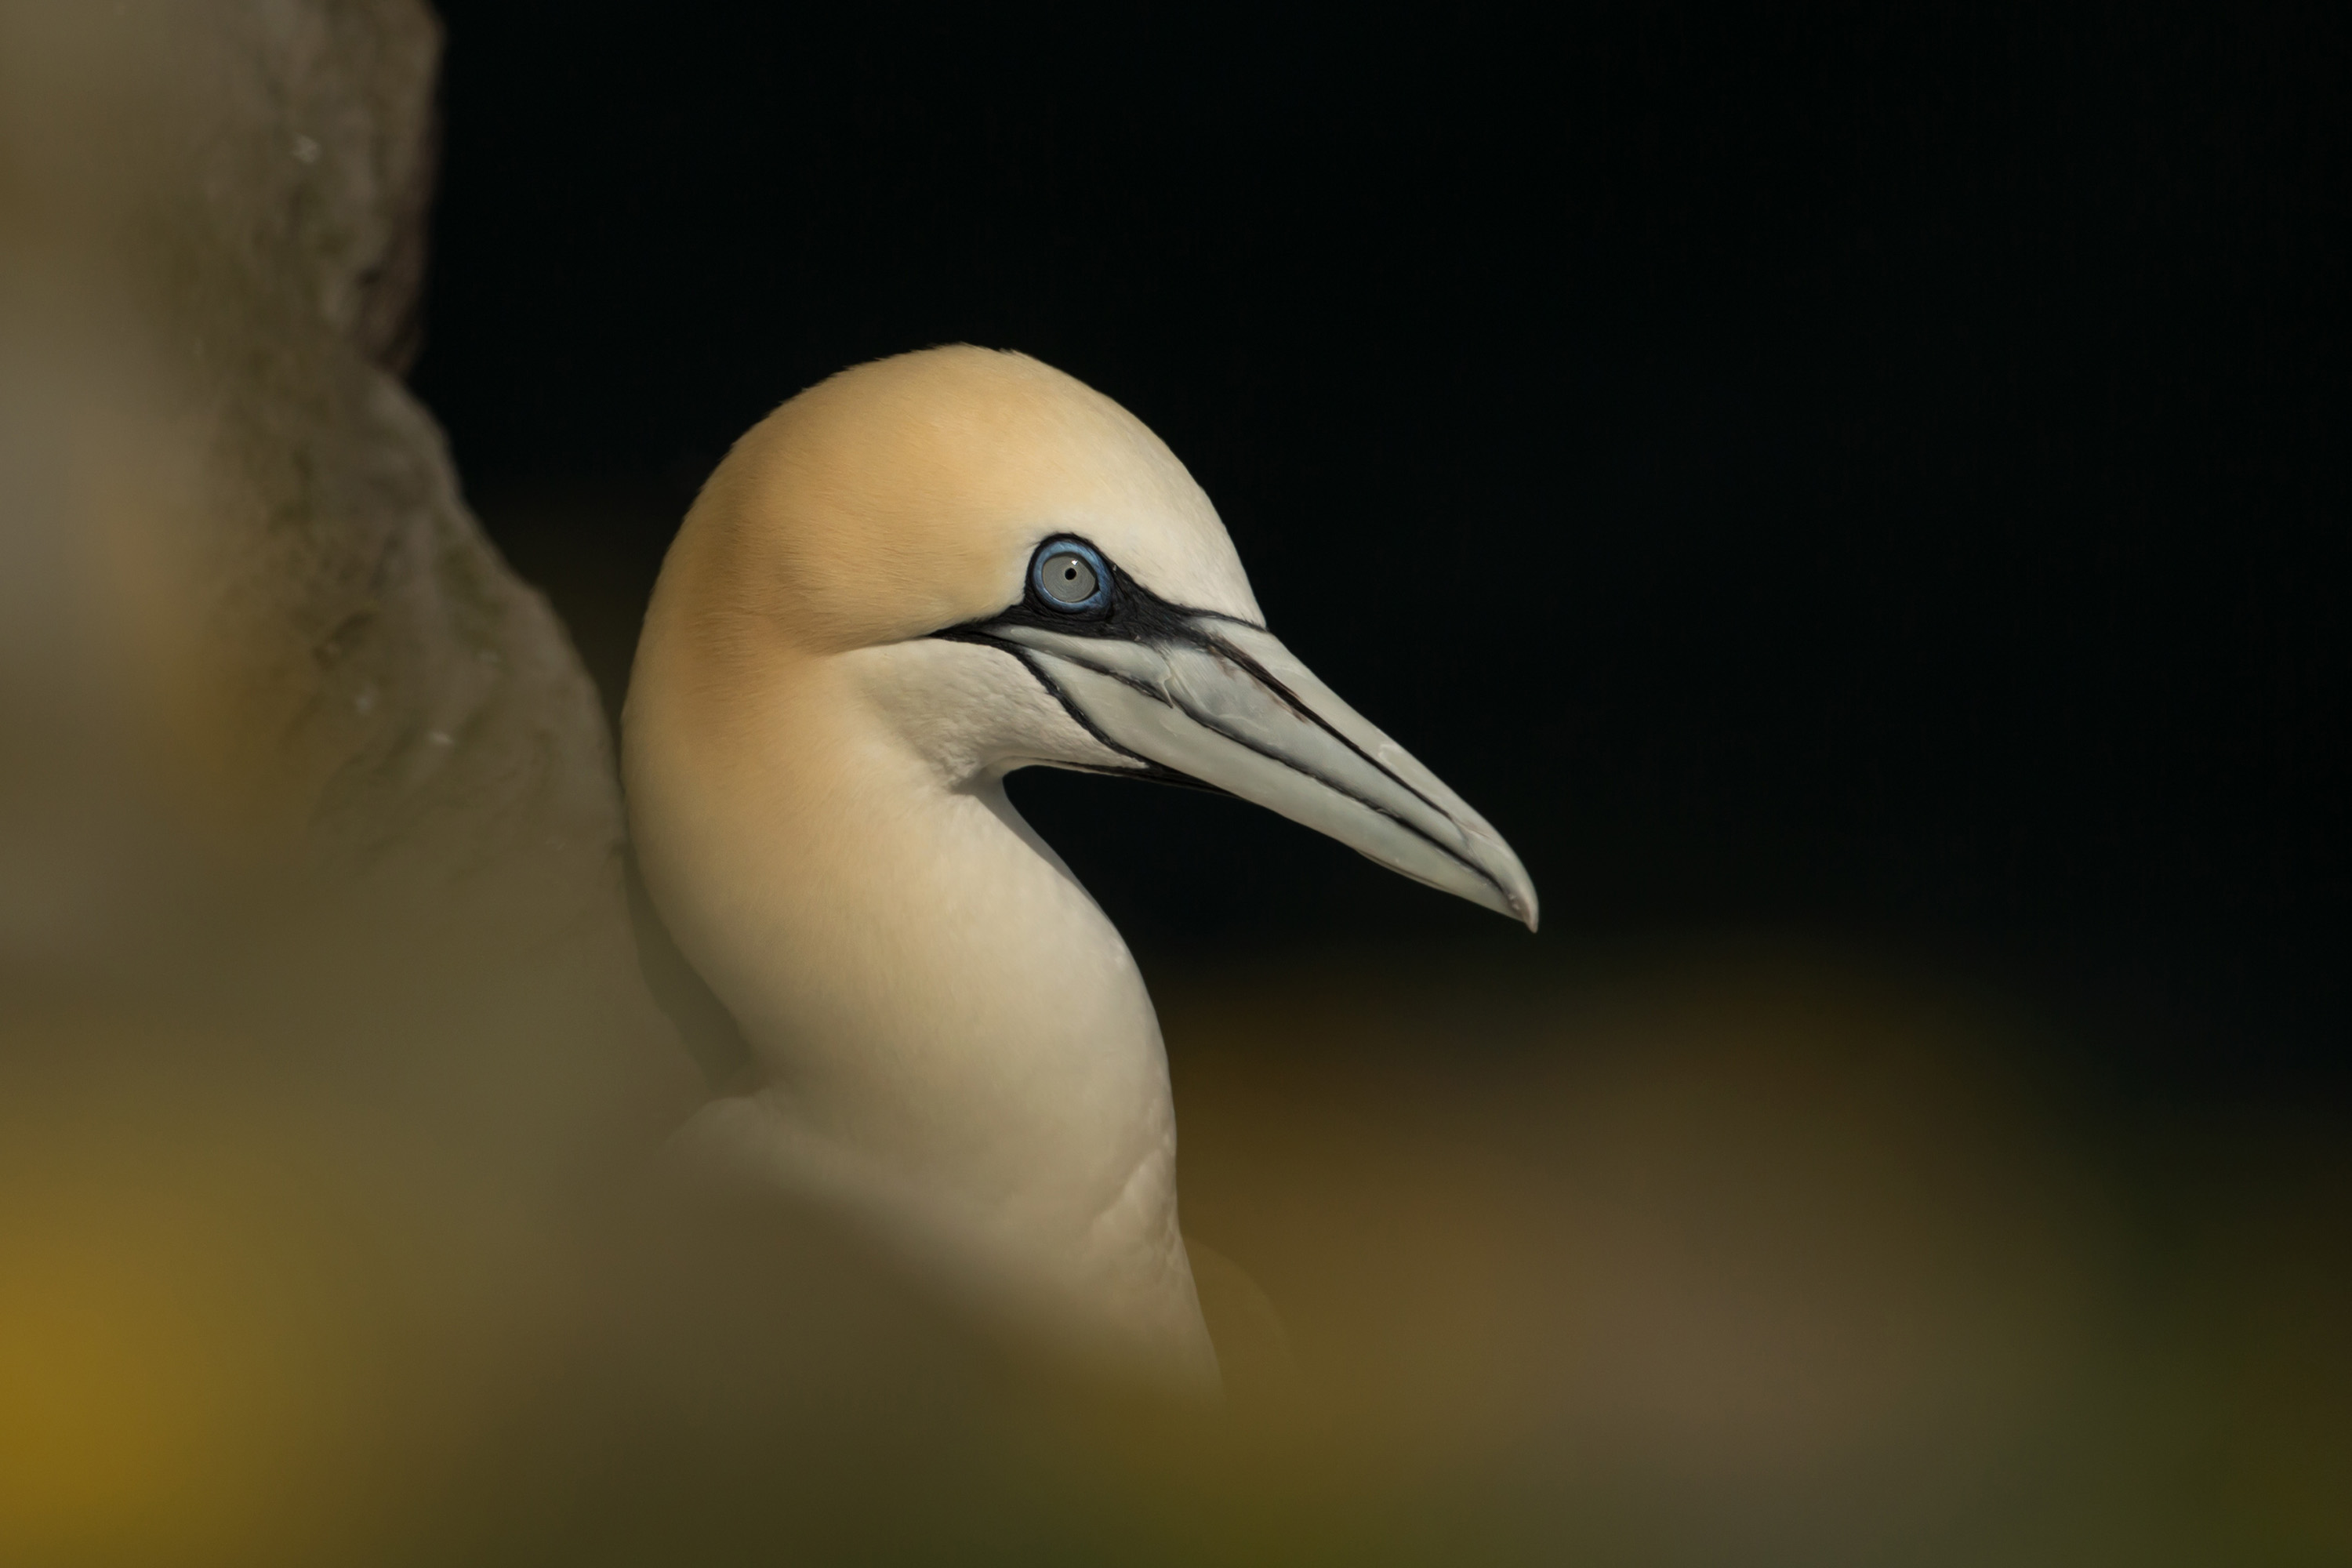
Image 17 of 30
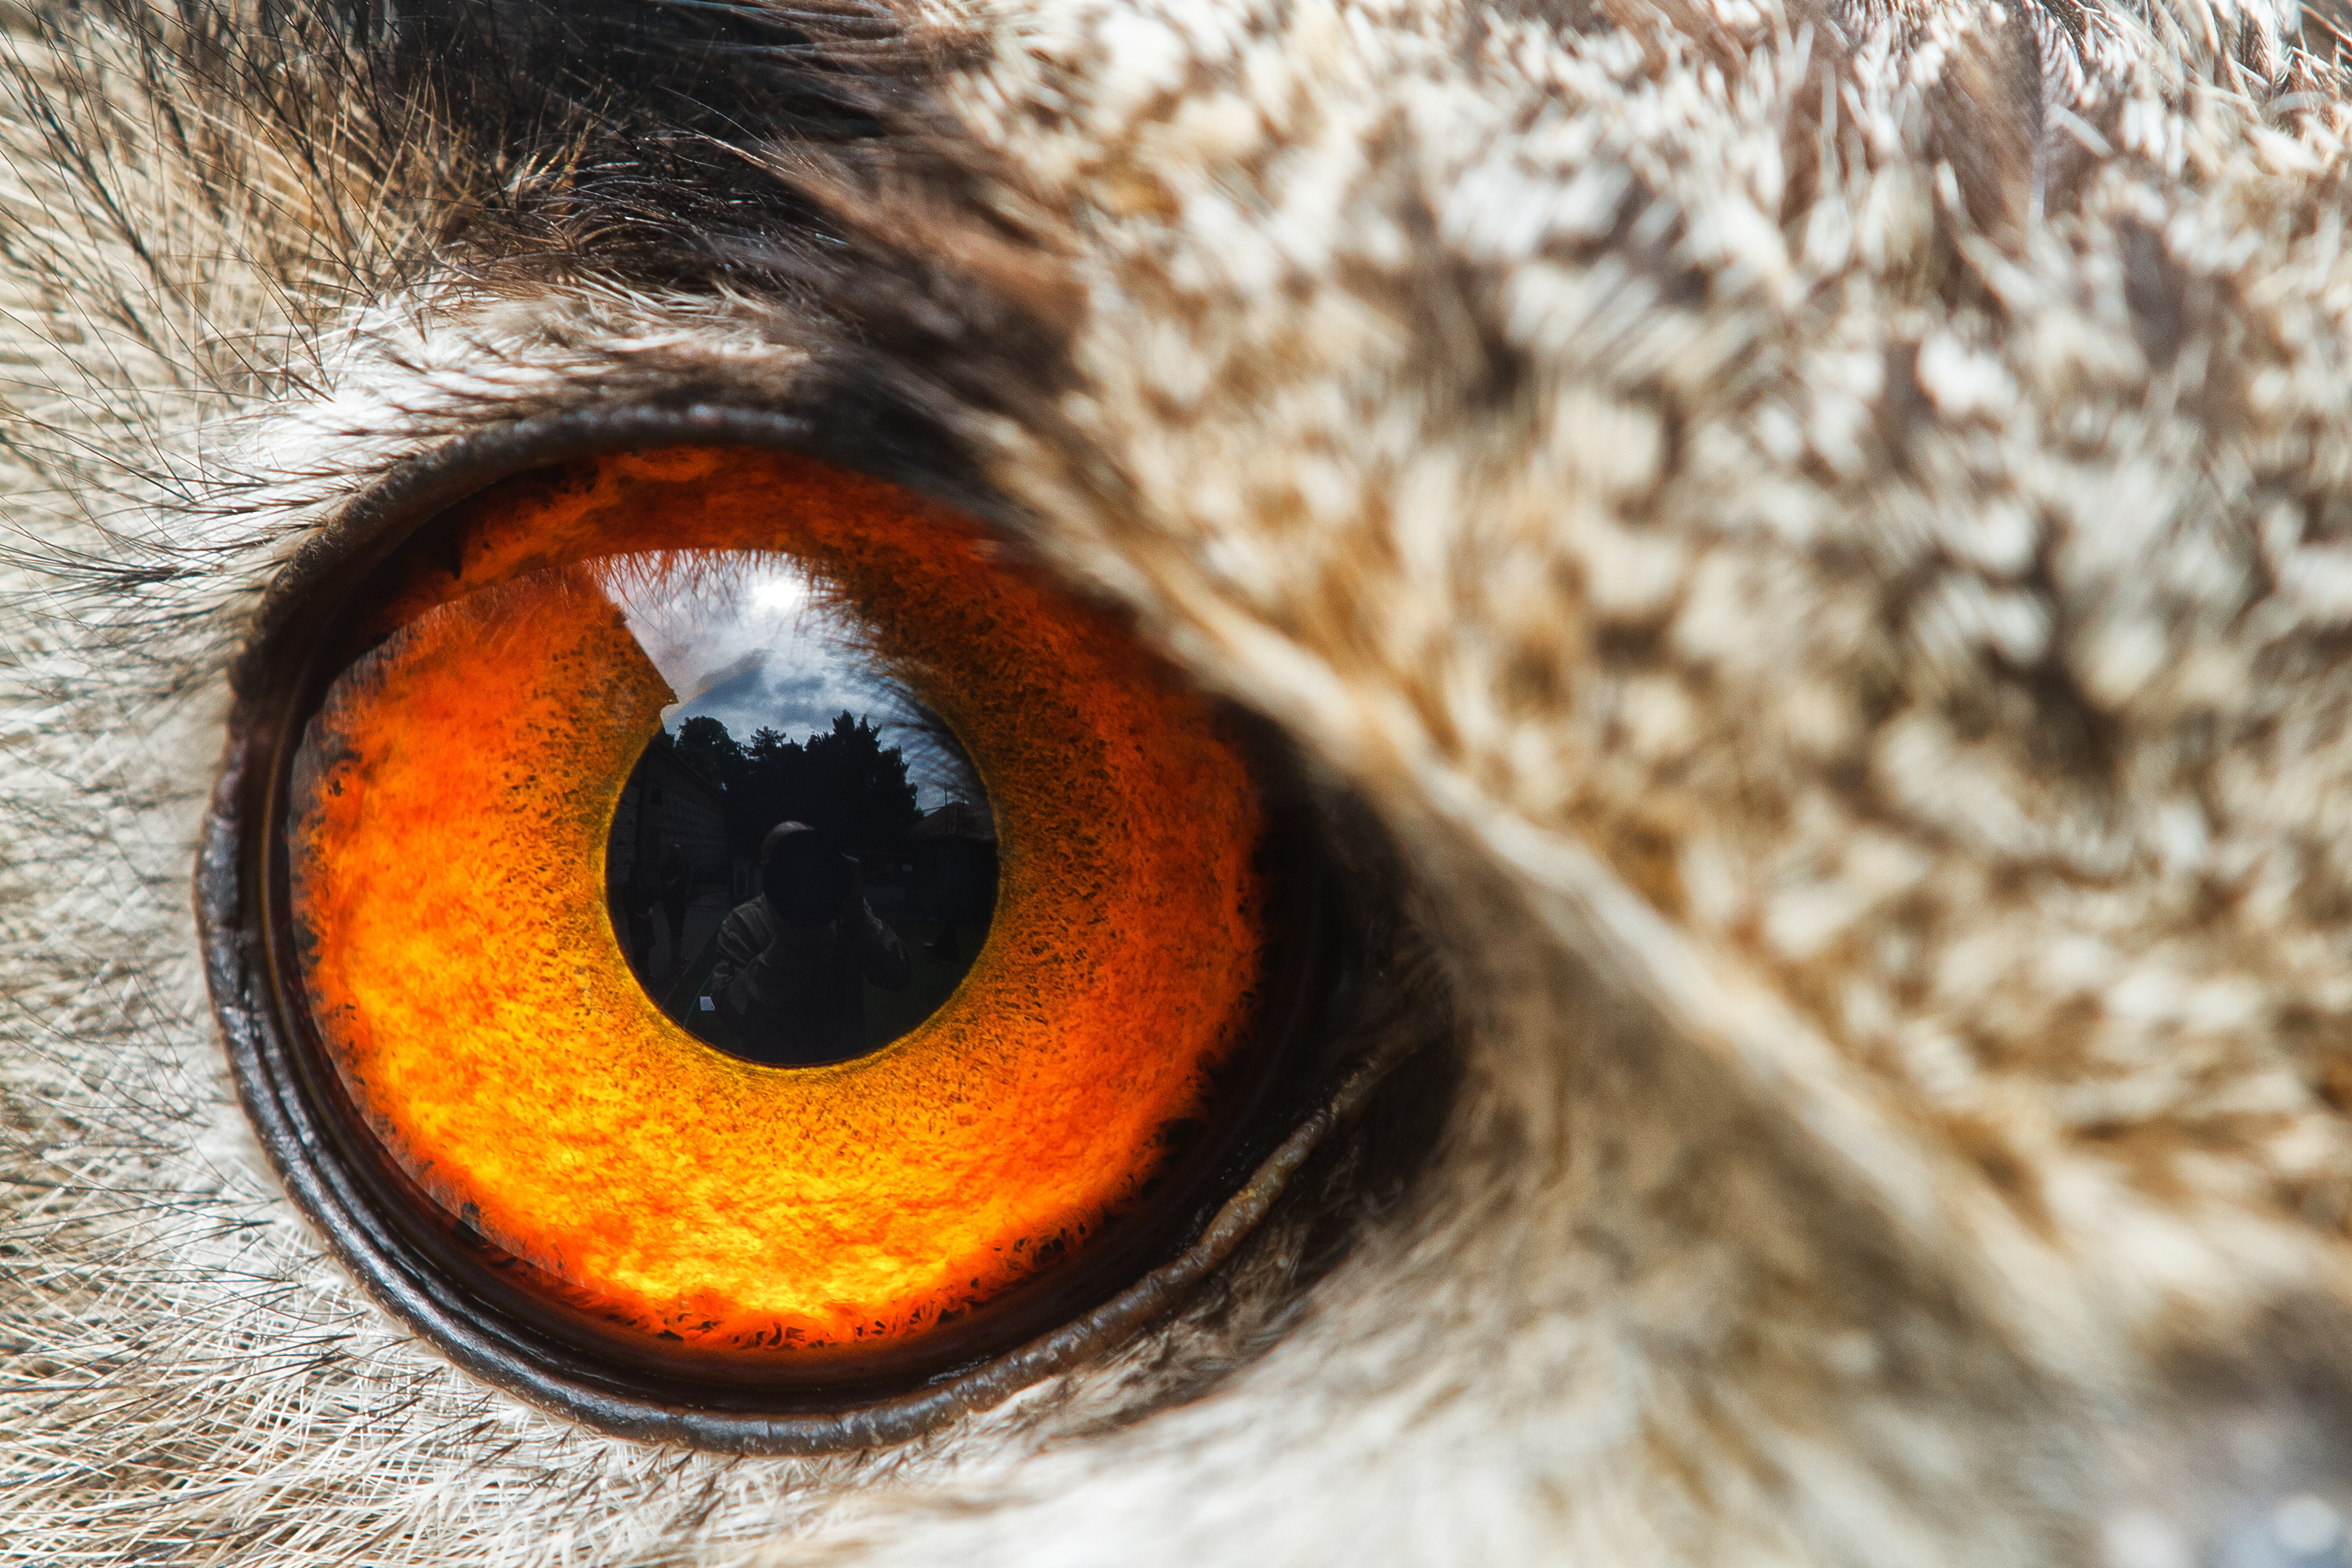
17. Animal eye close-ups
Try this technique with captive owls and raptors:
1. Shoot in the shade to reduce contrast and make it easier to balance the exposure.
2. Use One Shot or Single AF mode to lock focus on the animal's pupil, but use Continuous drive to improve chances of a sharp shot.
3. When working close to an animal, kill the autofocus beep and use the silent shooting mode, if available.
SHOOTING TIP: Keep an eye on the reflection as viewers will be drawn to this areas; if it shows cage bars or you behind the camera. it may spoil the magic!
Image 18 of 30
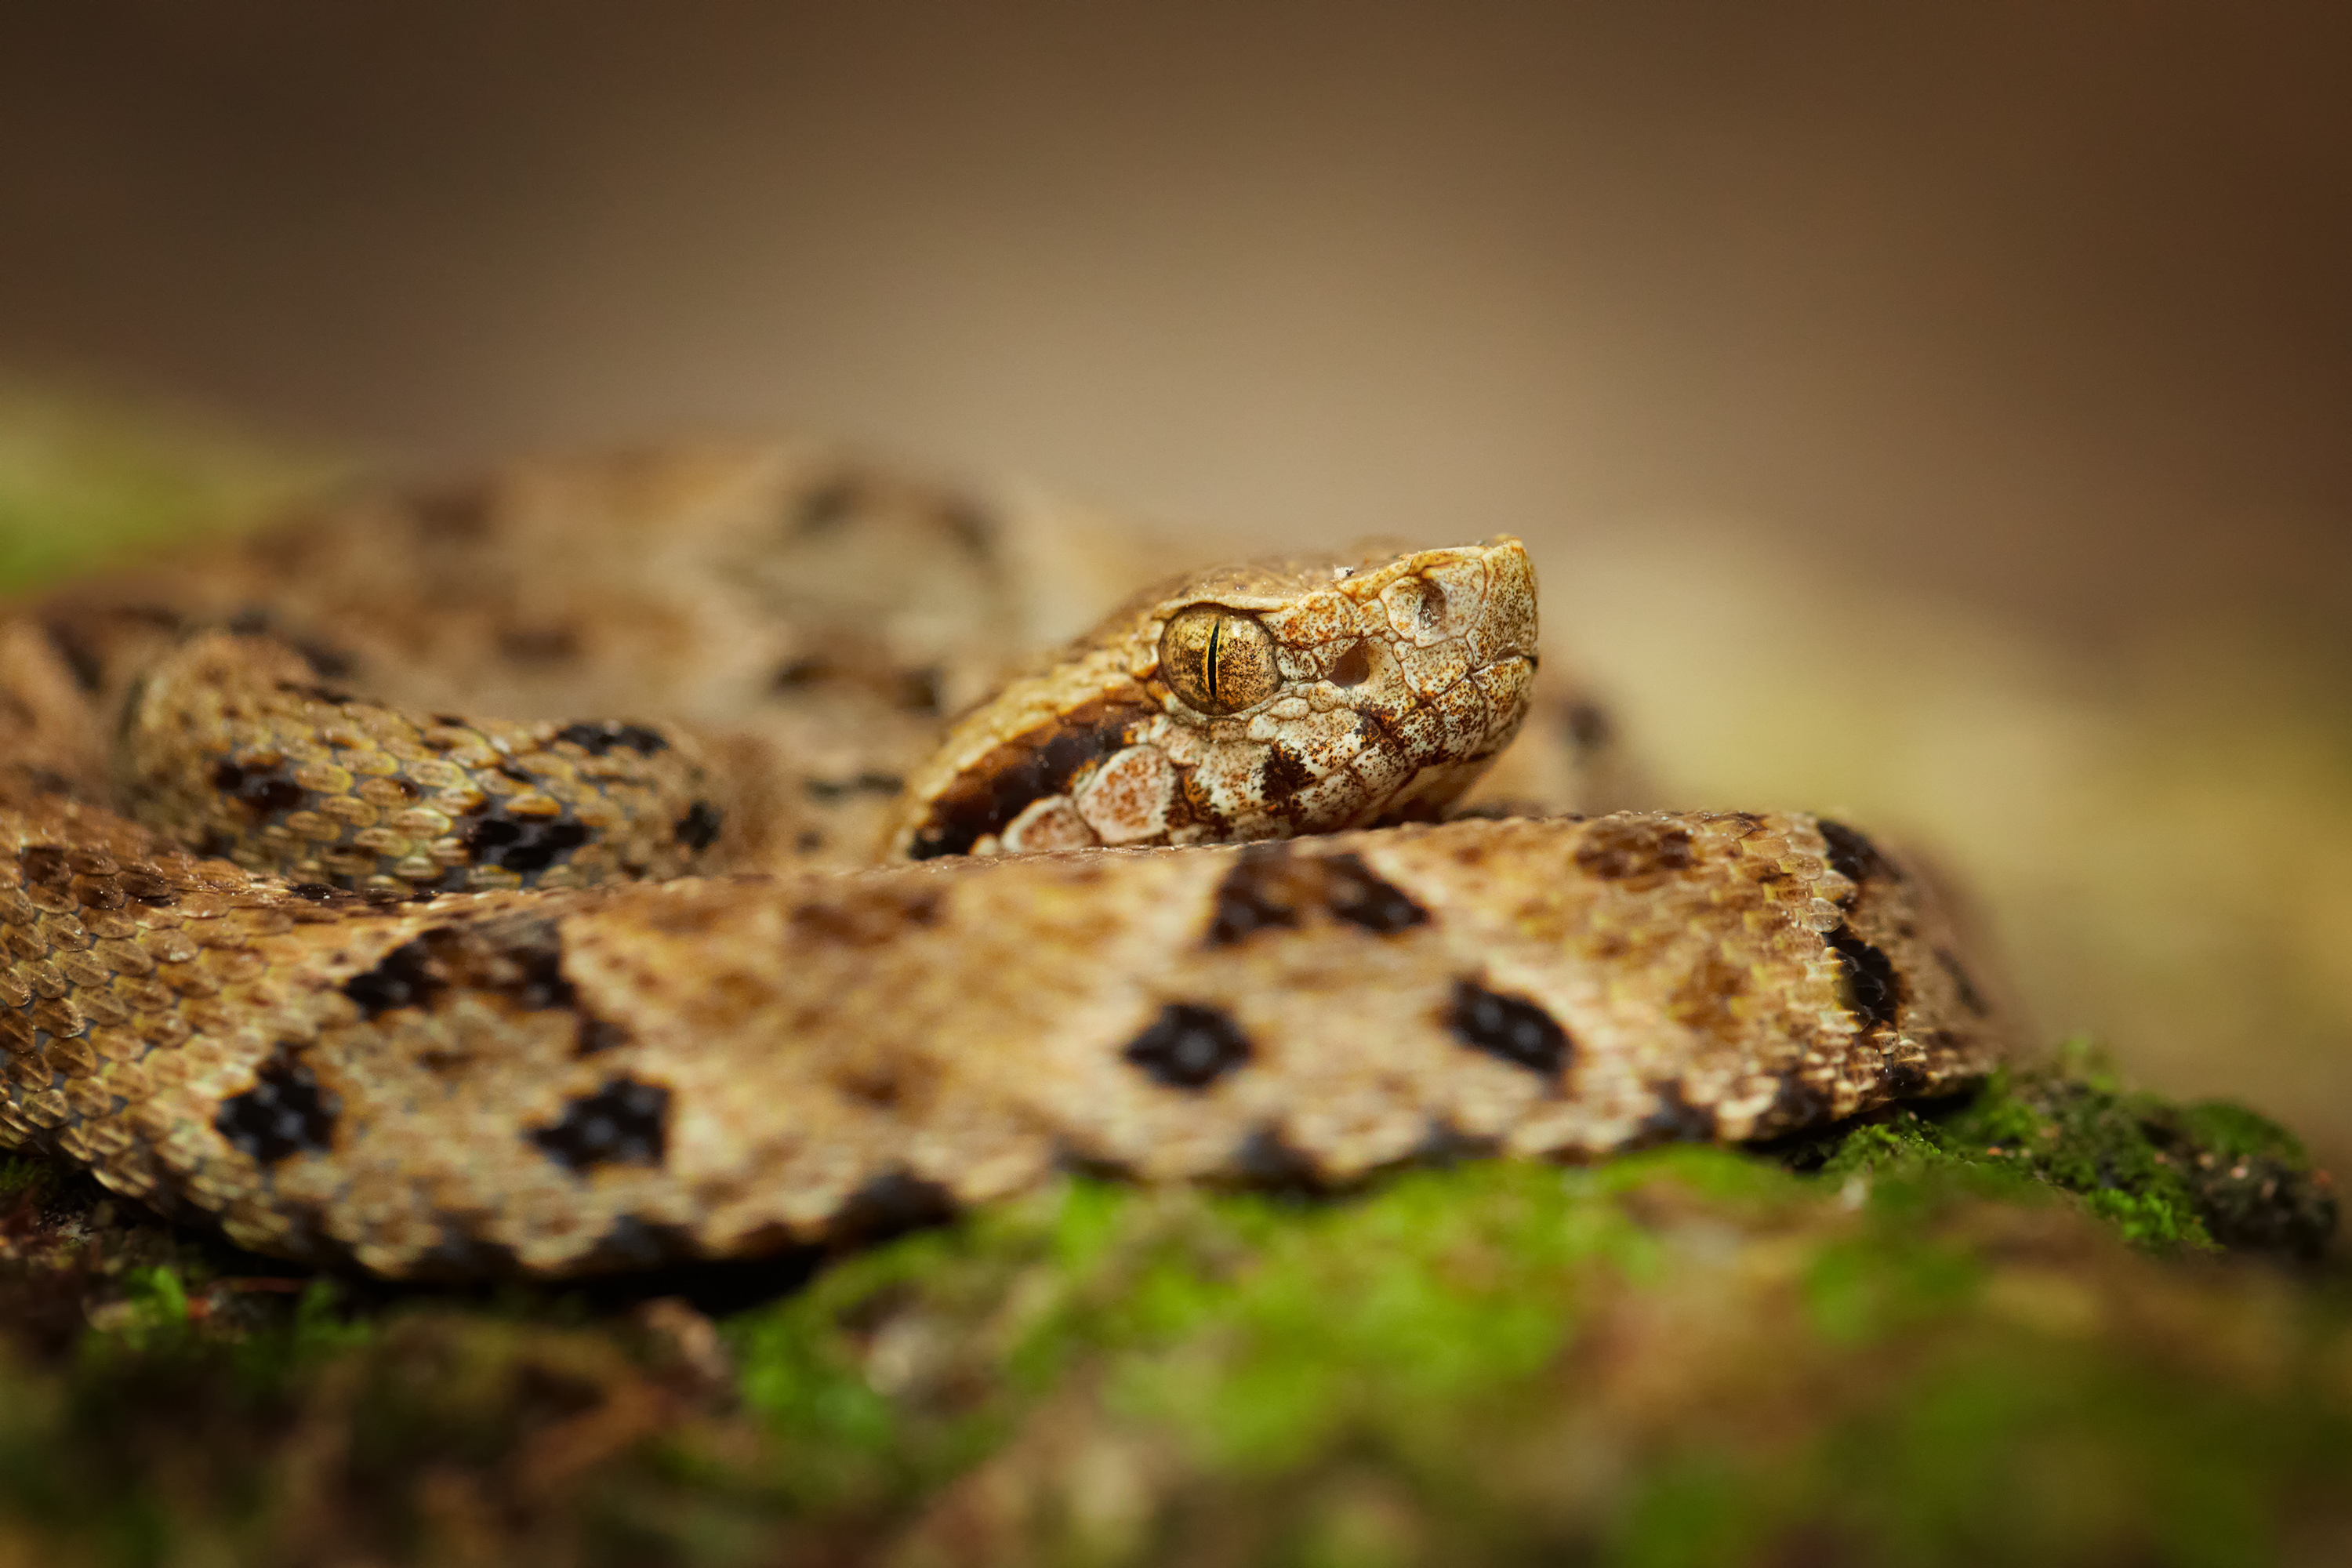
18. Reptiles
Use a long focal length to keep your distance:
1. Early morning on a calm, warm and slightly overcast day is often best for locating basking snakes.
2. Take care when using a tripod, as any vibrations caused while positioning the legs may cause a lizard or snake to retreat.
3. Should you disturb your subject, be patient - they usually return to the same spot within minutes.
SHOOTING TIP: If using a tripod and shooting stationary reptiles, activate a camera's mirror lock function and fire the shutter with a remote release for sharp shots.
Image 19 of 30
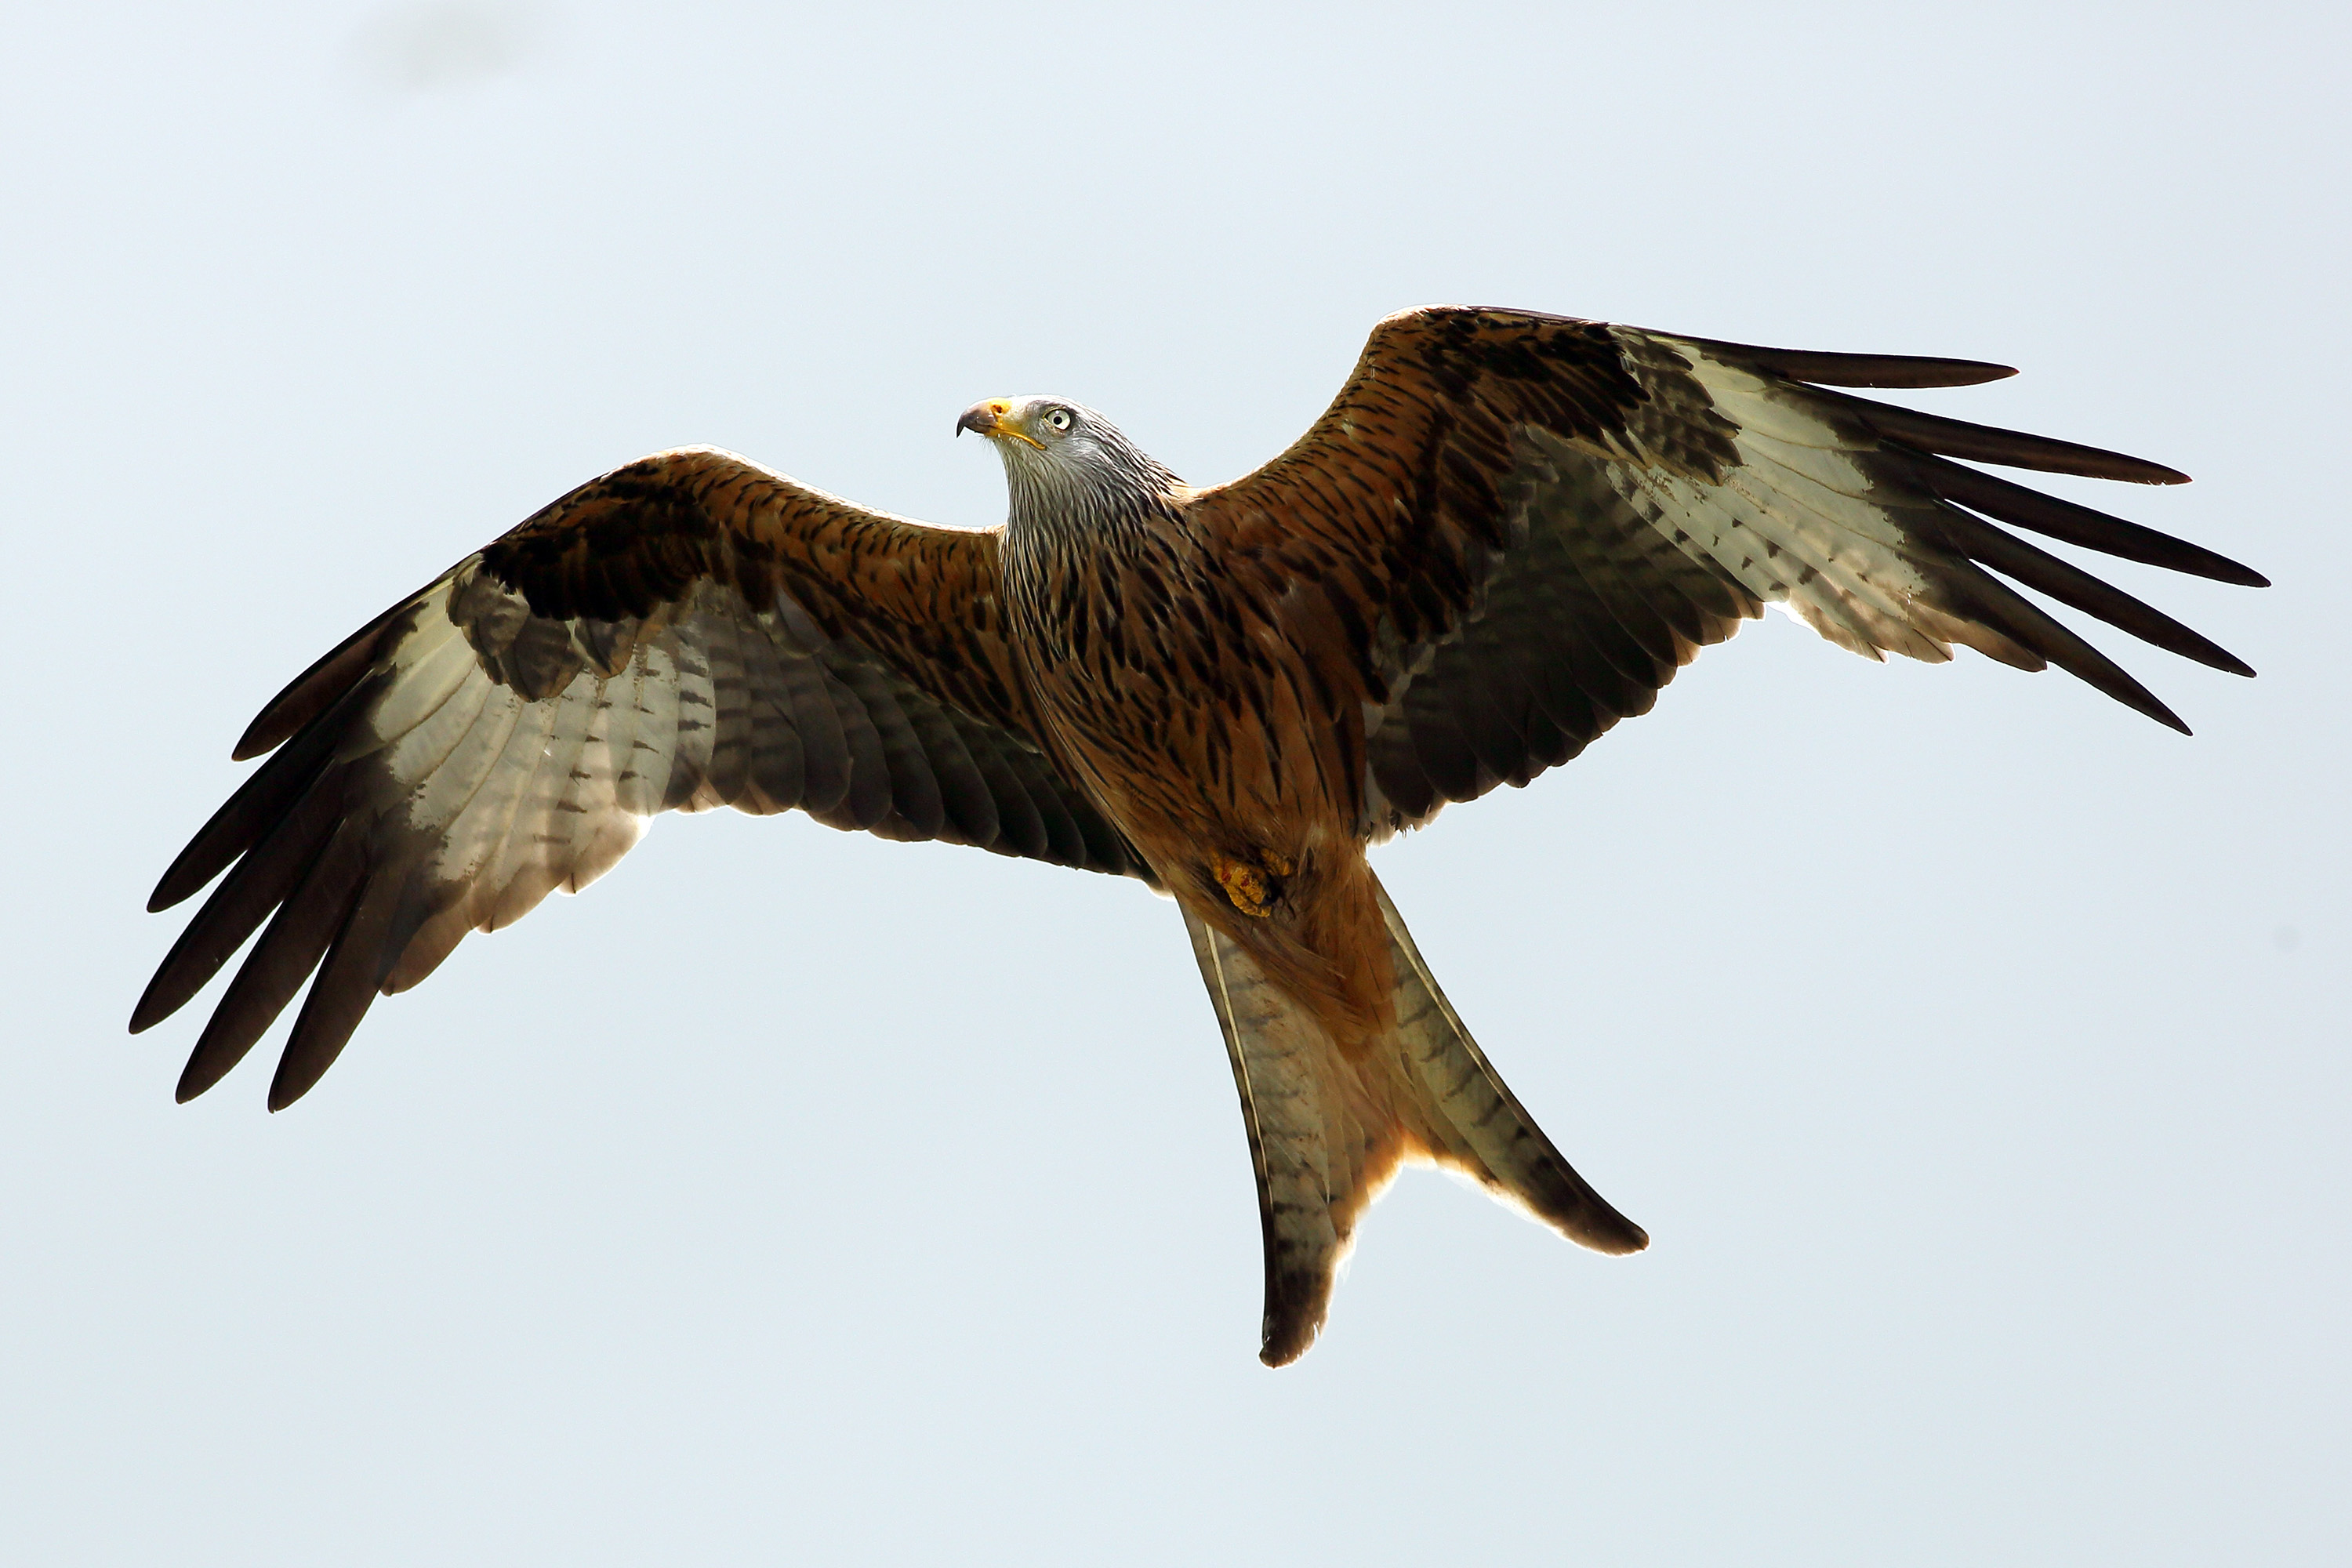
19. Birds of prey
Get set for shots of these majestic birds:
1. Blue skies look best when you're photographing birds in flight.
2. Try setting a slower shutter speed of around 1/80 sec, then pan with the bird to blur the wings while keeping the head sharp.
3. When taking raptor portraits, try shooting from a low angle in order to emphasise the bird's imposing and predatory nature.
SHOOTING TIP: When shooting a fast bird like a red kit, your hit rate will likely increase if your camera lets you track them using a small cluster of AF points.
Image 20 of 30
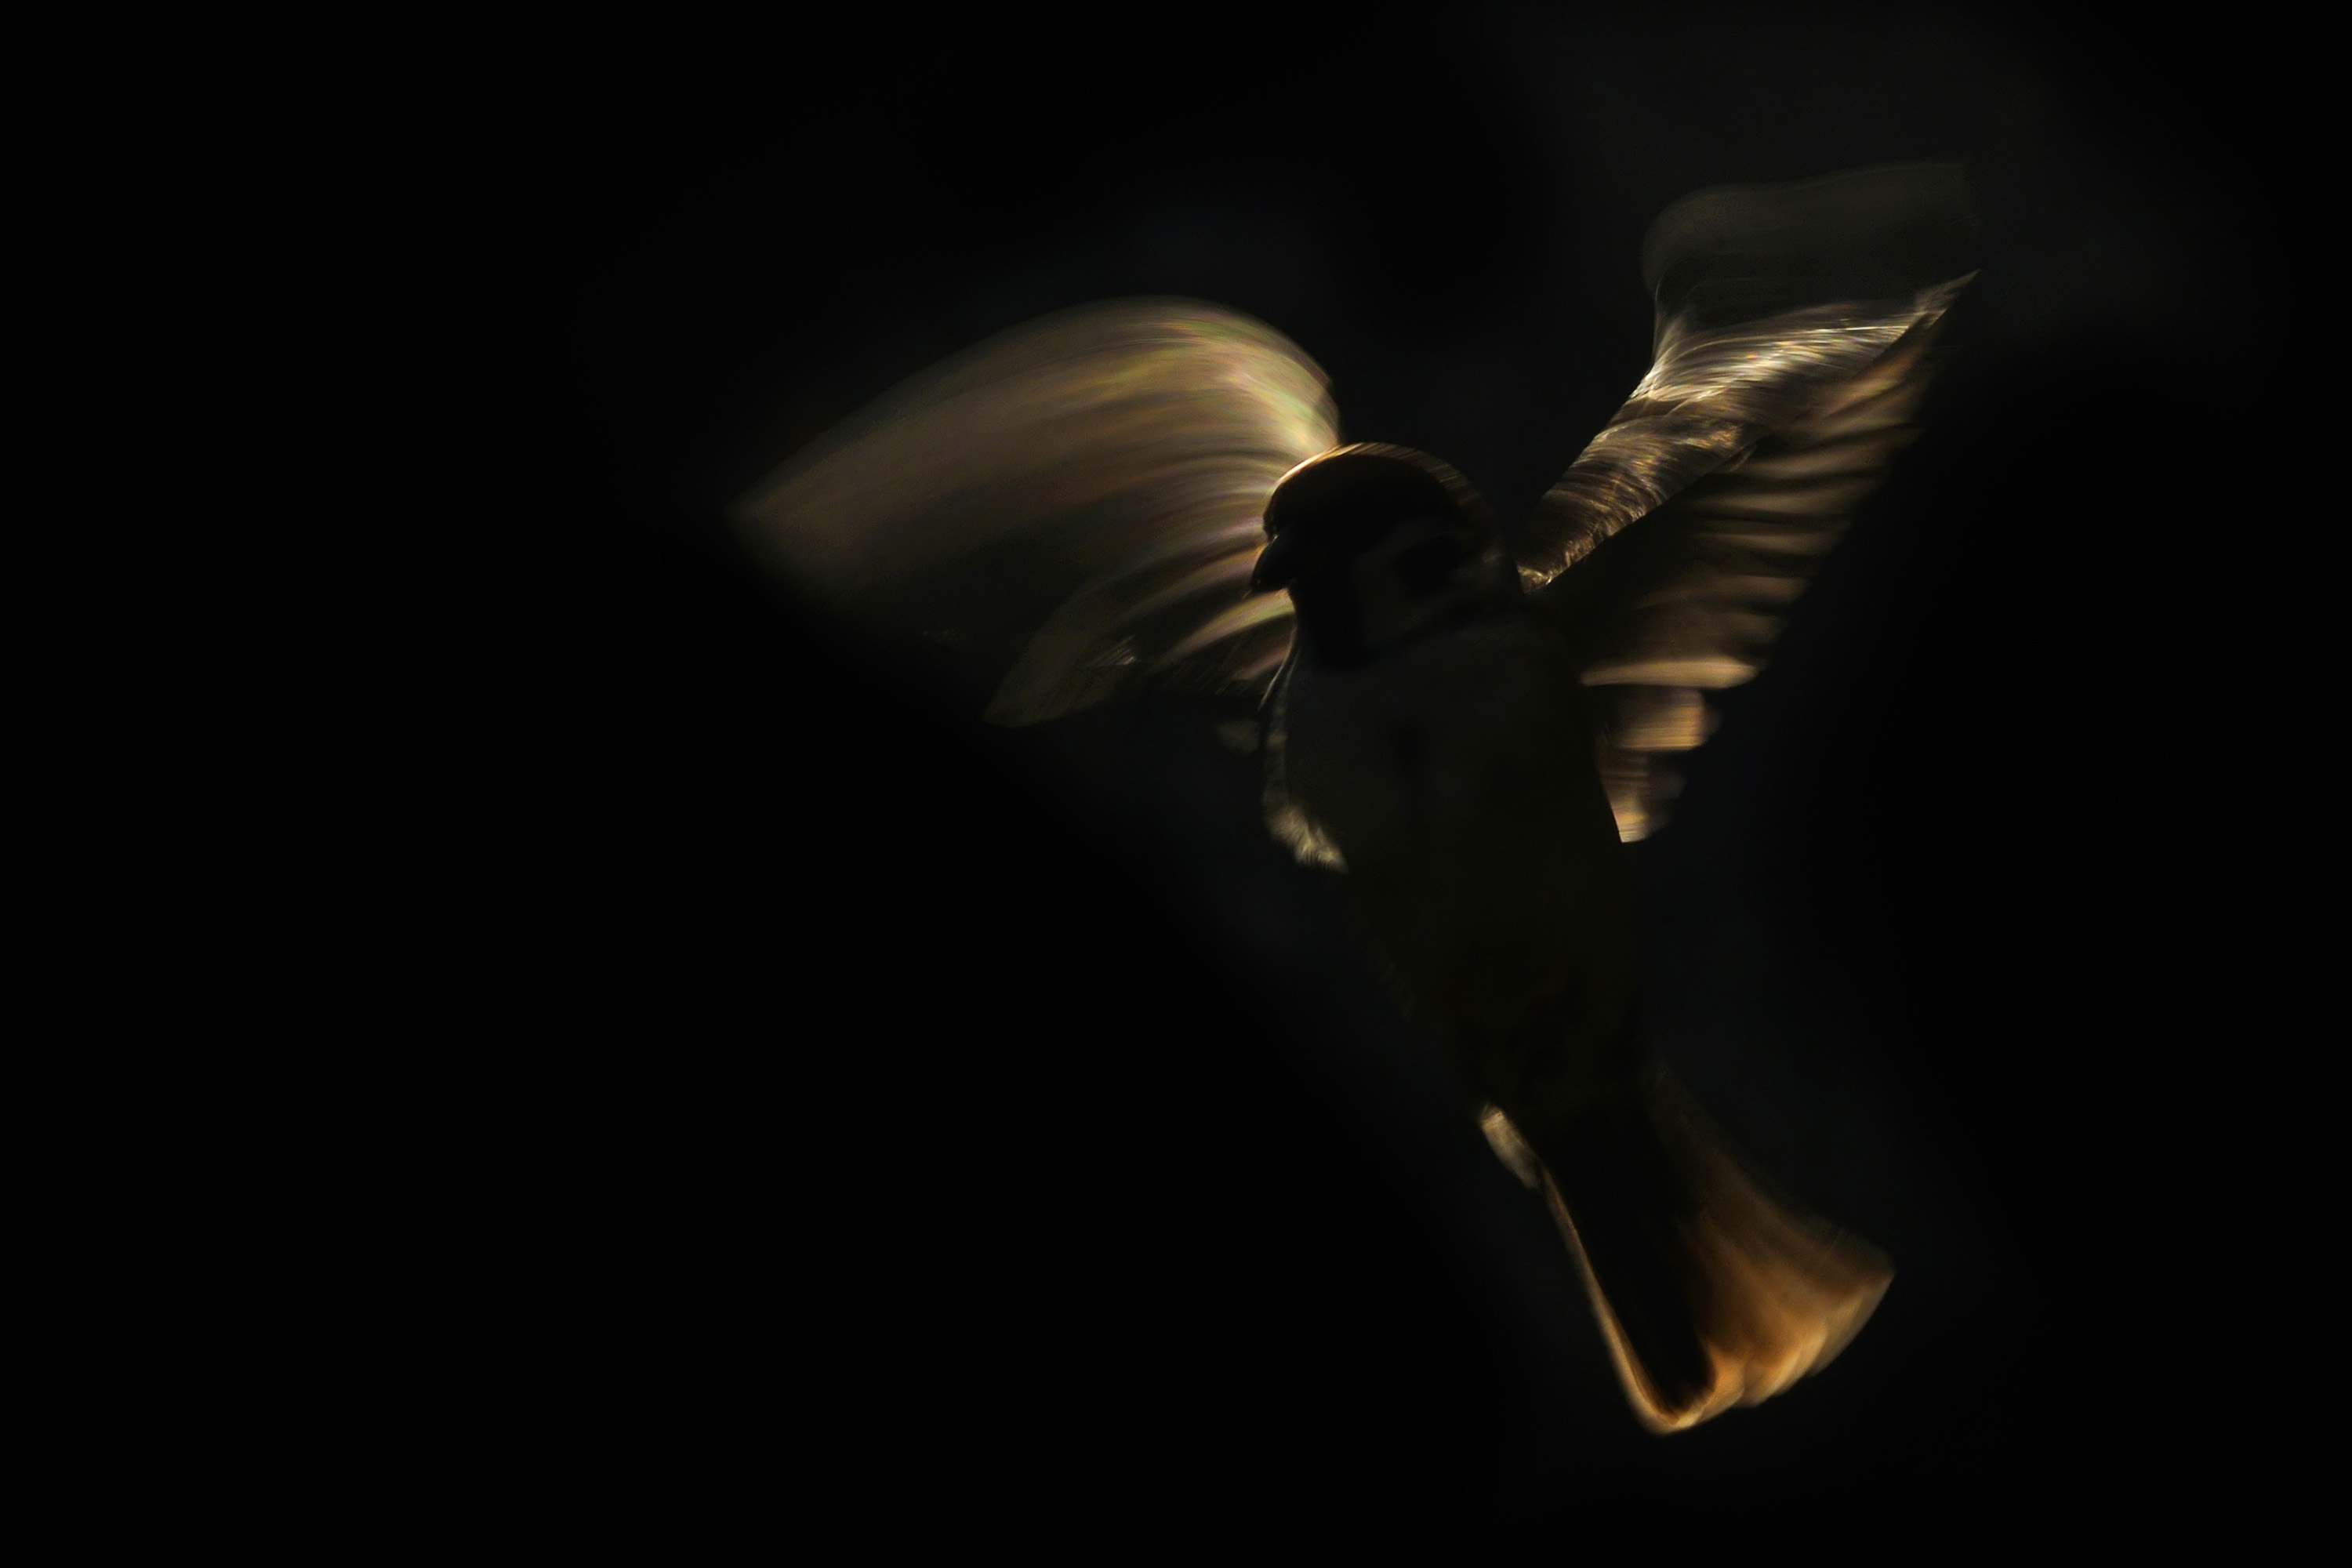
20. Abstracts
Alternative techniques to try for creative wildlife shots:
1. Try using a slower shutter speed for intentionally blur movement - using a low IOS and small aperture setting such as f/11 or f/16.
2. Shoot towards the sun and underexpose the result to create a moody low-key rim-lit image.
3. Zoom in to show an abstracted detail of the animal: focus on line, shape and texture.
SHOOTING TIP: Pack plenty of memory cards and a spare battery, as experimenting with new techniques means you need to be prepared to make mistakes.
Image 21 of 30

21. Silhouettes
Try this approach during sunrise and sunset:
1. Set your camera's White Balance to Daylight, Cloudy or Shade.
2. Point the lens at an area of bright sky. Tap the shutter release to activate the meter, then press the Auto Exposure Lock button to set the exposure.
3. Recompose the shot and half-press the shutter release to lock the focus on the subject.
SHOOTING TIP: Watch out for silhouettes overlapping and merging with each other; shoot from a low angle and look for distinct shapes against the sky.
Image 22 of 30
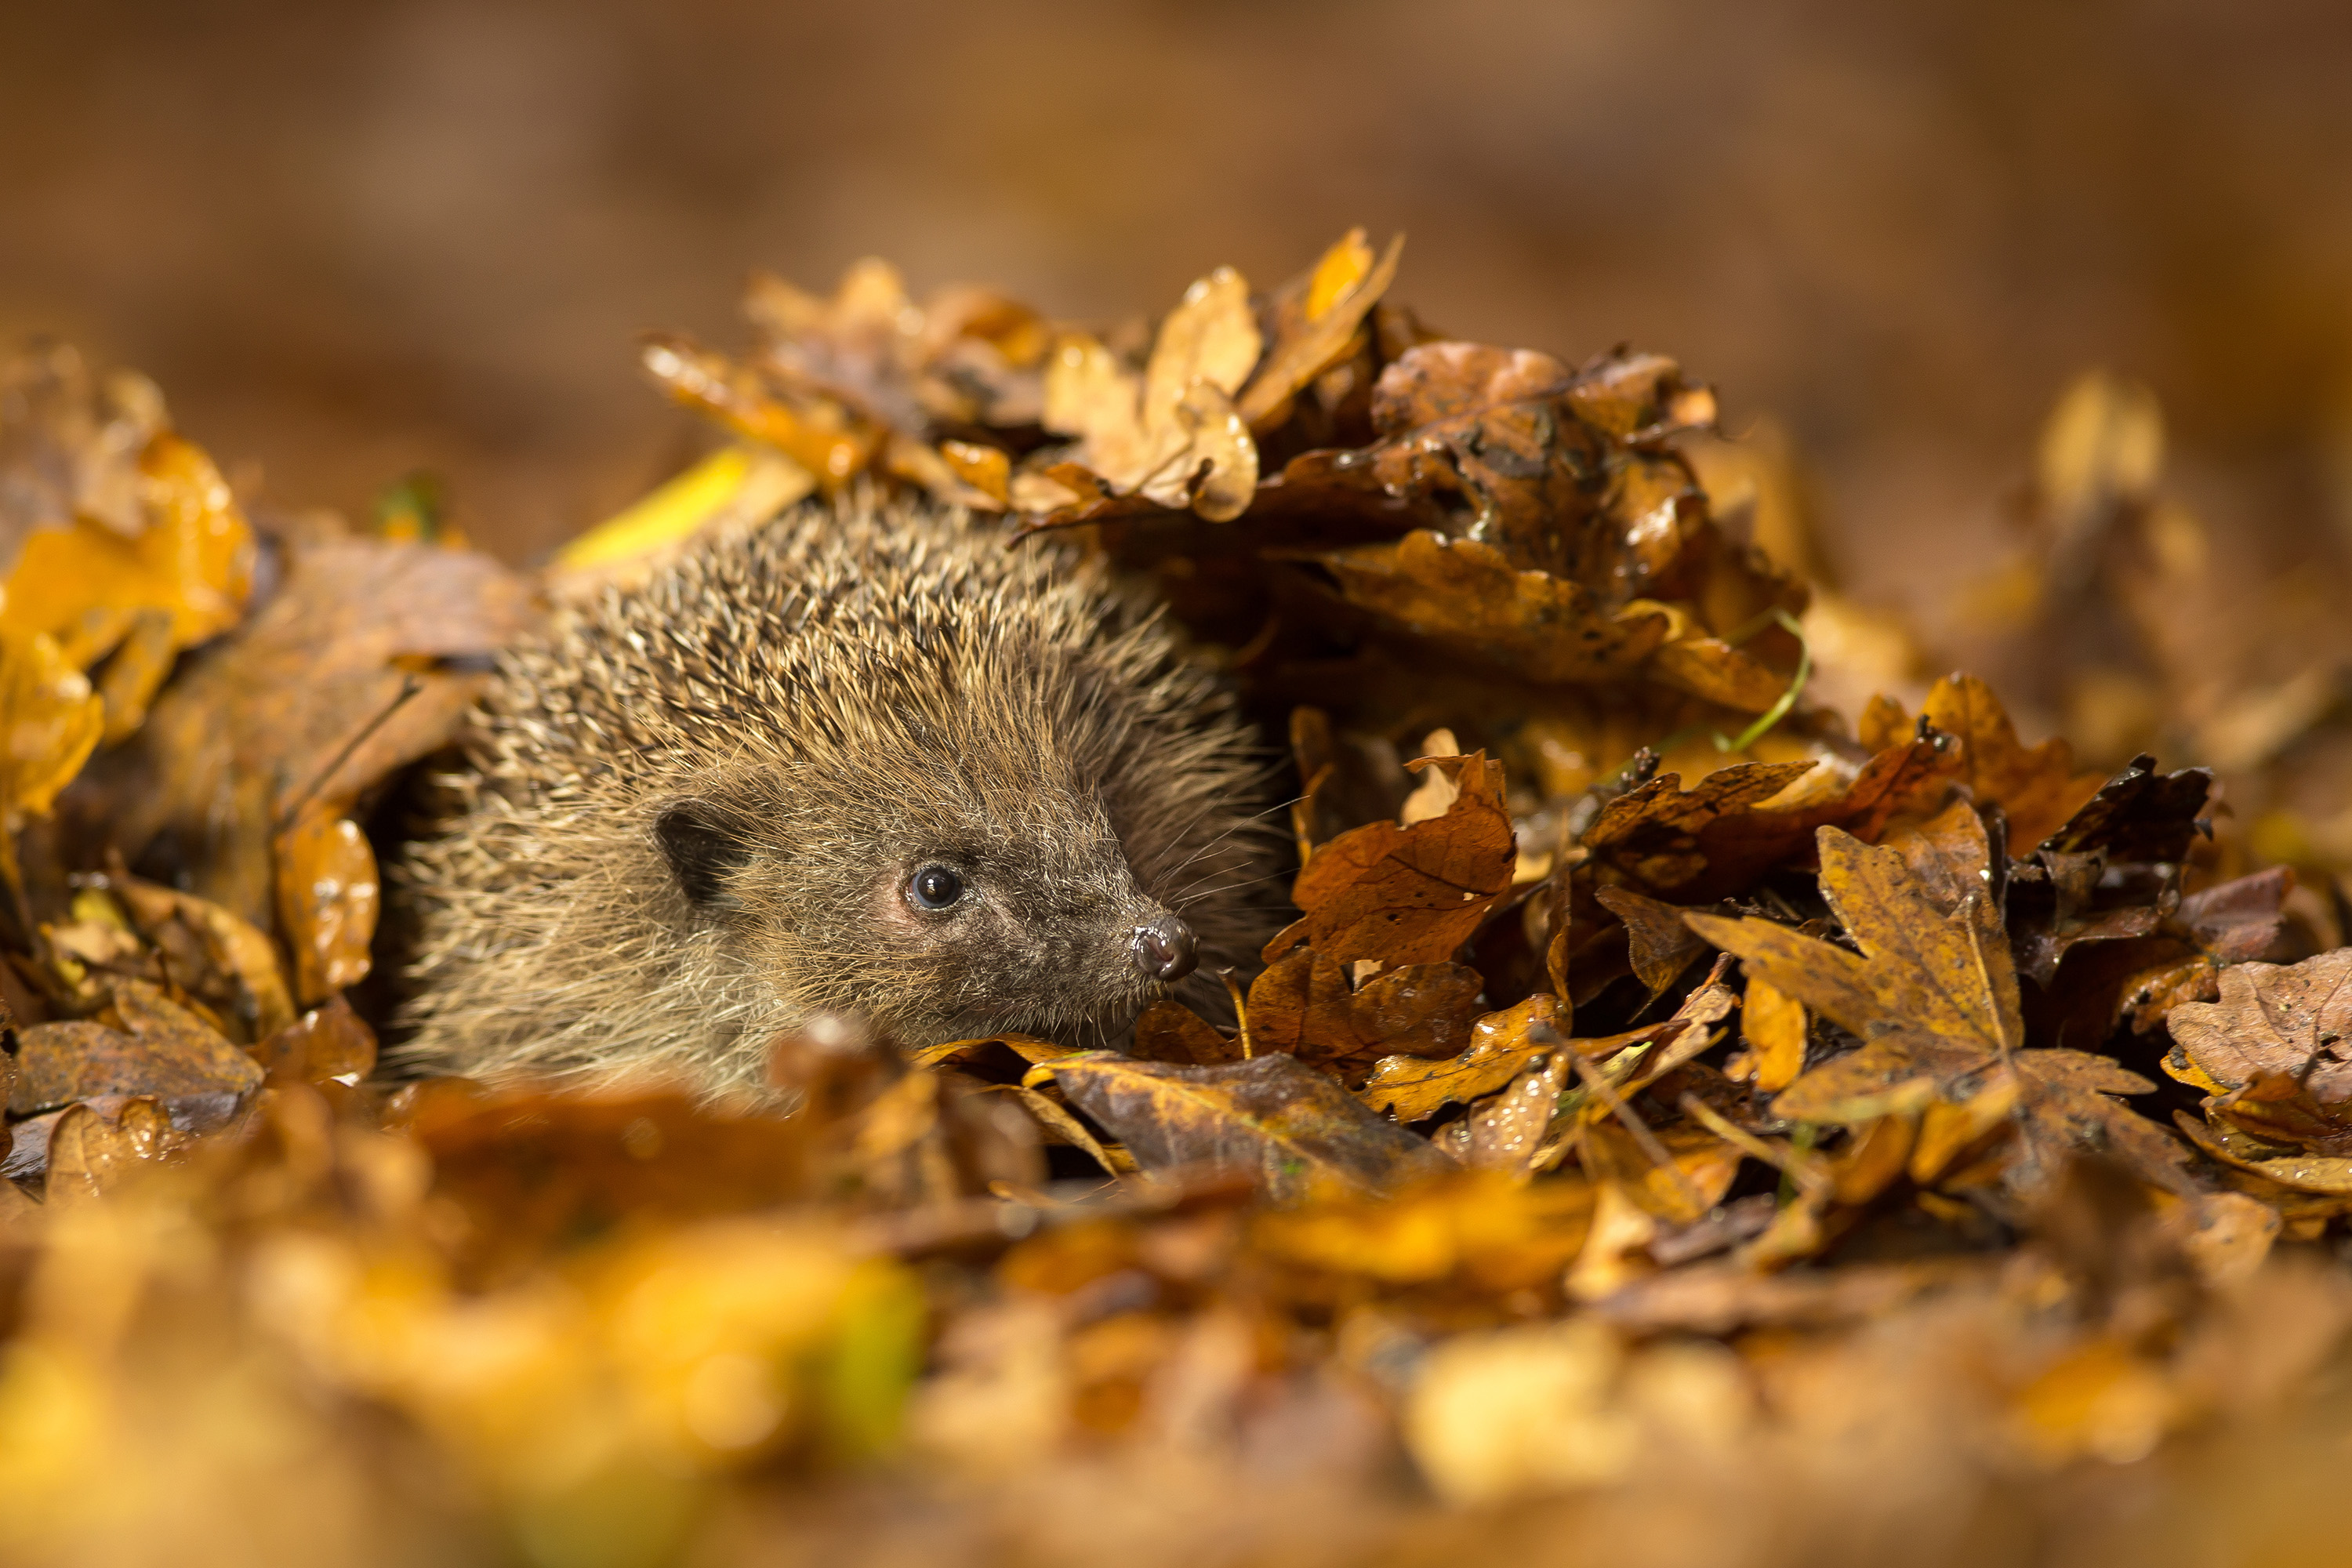
22. Small mammals
For shots with impact, get low and get in close:
1. Animals that blend in with their habitat can cause AF problems. Try locking focus on a sharply defined leaf or rock at the same distance then reframe the scene.
2. Use a high ISO for fast shutter speeds to freeze skittish subjects.
3. The more distant the background, the more blurred it'll appear, making the creature stand out.
SHOOTING TIP: Position the front of a long lens close to grass and leaves in the foreground and set a wide aperture to create a blurred frame for the animal.
Image 23 of 30
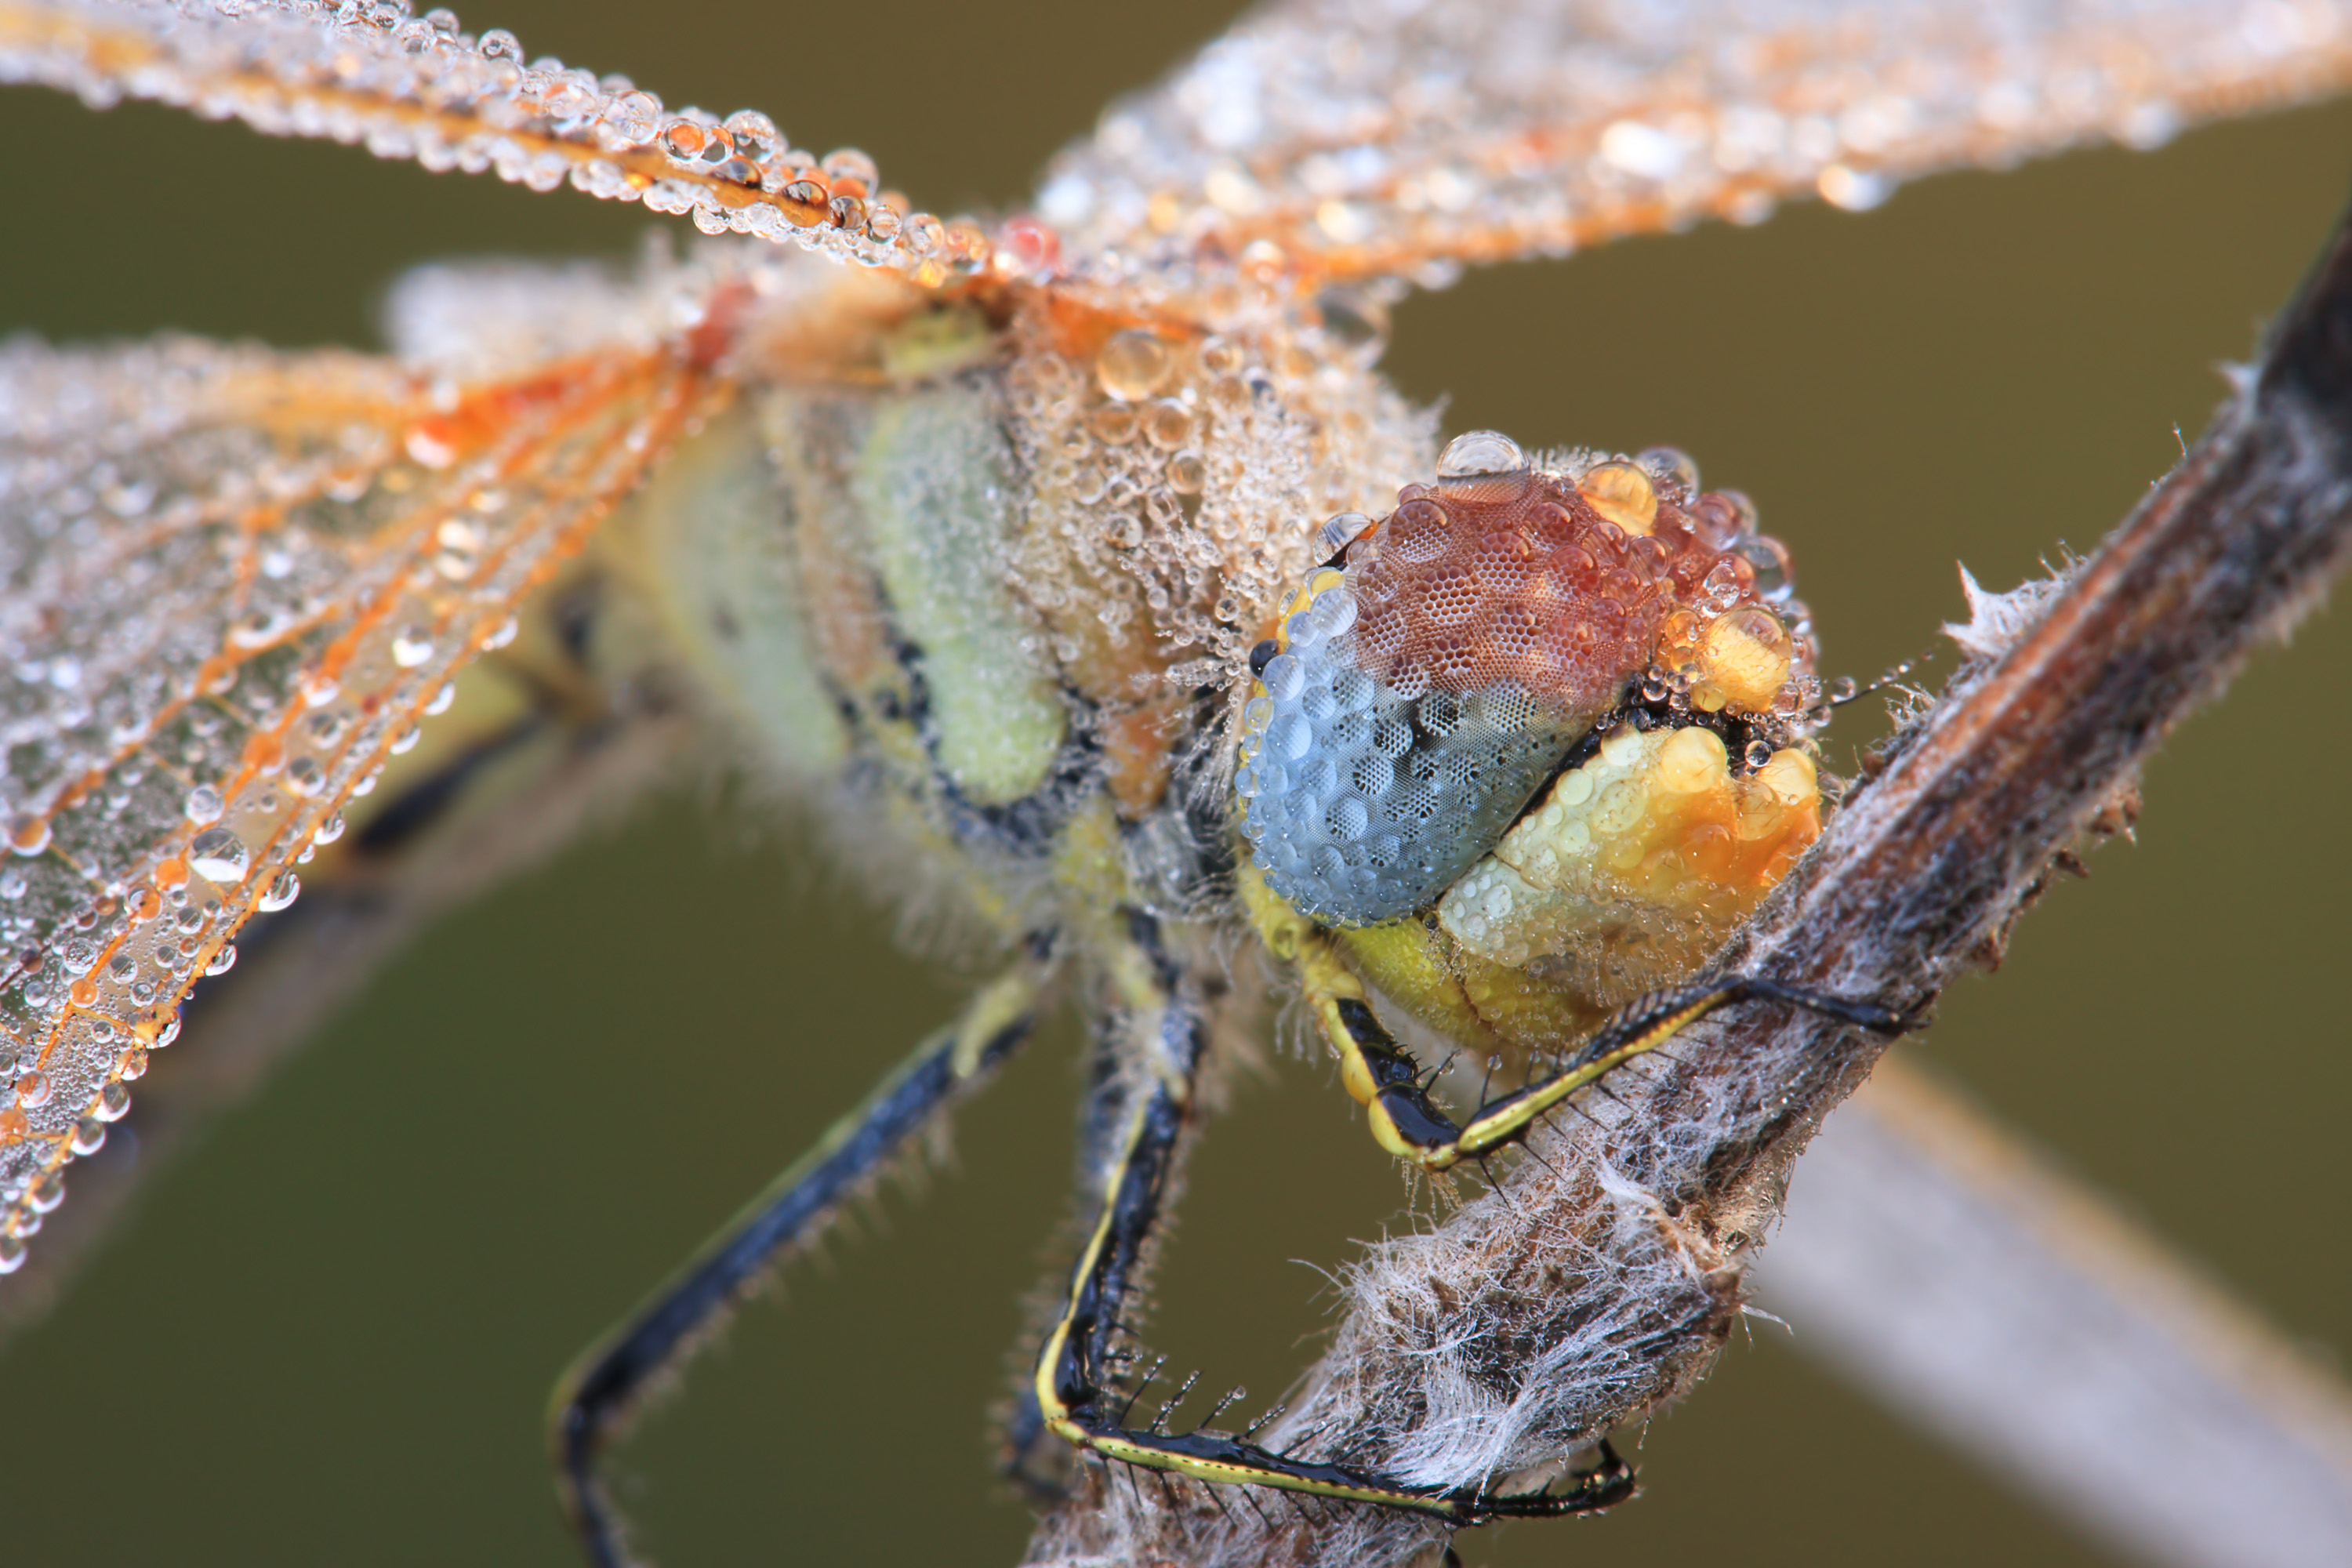
23. Dew-drenched dragonflies
Use a macro lens to record the droplets in detail:
1. Get up early following a cool, clear night: in the cool of dawn and covered in dew, dragonflies and damselflies will be less active.
2. Explore different views: a side angle will highlight a dragonfly's profile, while an overhead view will show its wings and shape.
3. For sharp results, use a tripod and manually focus on the head.
FIELDCRAFT TIP: Spend time observing the dragonflies before you set up - they're territorial insects and will frequently return to the same reed or branch.
Image 24 of 30
24. Bird portraits
Shoot from a bird's-eye level for really intimate photos:
1. Use a beanbag to cradle the lens when you're photographing species that feed on the ground.
2. Manually set an AF point that corresponds with the bird's eye rather than the tip of its bill.
3. Before you take the shot, check the background: if there are any bright patches of sky or distracting branches, change your position.
SHOOTING TIP: When picking out a bird in flock, aim for one at the edge of the group. or you may end up with the tails and wings of other birds in the frame.
Image 25 of 30
25. Sea birds
How to photograph birds nesting, resting and in flight:
1. Your camera meter may leave white birds looking grey; dial in some positive exposure compensation and shooting again.
2. Avoid overexposing the birds' plumage - activate your camera's highlight alert as a warning.
3. At a seabird colony, avoid jumping from one bird to another: you may miss interesting behaviour.
FIELDCRAFT TIP: Sea birds typically follow a regular flight path back to the colony. Watch their movements so you can work out where to position the camera.
Image 26 of 30
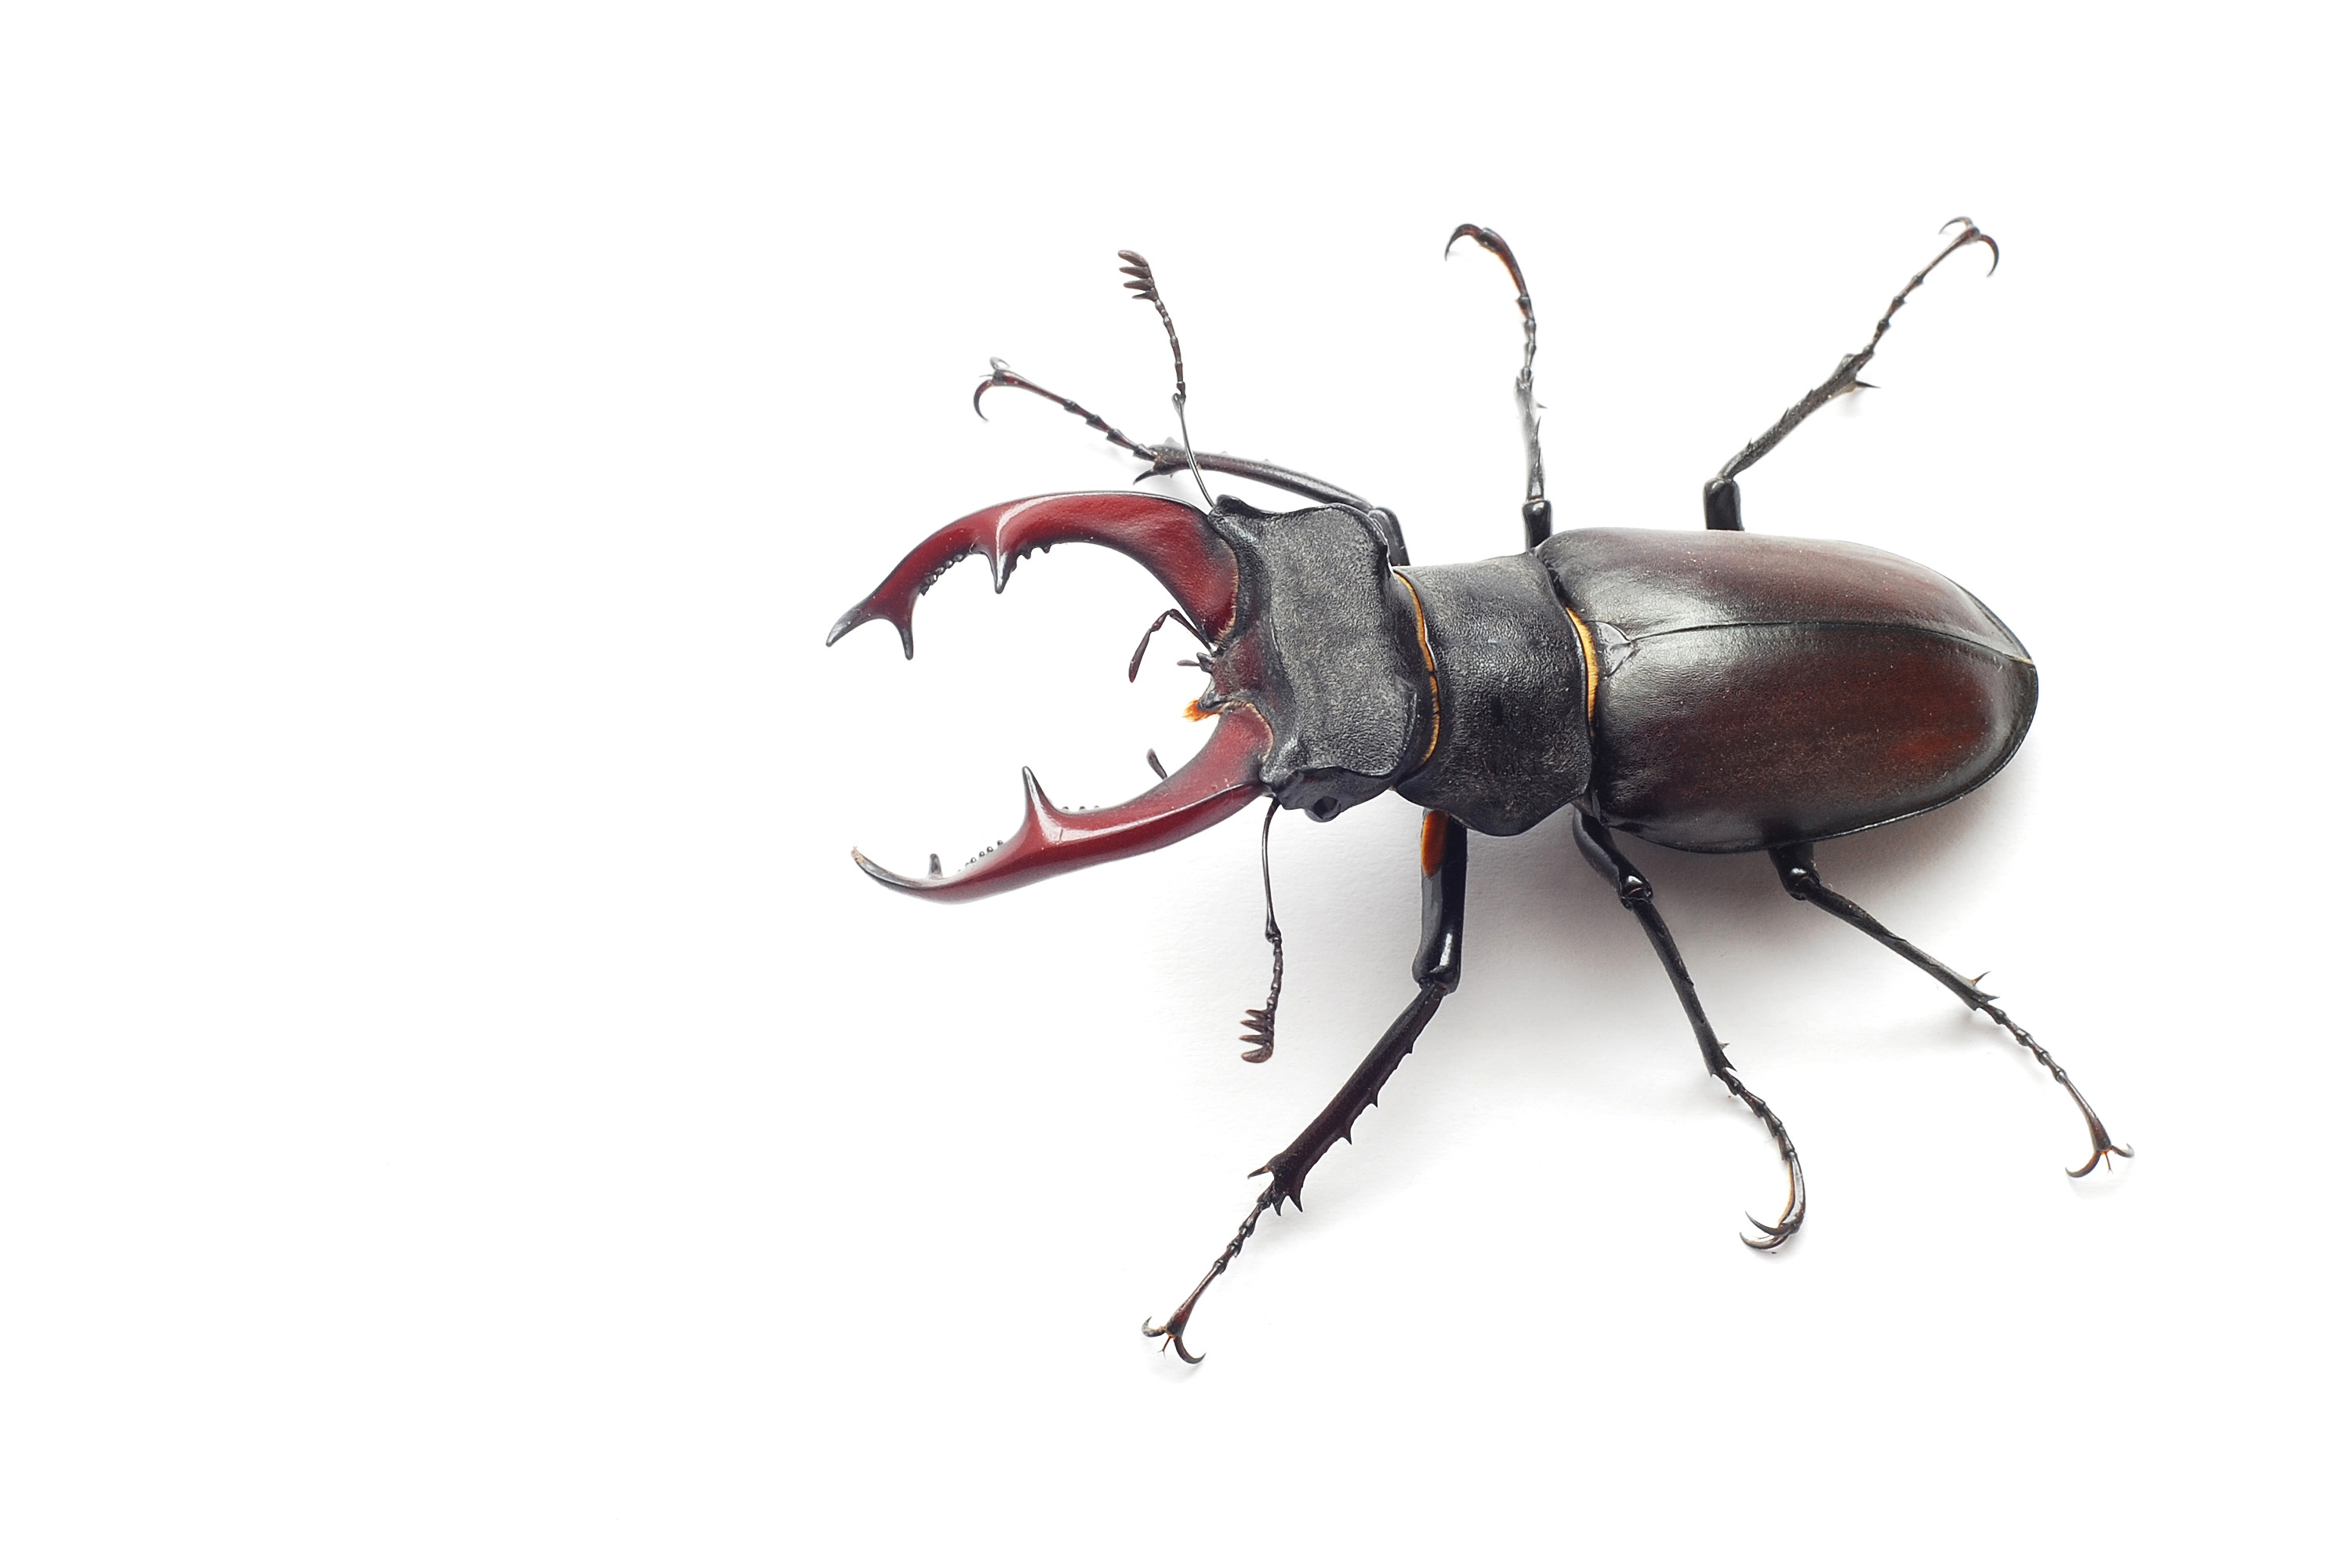
26. Macro field studio
Make a portable studio for shooting beetles and bugs:
1. Use white card or a white plastic tray and illuminate the subject using a diffused off-camera flashgun (ideally two).
2. Be prepared to dial in +1 or +2EV of flash exposure compensation to ensure the whites are truly white.
3. If the image appears too dark, move the flashgun(s) closer or increase the ISO.
SHOOTING TIP: Activate your camera's highlight alert function: most of the white background should be blinking, to indicate that this area is pure white.
Image 27 of 30
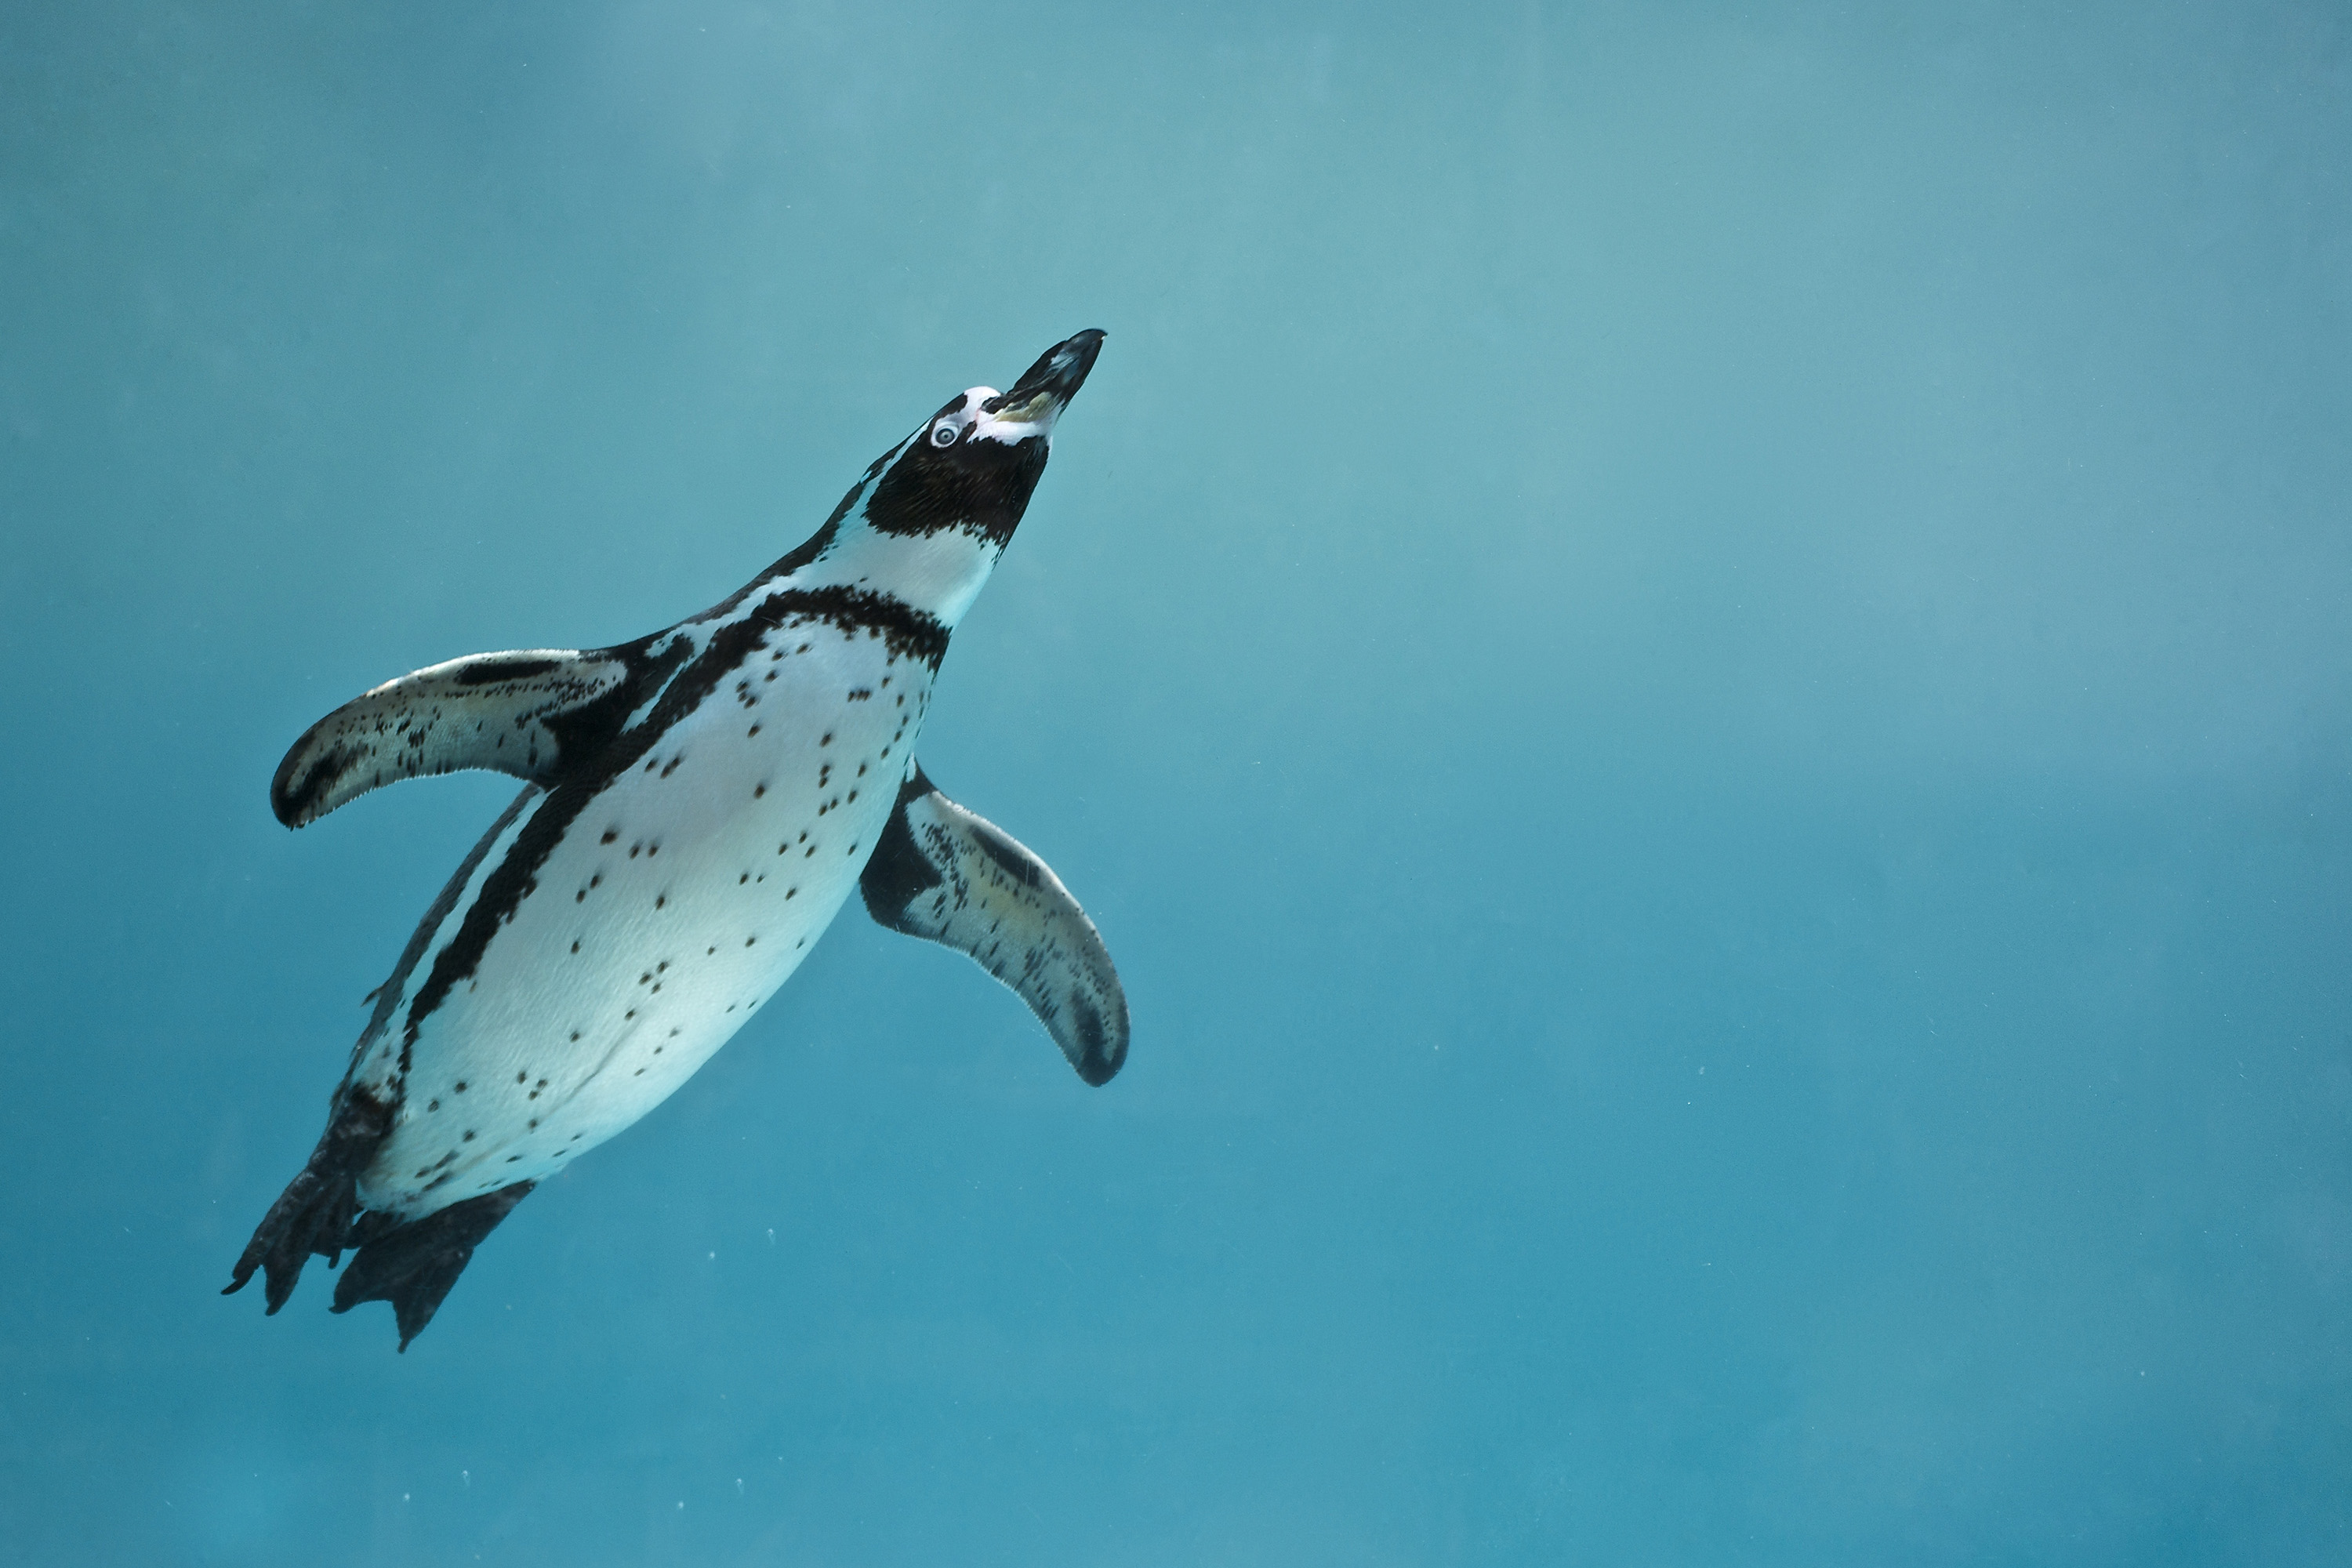
27. Captive wildlife
Refine your skills at zoos and wildlife parks:
1. Use a wide aperture and position the front of the lens close to mesh fences and glass enclosures in order to throw them out of focus.
2. Avoid photographing captive birds from their pinioned side - where one wing has been clipped.
3. Shoot raw, so you can fix color casts caused by artificial lighting when you process the images.
SHOOTING TIP: When you're shooting through glass, fit a lens hood so that you can press it against the surface and eliminate reflections, or fit a polariser.
Image 28 of 30
28. On safari
Practical advice for taking pictures from a vehicle:
1. Use a beanbag to support the camera on the edge of the vehicle or seat and activate image stabilisation, if your lens offers it.
2. Ask other occupants to briefly keep still so that the vehicle isn't rocking - then thank them!
3. Avoid changing lenses when the vehicle is moving, as you risk exposing the sensor to dust.
SHOOTING TIP: Develop a shooting routine - such as taking a wide shot, followed by full body, head and details - so you maximise every encounter.
Image 29 of 30
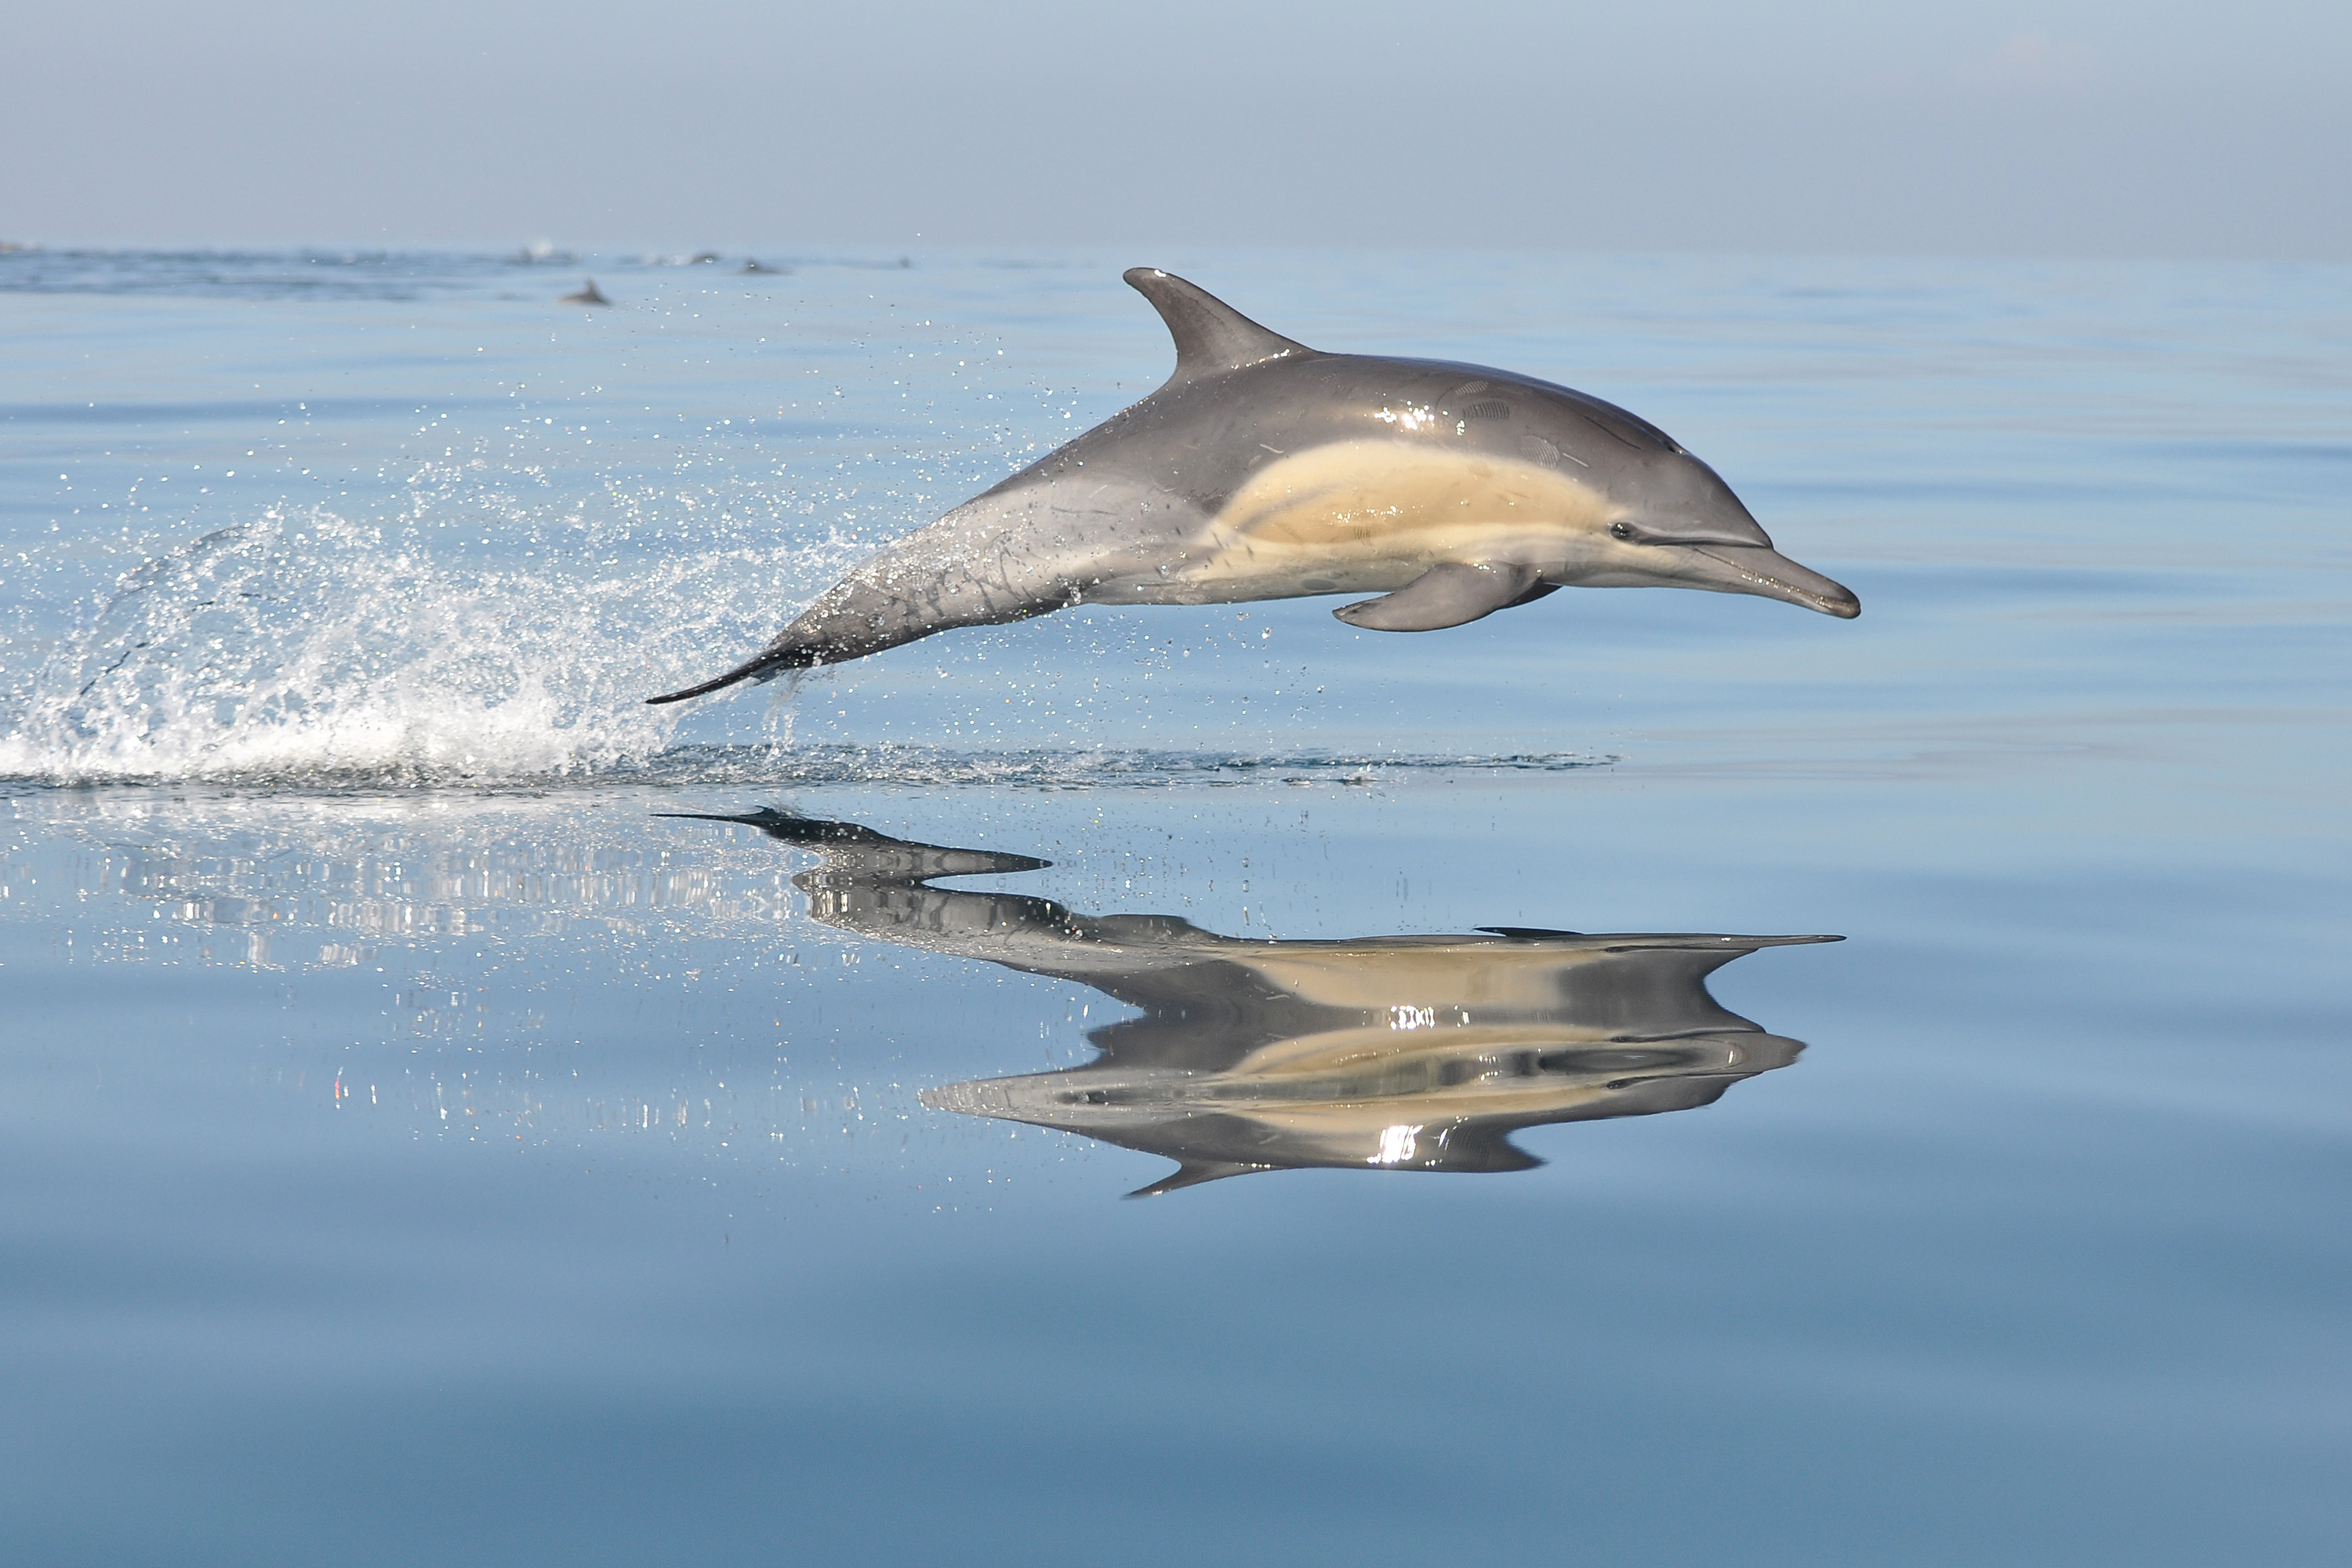
29. Whales and dolphins
Use continuous AF and drive modes to nail the shot:
1. You'll need fast shutter speeds for sharp shots, so increase the ISO and use wide apertures (low f-numbers like f/2.8 and f/4).
2. Aim to get the sun directly behind you, though you'll be at the mercy of tide times and animal behaviour.
3. For sharper shots from a rocky boat, activate a compatible lens or camera's Image Stabiliser.
SHOOTING TIP: Can't get close enough? Include the animal's reflection as it breaks the surface of the water to effectively double its size in the frame.
Image 30 of 30
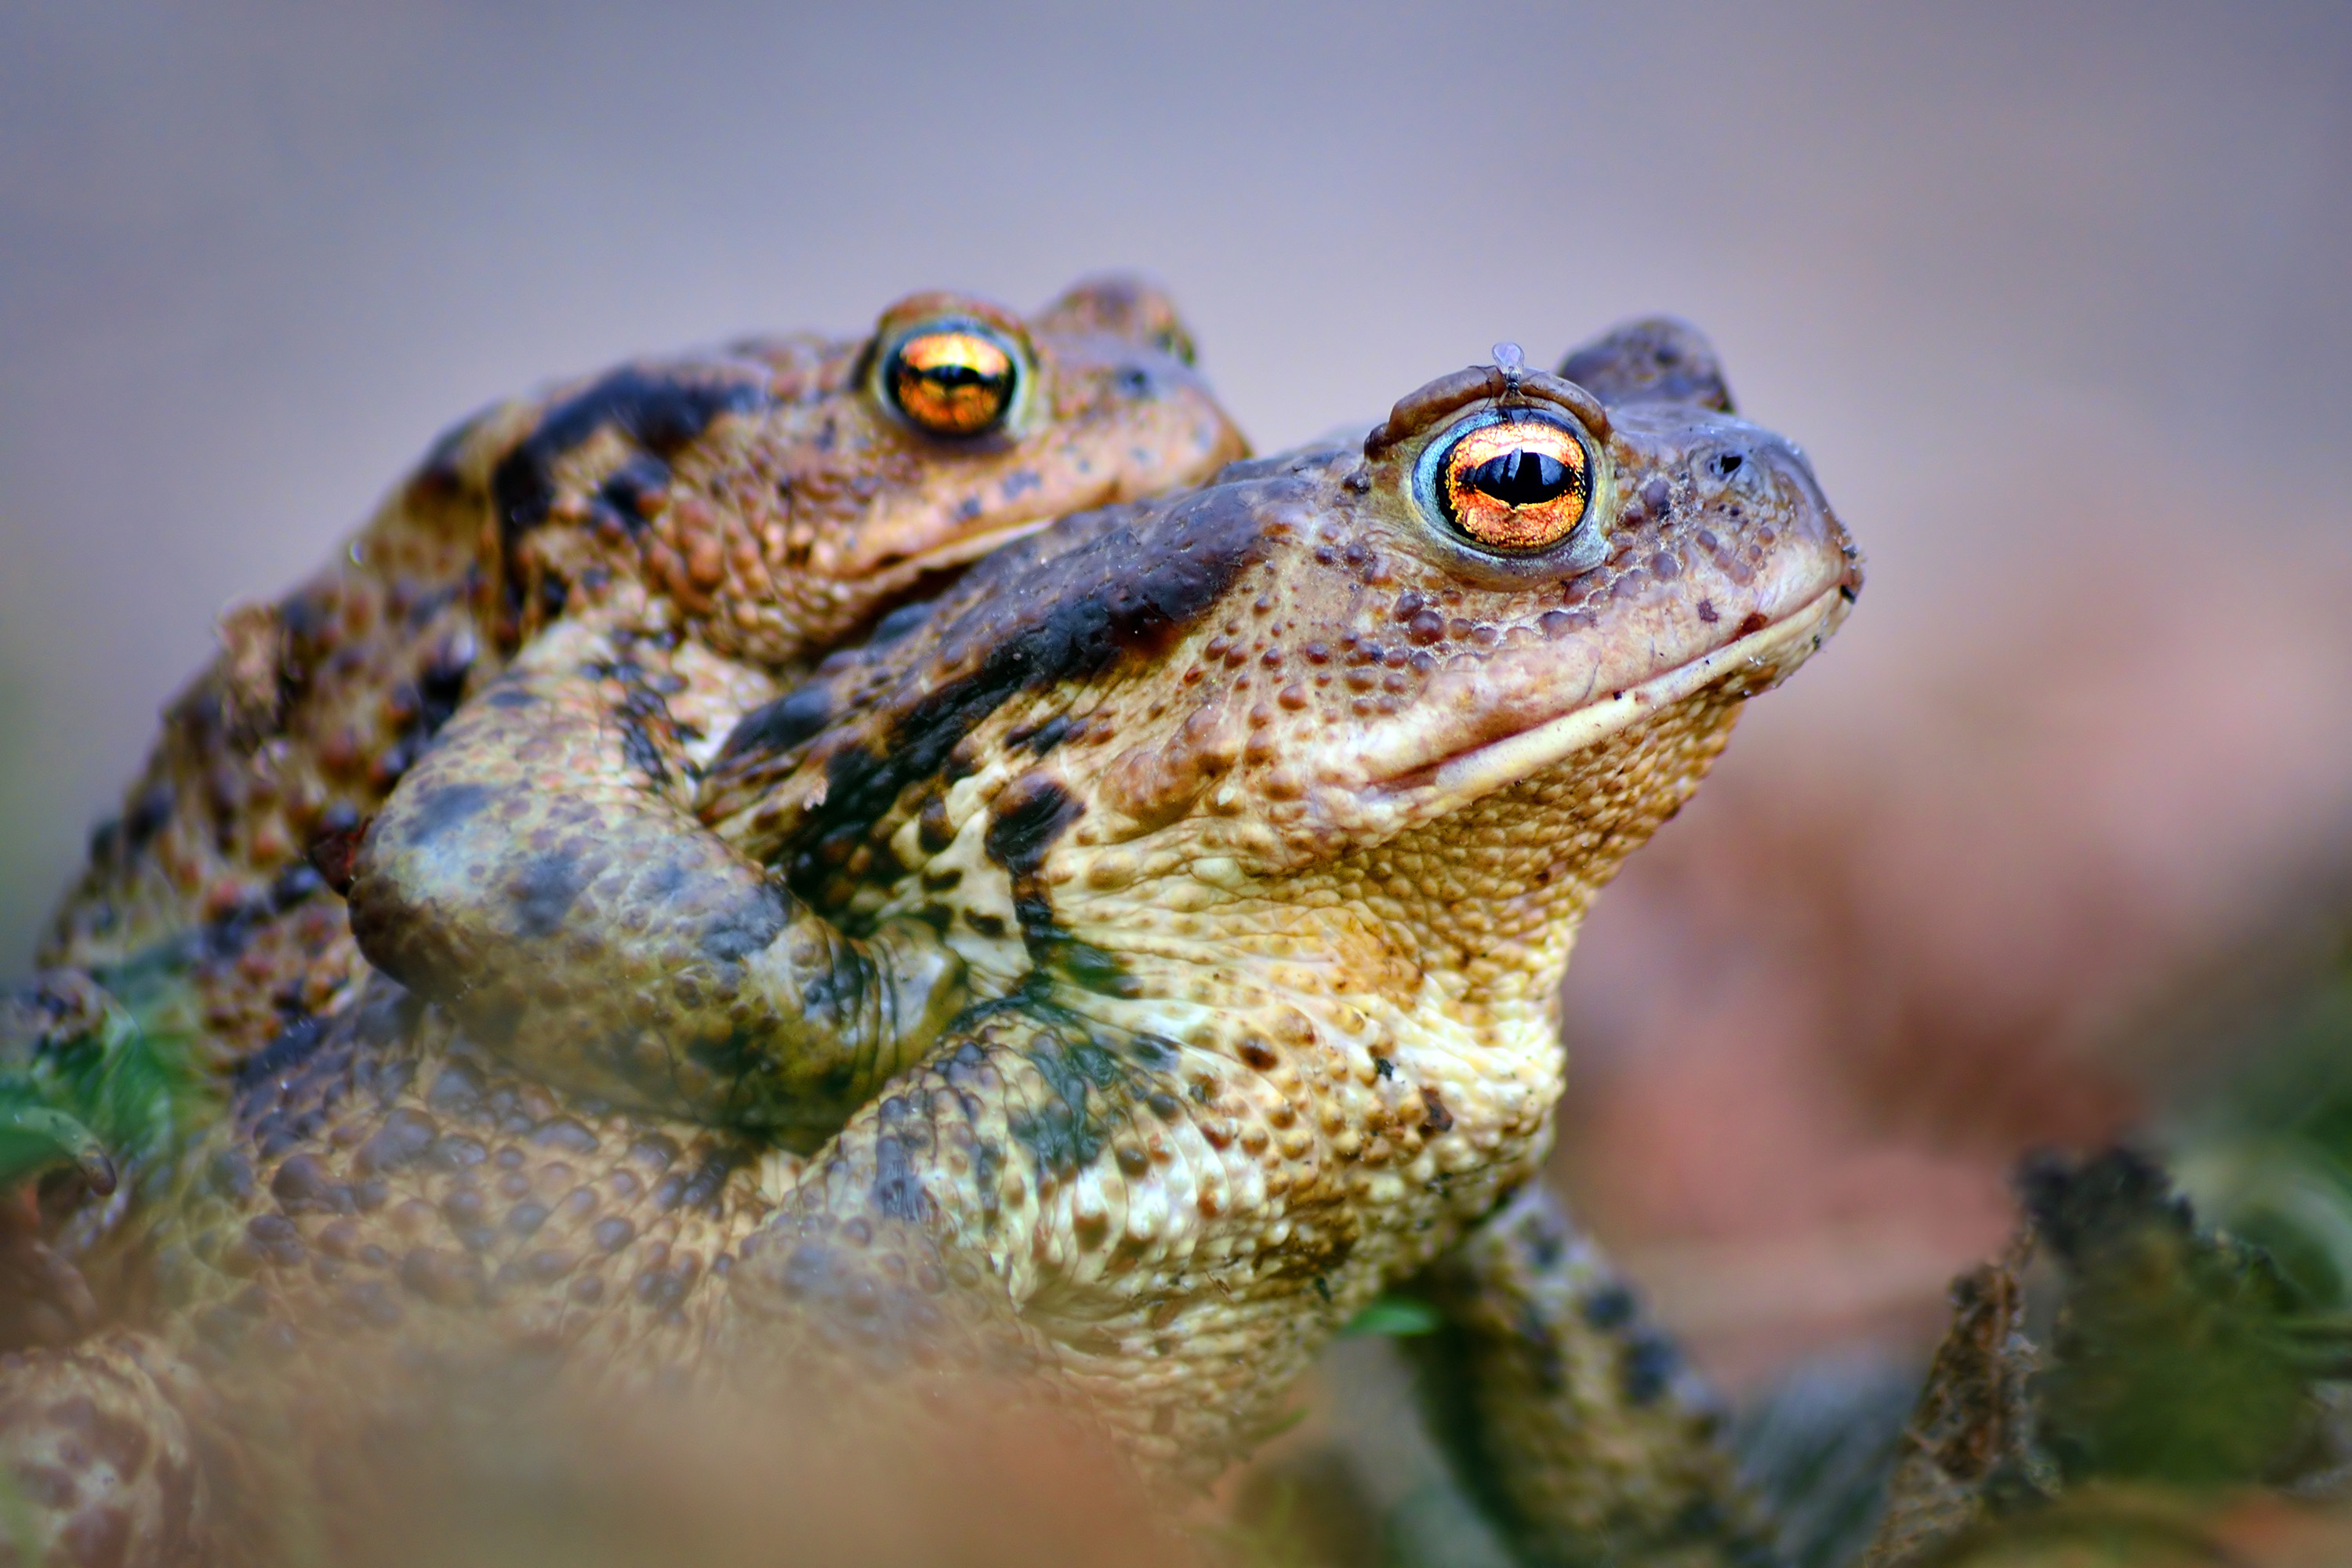
30. Amphibians
Top tips for better pictures of frogs and toads:
1. Shoot from a slightly raised angle to provide a clean backdrop of grass or water.
2. Use a reflector or off-camera flash to open up the shadows to brighten the area under the throat.
3. Select a single AF point that lines up with the pupil rather than the rim of the eye; review the image and zoom in to check it's sharp.
SHOOTING TIP: If you're not using a macro lens, try fitting an extension tube between the lens and the camera so you can focus at closer distances.
- The best super telephoto zoom lenses
Camera For Wildlife Photography Beginner
Source: https://www.techradar.com/nz/how-to/30-essential-wildlife-photography-tips
Posted by: godinthemot.blogspot.com
0 Response to "Camera For Wildlife Photography Beginner"
Post a Comment